Retroarch is a multi-system emulator that acts as a gateway to various video game systems. Including the Turbografx/PC Engine, Neo Geo Pocket, Virtual Boy, Atari Jaguar, Sega Saturn, and so forth. It’s an open-source program and free to download from the official website.
The emulator can be confusing for beginners with the sheer amount of features and customization. Any beginner will be overwhelmed with all that, and that’s okay. This guide exists to help anyone struggling with this program. If you’re someone who likes to have everything in one place, then Retroarch is for you. I hope this guide will help make things easier.
Note: this guide will keep receiving updates as Retroarch is always improving thanks to the developers.
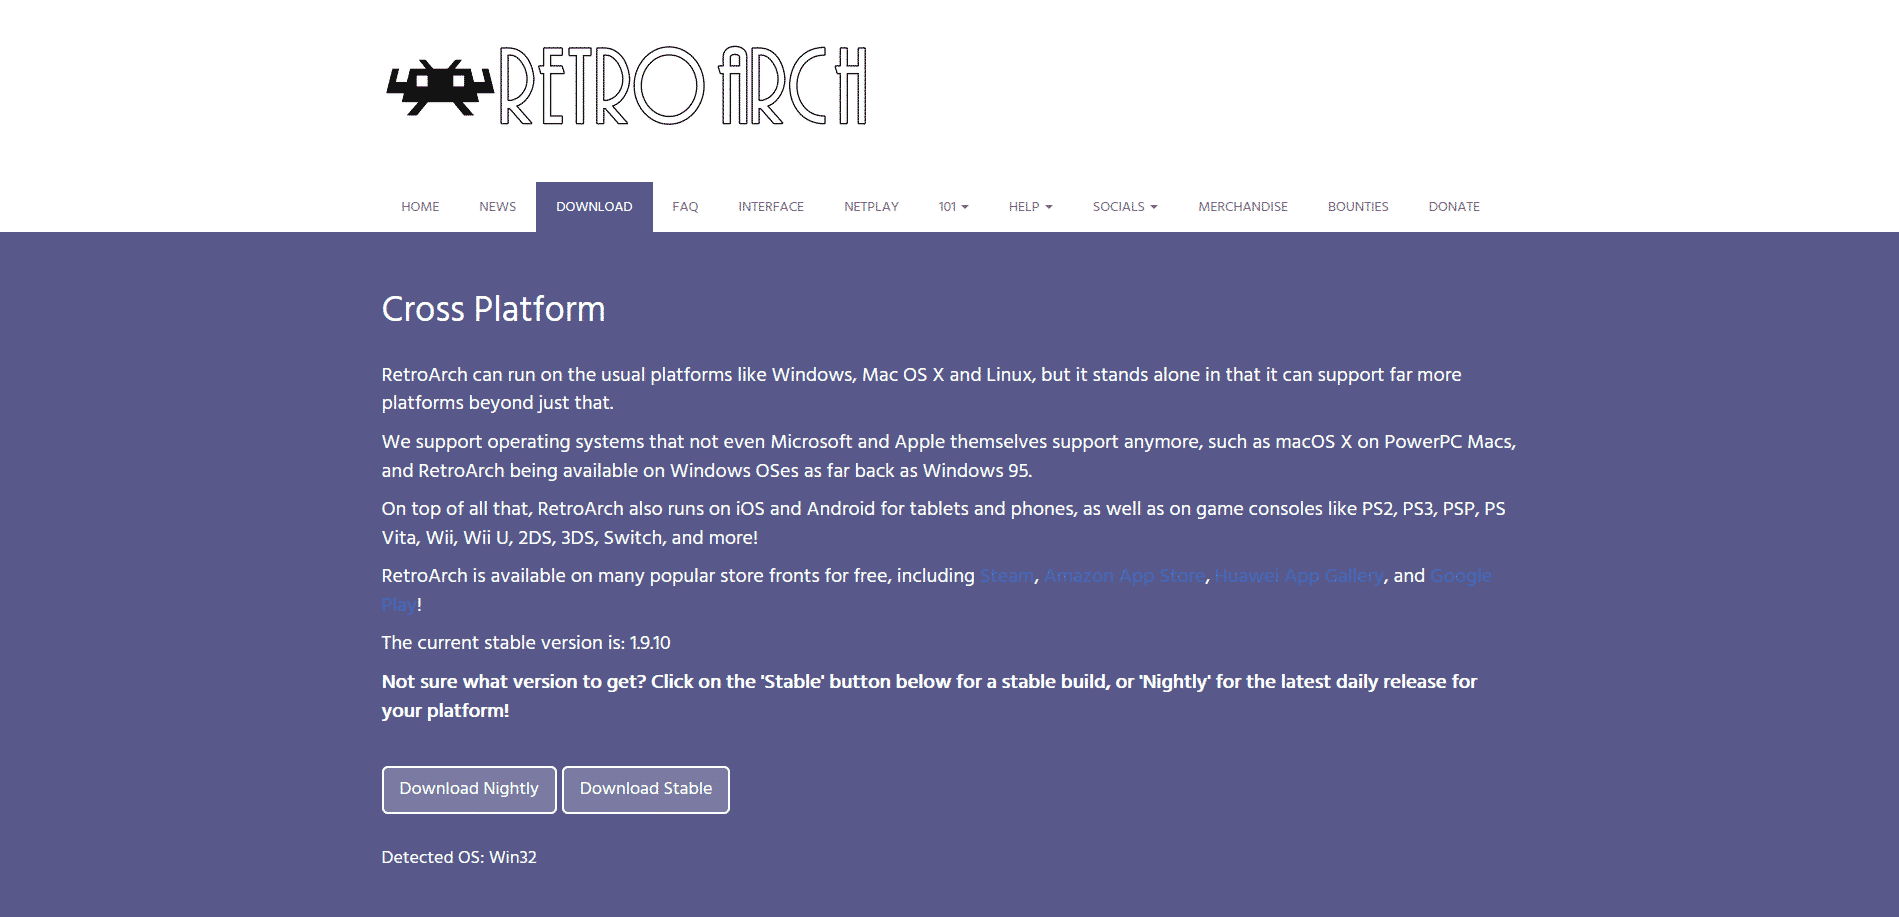
To download Retroarch, head over to the official website, and click on DOWNLOAD as seen above. The website should normally detect your operating system and throw a download button as seen in the picture. In case if the website doesn’t detect your OS, scroll down until you see this:
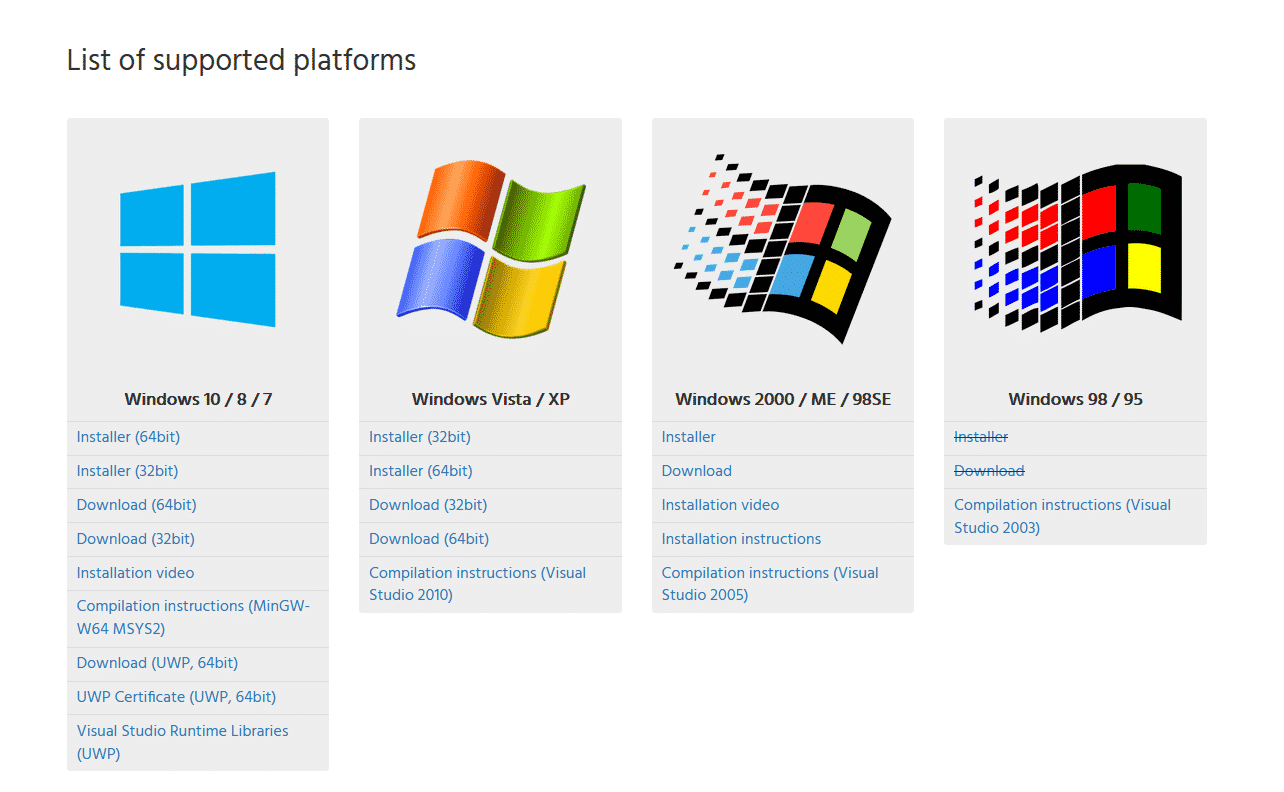
The question you’re probably asking right now is, which one do I pick up, right?. Well, it’s easy and doesn’t require much explanation. If you’re using a 64-bit system stick with the installer (64bit), but if you’re using a 32bit OS, stick with the bottom option. However, what’s the difference between the installer and the regular download you may ask. It’s simple:
So, which one should you pick up? I’d say the Installer version is a better option for anyone who wants something that works out of the box.
Note: Retroarch is now on Steam as well, you can pick it up from there. But bear in mind that the Steam release is different from the one from the official website. This guide doesn’t tackle the Steam release.
Retroarch is a safe program to use. The developers make sure the program is constantly updated with features and improvements. You have nothing to worry about when using Retroarch.
Installing Retroarch is a piece of cake, and I think it doesn’t require much explanation. For the installer download, an install wizard will pop up once you click it, prompting you with the destination where your Retroarch will be installed to. The installer comes packed with a built-in updater that lets your Retroarch be up to date.
On the one hand, the 7-zip download is just a Winrar file that you must extract, and voila, everything is good to go. As mentioned above, the only downside to this portable version is that you can only update manually by downloading a new updated version every time it is released.
One thing you should know is that Retroarch doesn’t come packed with either BIOS files or the video game system cores. Instead of drowning your hard drive with every core inside the emulator, Retroarch gives you the freedom to choose whatever you want. Below, we will be seeing a step-by-step guide on how to set up Retroarch for beginners.
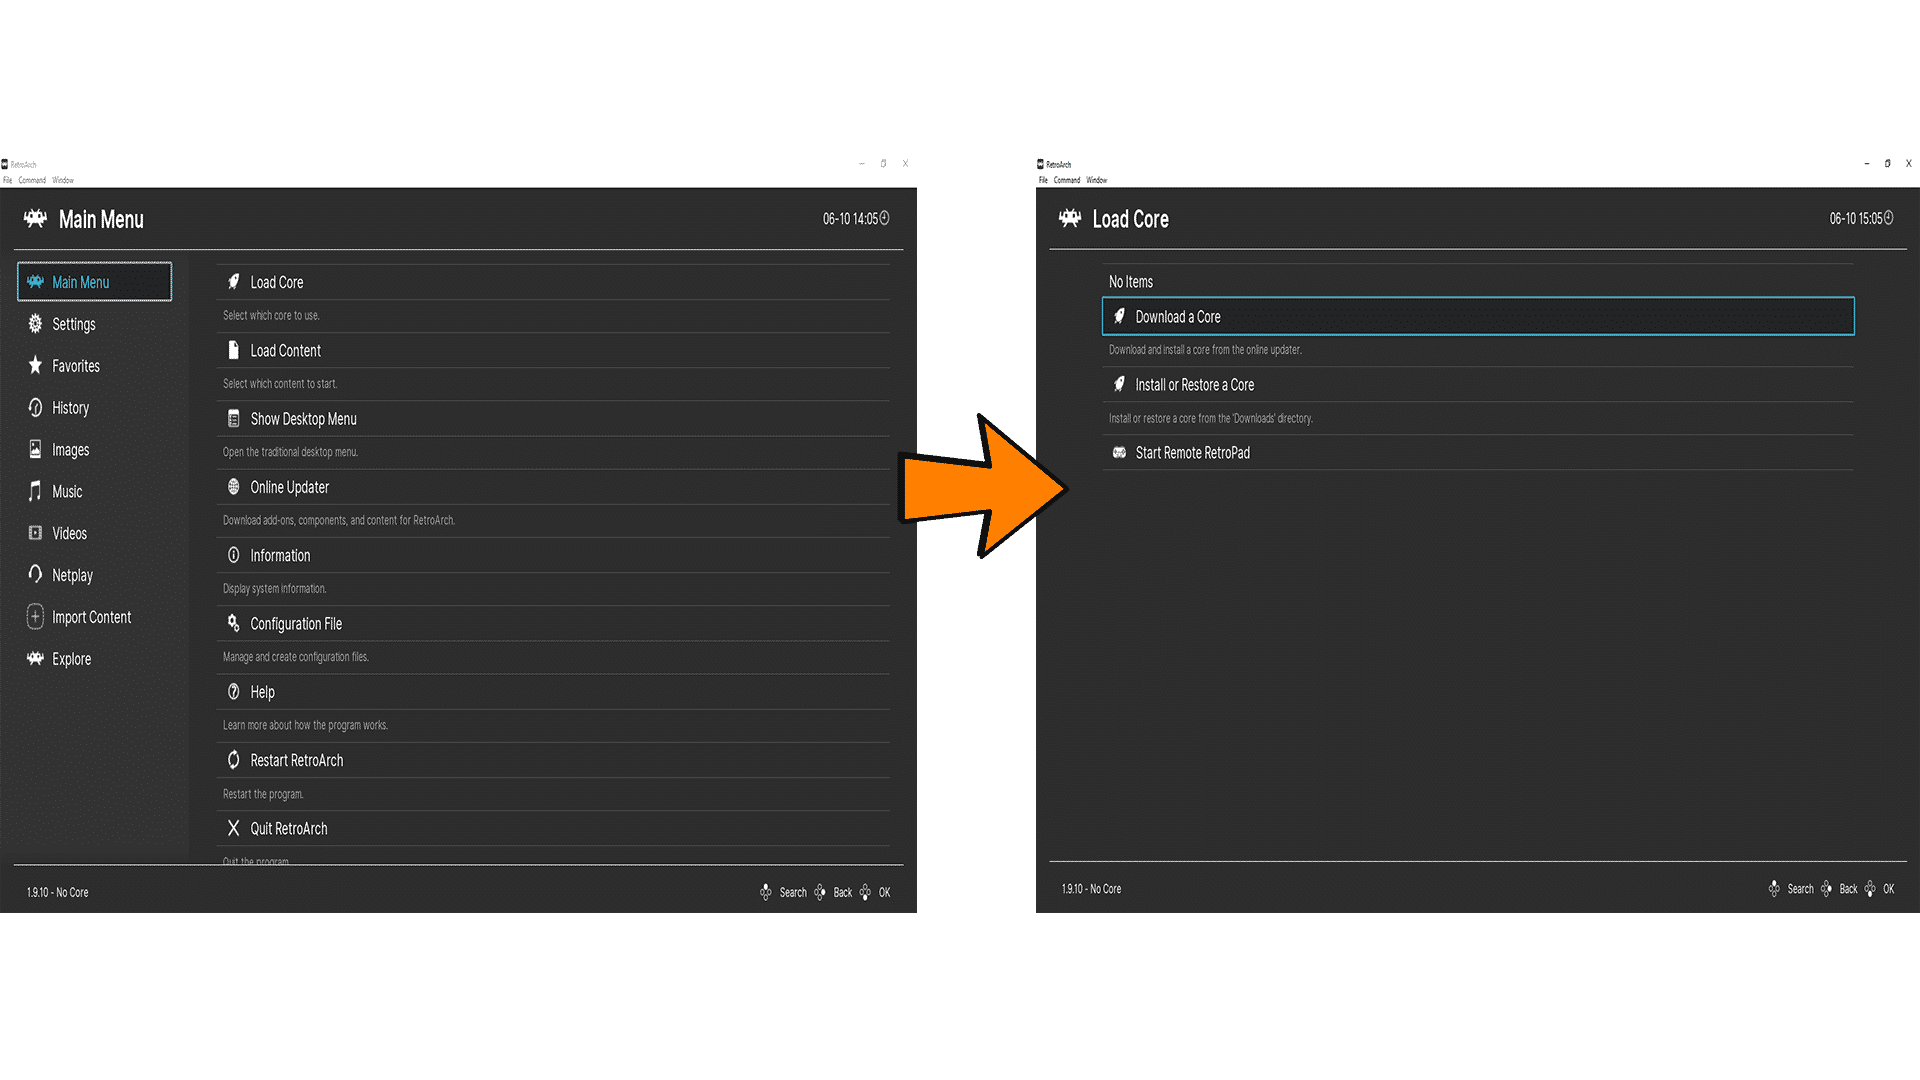
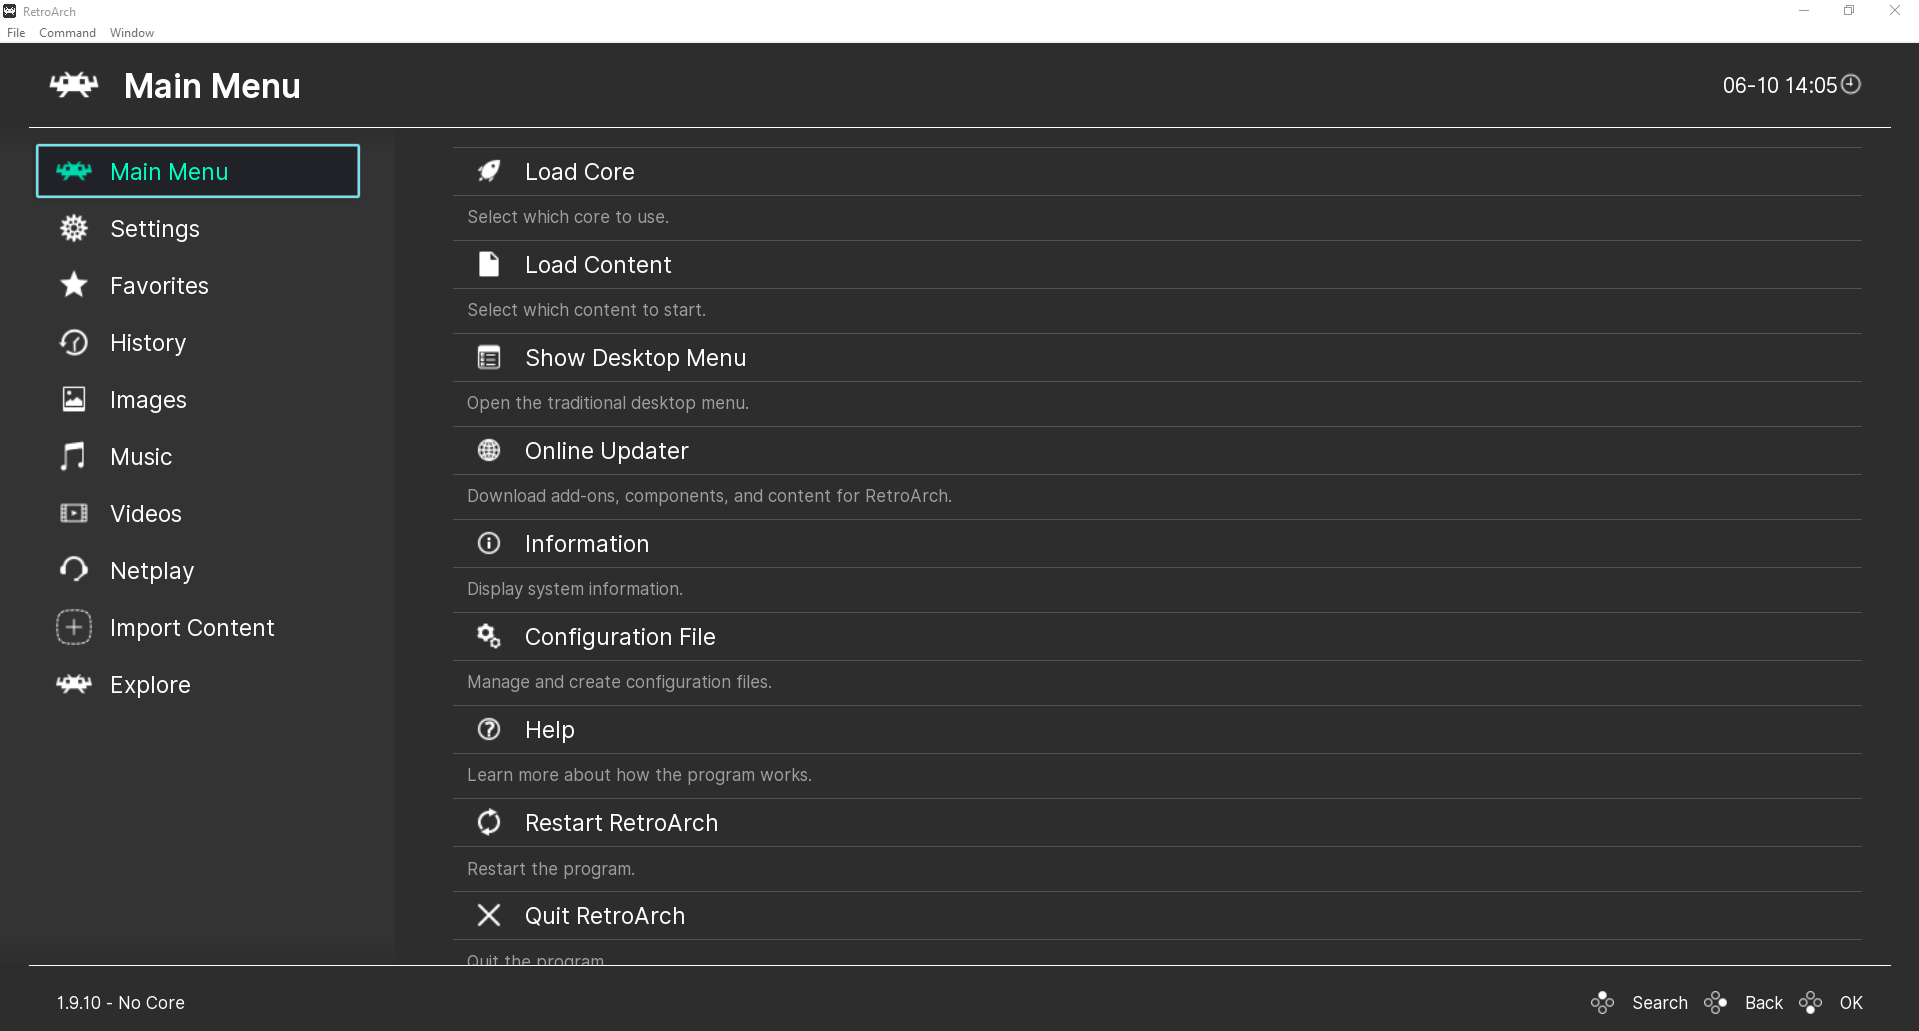
RetroArch is a modular program that runs emulators and games within its framework as if they were ‘plugins’. These plugins are known as ‘cores’. For now, go to Load Core > Download Core. After that, you’ll be presented with a large list containing cores that you can download. Once you download a core, it is immediately registered onto the emulator and you really don’t have to re-download it again. However, if these cores prove to be of a mystery to you, read below for the full explanation.
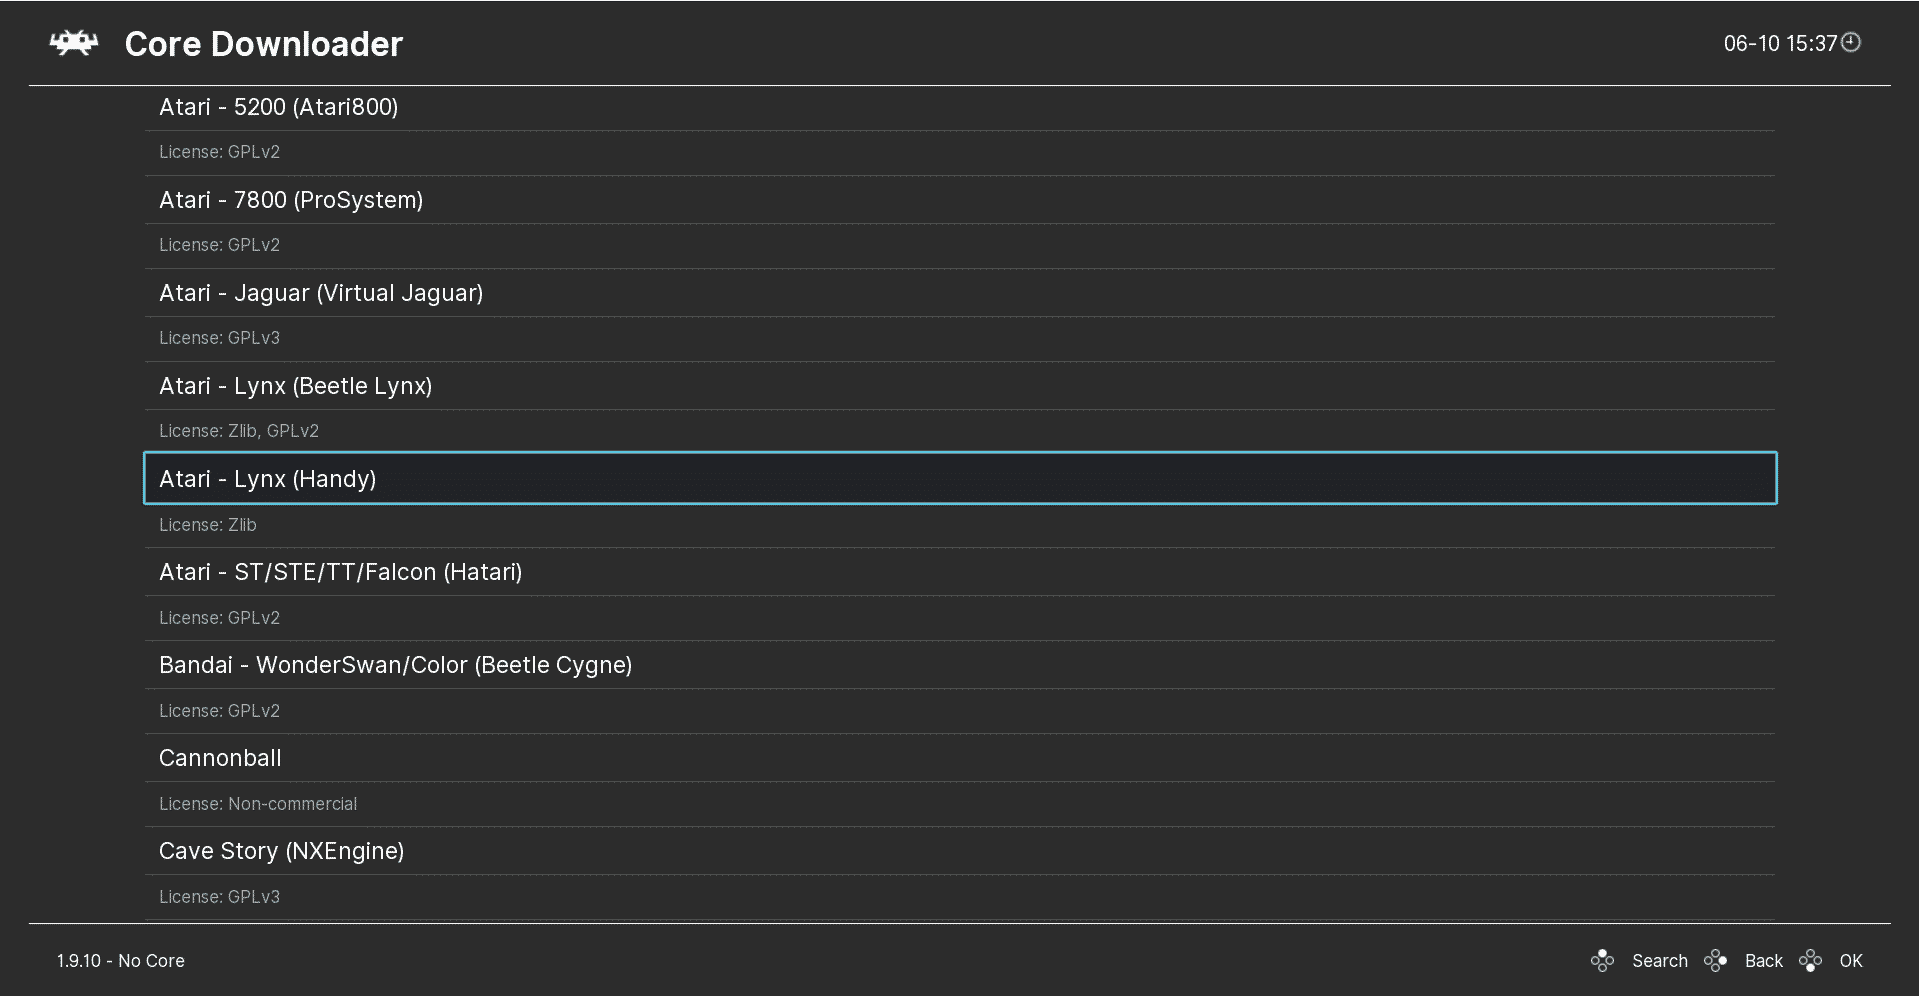
When surfing through Retroarch’s gigantic cores list, you’ll see several cores similar to this:
” What are all these cores for? Why can’t Retroarch only have the best core? “. Realistically, this is what every beginner will ask the first time using Retroarch. However, aficionados take emulation to another level. They don’t just want to play ROMs, they want more than that. Retroarch wants to satisfy everyone’s needs by including everything. For instance, some cores may introduce accuracy, while other cores have an advantage on the performance side. Make sure to read about all these things from the Emulation General Wiki before you pick any core.
The process of deleting a core in Retroarch can be confusing for newcomers. At least, that’s what I felt the first time. First thing first, go to Load Core and select the core you want to delete. on the bottom left of your screen, you should see the core you choose. Now, go to the Main Menu > Information (Scroll down to find it) > Core Information > Delete Core.
Every emulator out there needs a BIOS. Without it, the program won’t function properly. You can pick every BIOS out there, or just stick with what you deem necessary. The BIOS files should look like this:
32X_G_BIOS.BIN
32X_M_BIOS.BIN
32X_S_BIOS.BIN
sega_100a.bin
sega_101.bin
Genesis_OS_ROM.bin
Make sure you download from a trusted website like Emulation General Wiki before picking up the BIOS files. Some BIOS files may be named differently and that may produce a risk of games not booting properly. So after you’ve had your BIOS files at hand, extract the 7-zip file containing these into the RetroArch’s system folder. That folder is located where you installed Retroarch, so it shouldn’t be that difficult. However, to save you the hassle of spending a while searching for the folder, just extract/install Retroarch to a destination you are familiar with.
Remember, your games won’t load if you don’t possess the BIOS files. They’re essential for almost everything in an emulator.
Setting up the controls on Retroarch is an easy task as the program supports both keyboard and a controller. Below, you’ll learn how to configure them both:
For your keyboard:
For your controller:
The best thing about Retroarch is that it automatically configures your plugged controller. Even cheap controllers are mapped automatically, so you don’t have to worry about it. However, in case if you want to change your mappings, go to Settings > Input > Port 1 Controls.
Loading a game in Retroarch may seem confusing in the beginning, but don’t worry, it’s not. There are two ways on how to load up your game using Retroarch, but we’ll just go with the usual one. Before we start this, don’t forget to download the core of the console you want to emulate. Without it, the game won’t boot. First, load up the core you want. Let’s say you want to load. Let’s say you want to play some Saturn games, you have to load a Saturn core ( take Beetle for instance). Go to Load Core and choose which one you want. Now to load up your game, you have to choices.

Either load up your game from File > Load Content. Or, directly from the Main Menu > Load Content. Navigate to where you’ve located your ROMs and choose whichever game you want.
Any emulator out there grants you the freedom to make your games look and feel better than the real thing. Bear in mind that each core has its own features, so they will vary from one to another. For the sake of demonstration, I’ll be sticking to the PlayStation using the DuckStation core. First, boot up your core and load the game you want.
Next, click on F1 to show the Quick Menu. Scroll down and click Options. You’ll arrive at many options including:
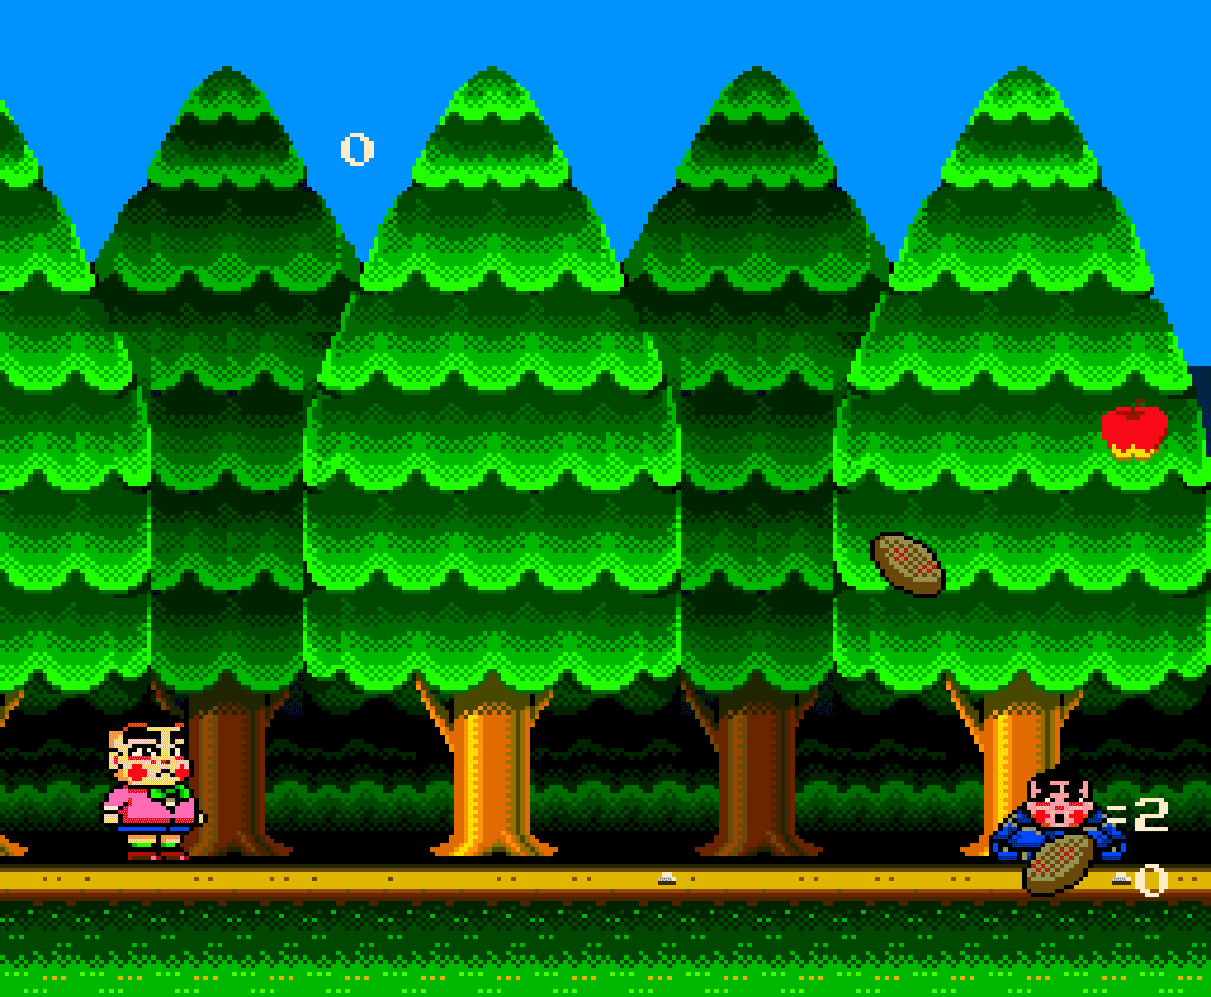
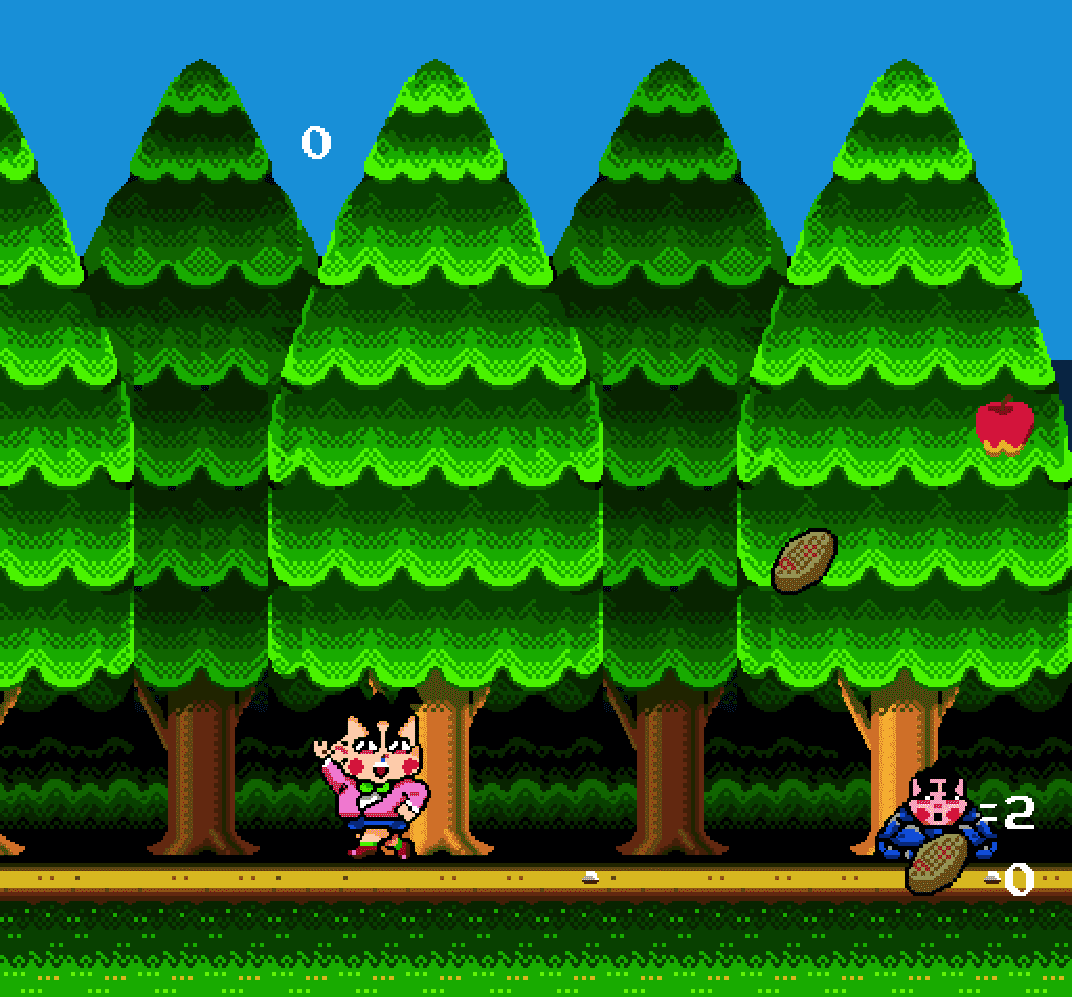
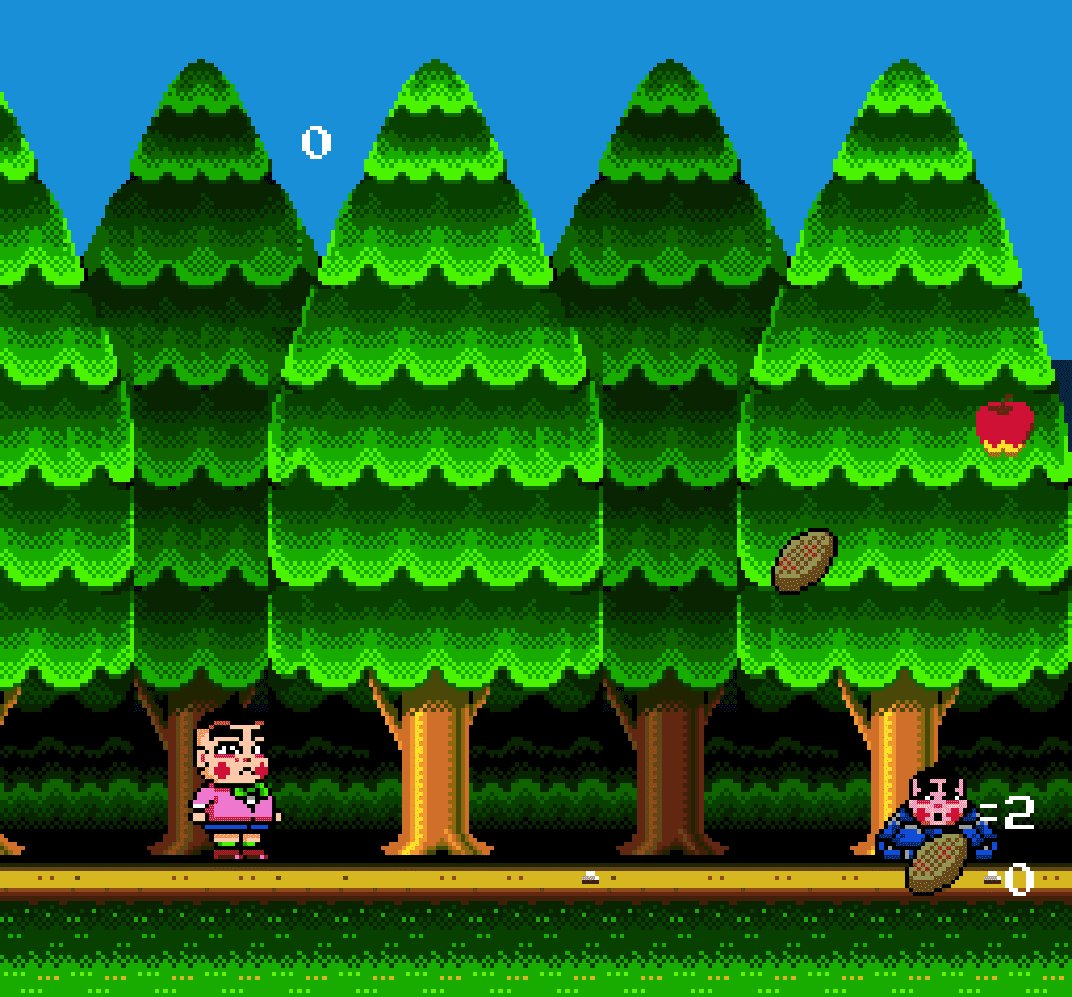
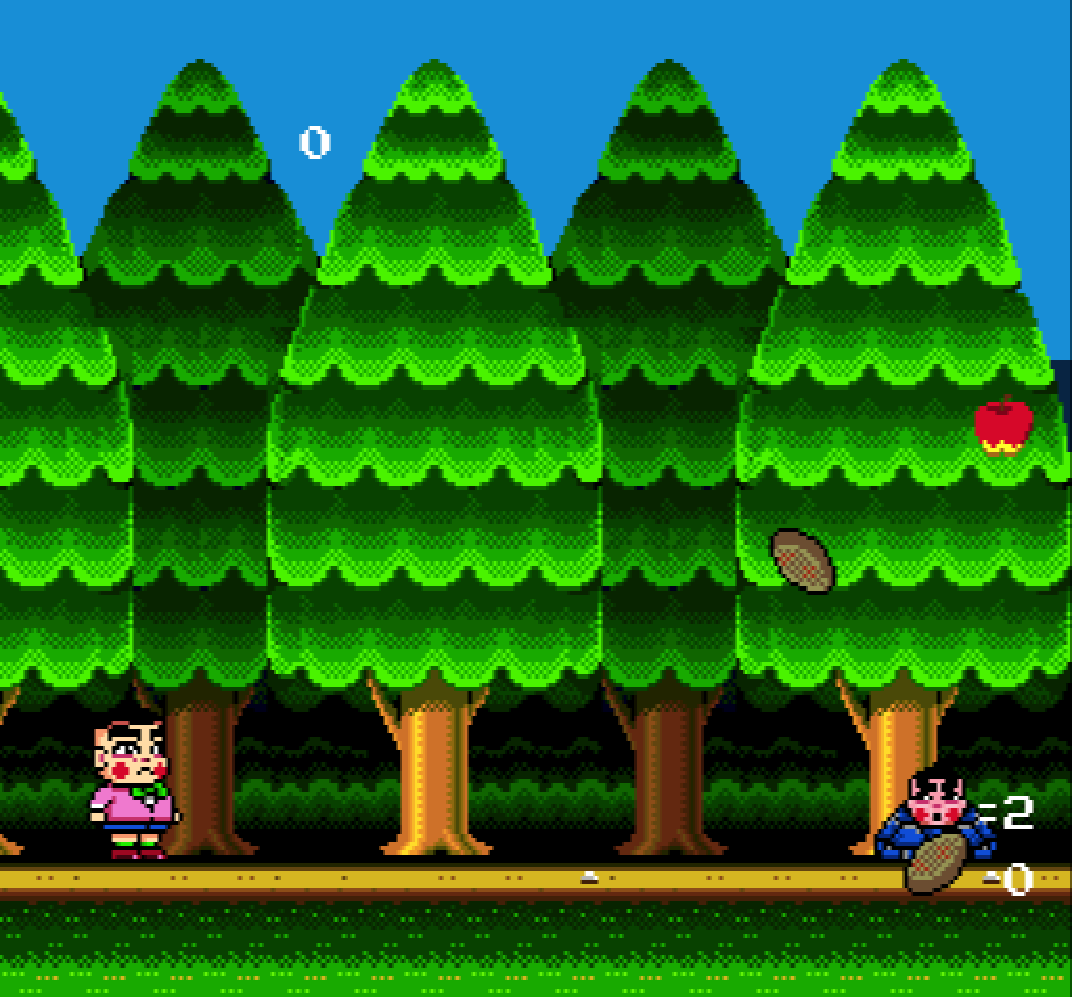
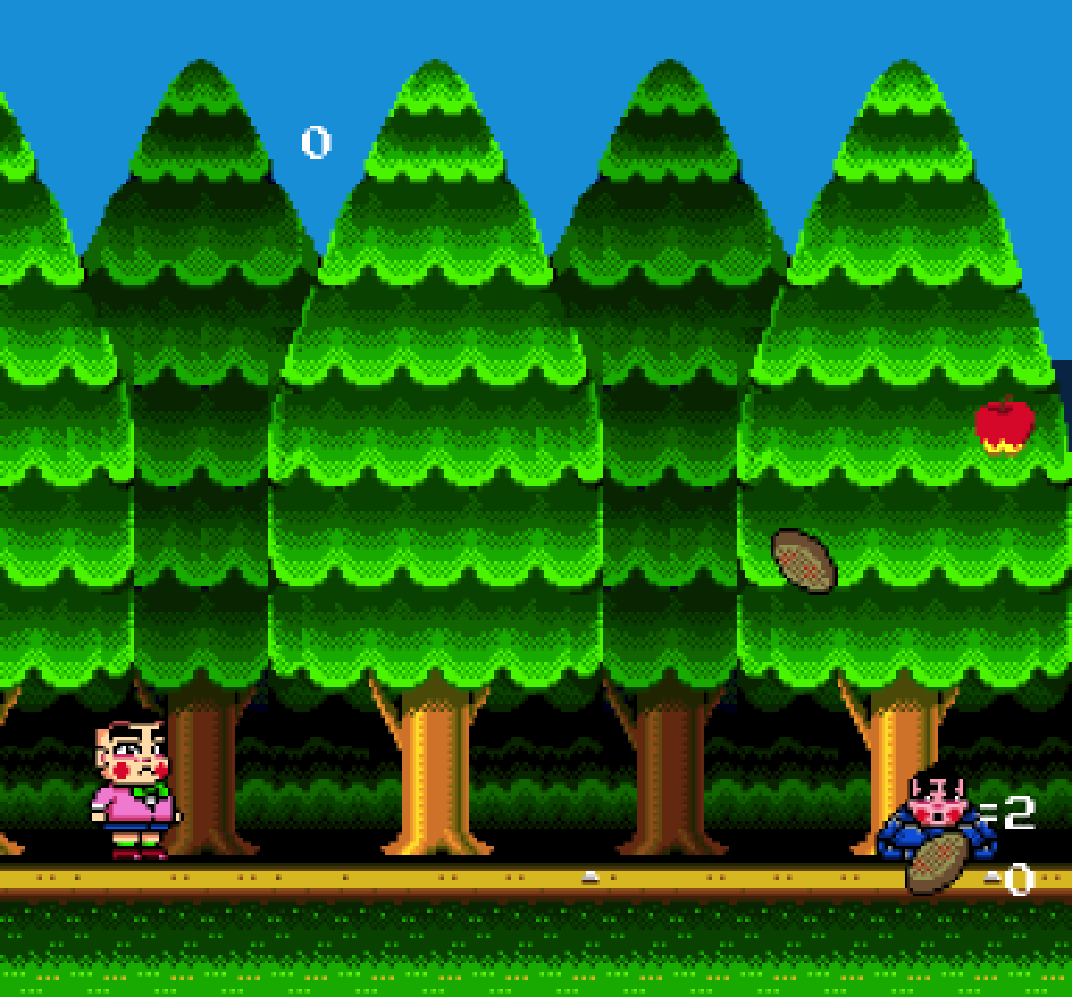
Similar to mGBA, Retroarch comes loaded with plenty of shaders to pick up from. When it comes to shaders, it boils down to what you prefer. So, there’s definitely no ‘ the best shader to pick up ” because it doesn’t exist. To access filters, boot up your game, press F1, then head Settings > Video. And don’t forget to enable video shaders before attempting this. Below, I’ll show a couple of shaders for you to see. The game I’m playing is called “Obocchama-Kun”.

These filters help you simulate the feeling of playing on a Retro TV. These filters consist of Composite, RF, RGB, and S-Video.

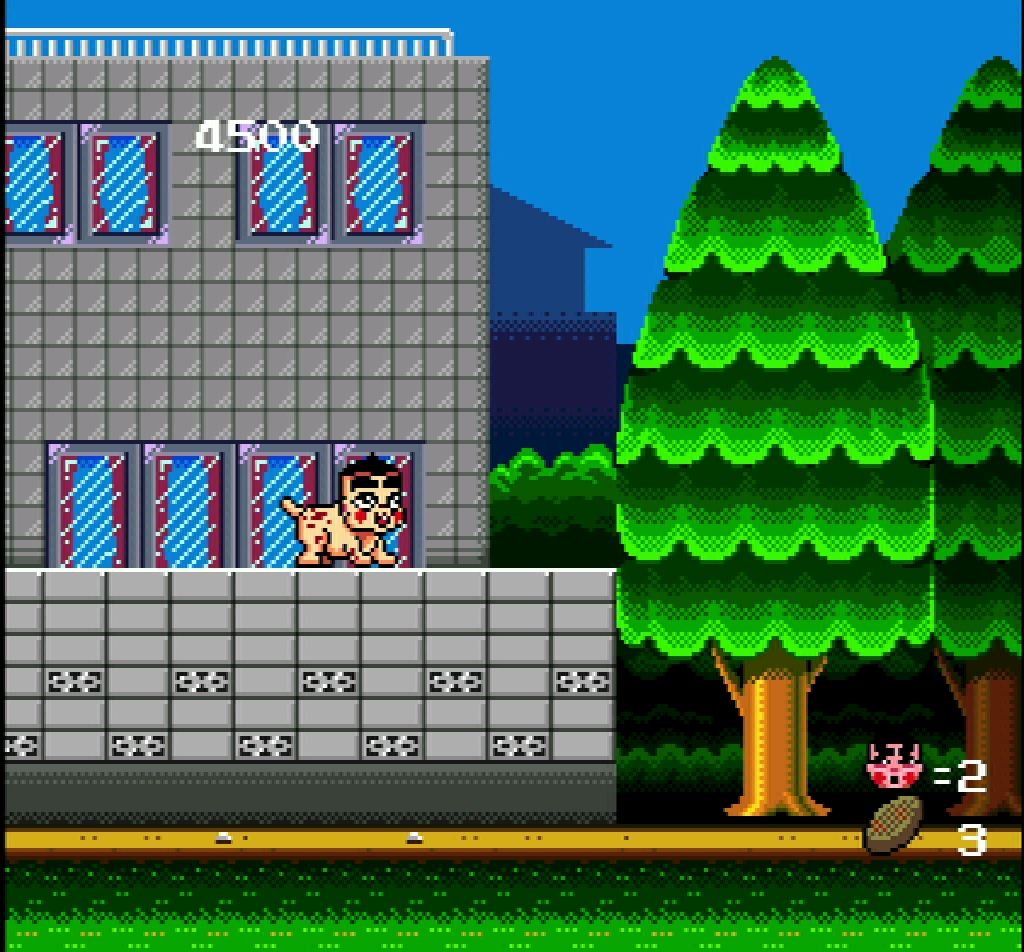
Adds a CRT filter on your games.
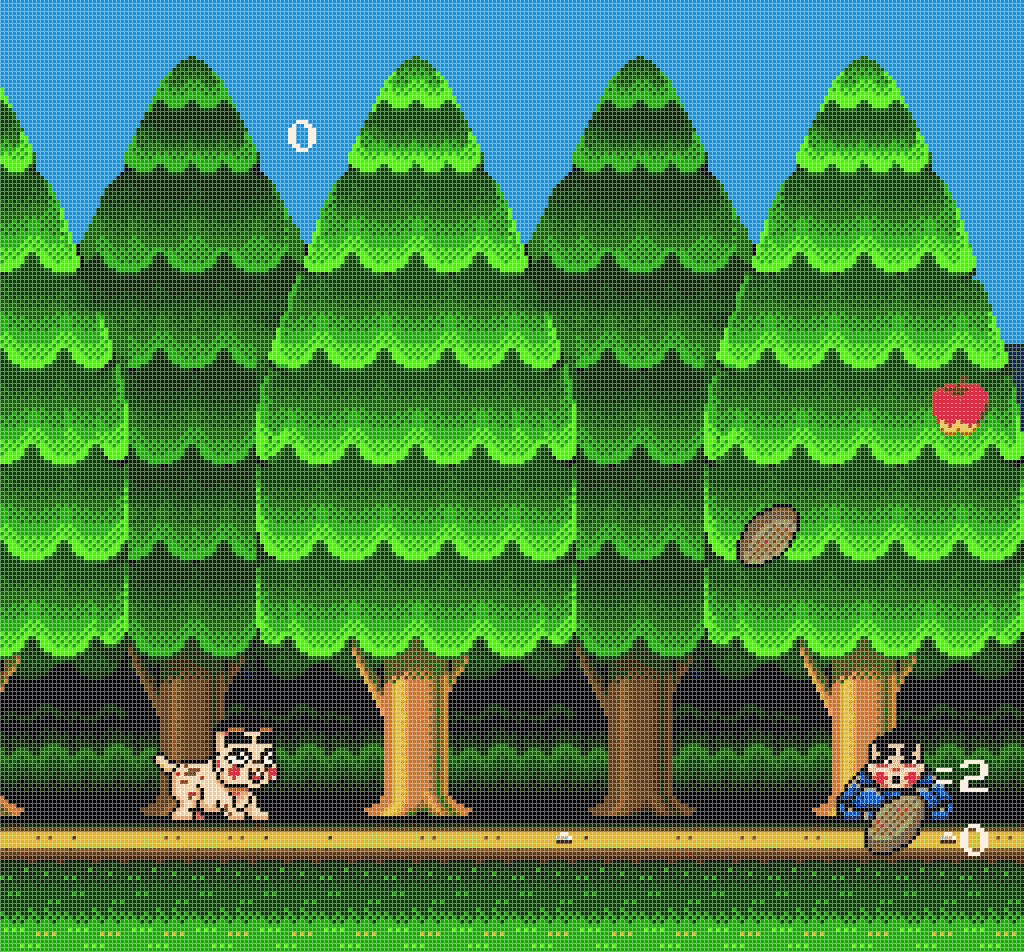
This filter makes the image cleaner and completely reduces the number of round pixels on objects and characters.
Makes the image cleaner

Classic filters that add scanlines and upscales the image quality.

One thing you should know is that to use Retroarch, you need to memorize the keyboard hotkeys. For instance, if you want the quick menu to show you have to press F1. To navigate, use arrows (↓ → ← ↑ ) on your keyboard and press Enter. To go back, press backspace, but if you want to quit the emulator entirely press Escape two times.
Remember that Retroarch is all about these hotkeys. So, make sure you memorize them because you’ll find them useful most of the time.
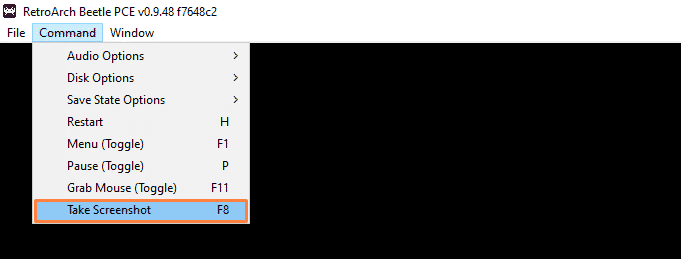
To capture your screenshot, you have three options:
The captured image will be saved as a PNG image into the Screenshots folder where Retroarch is located.
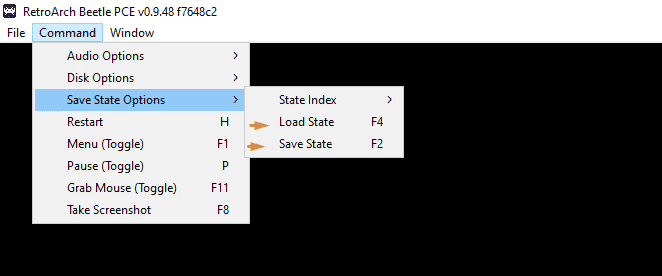
You can either save in-game or stick with the save state feature. Similar to the screenshot process, you have three options:
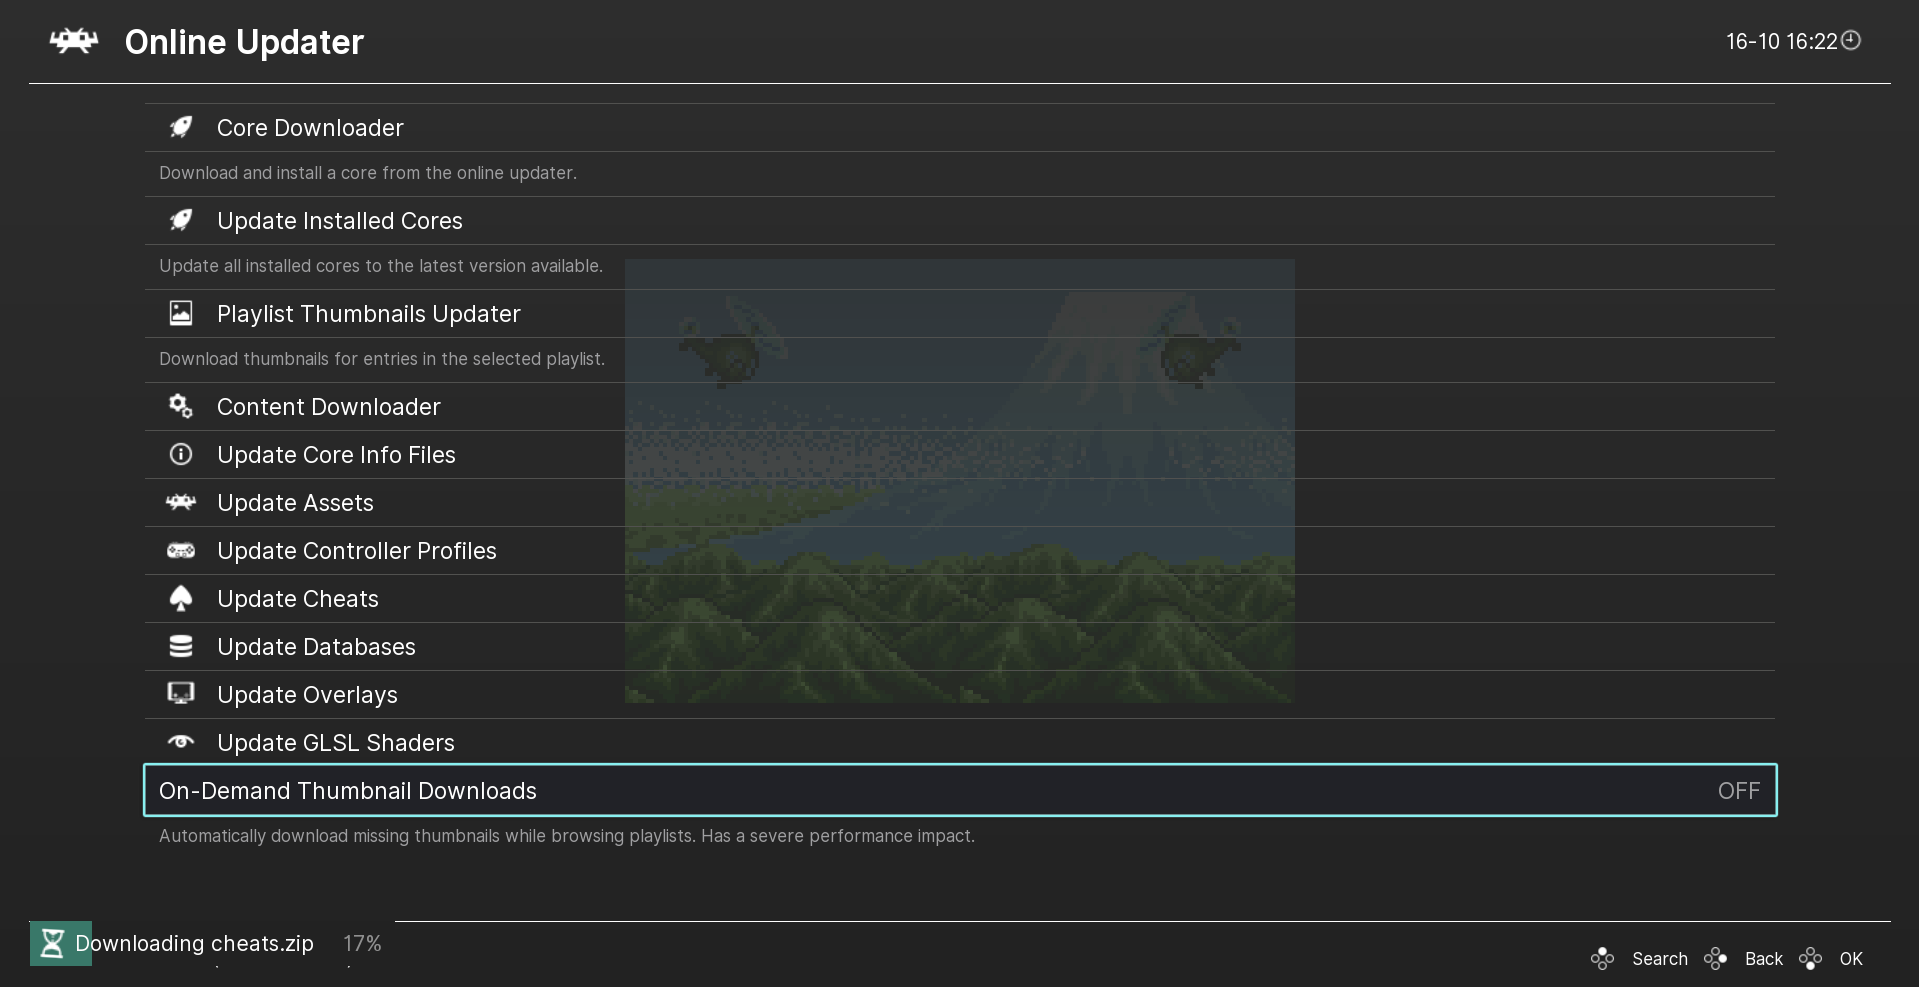
Make sure you have downloaded the cheats by going to Online Updater and select Update Cheats. Once you’ve done that, go to Cheats > Load Cheat File (Replace) from the Quick Menu. Upon doing that, you’ll arrive at a long list of games, search for the one you want, and click it.

Retroarch will take you back to the Quick Menu and that’s where the magic happens. You will see that the emulator has already loaded the cheat of your game, and all you have to do is enable it as shown below:

That’s how cheats work on Retroarch. It’s pretty simple, but in case if these cheats don’t work, you can add your own.
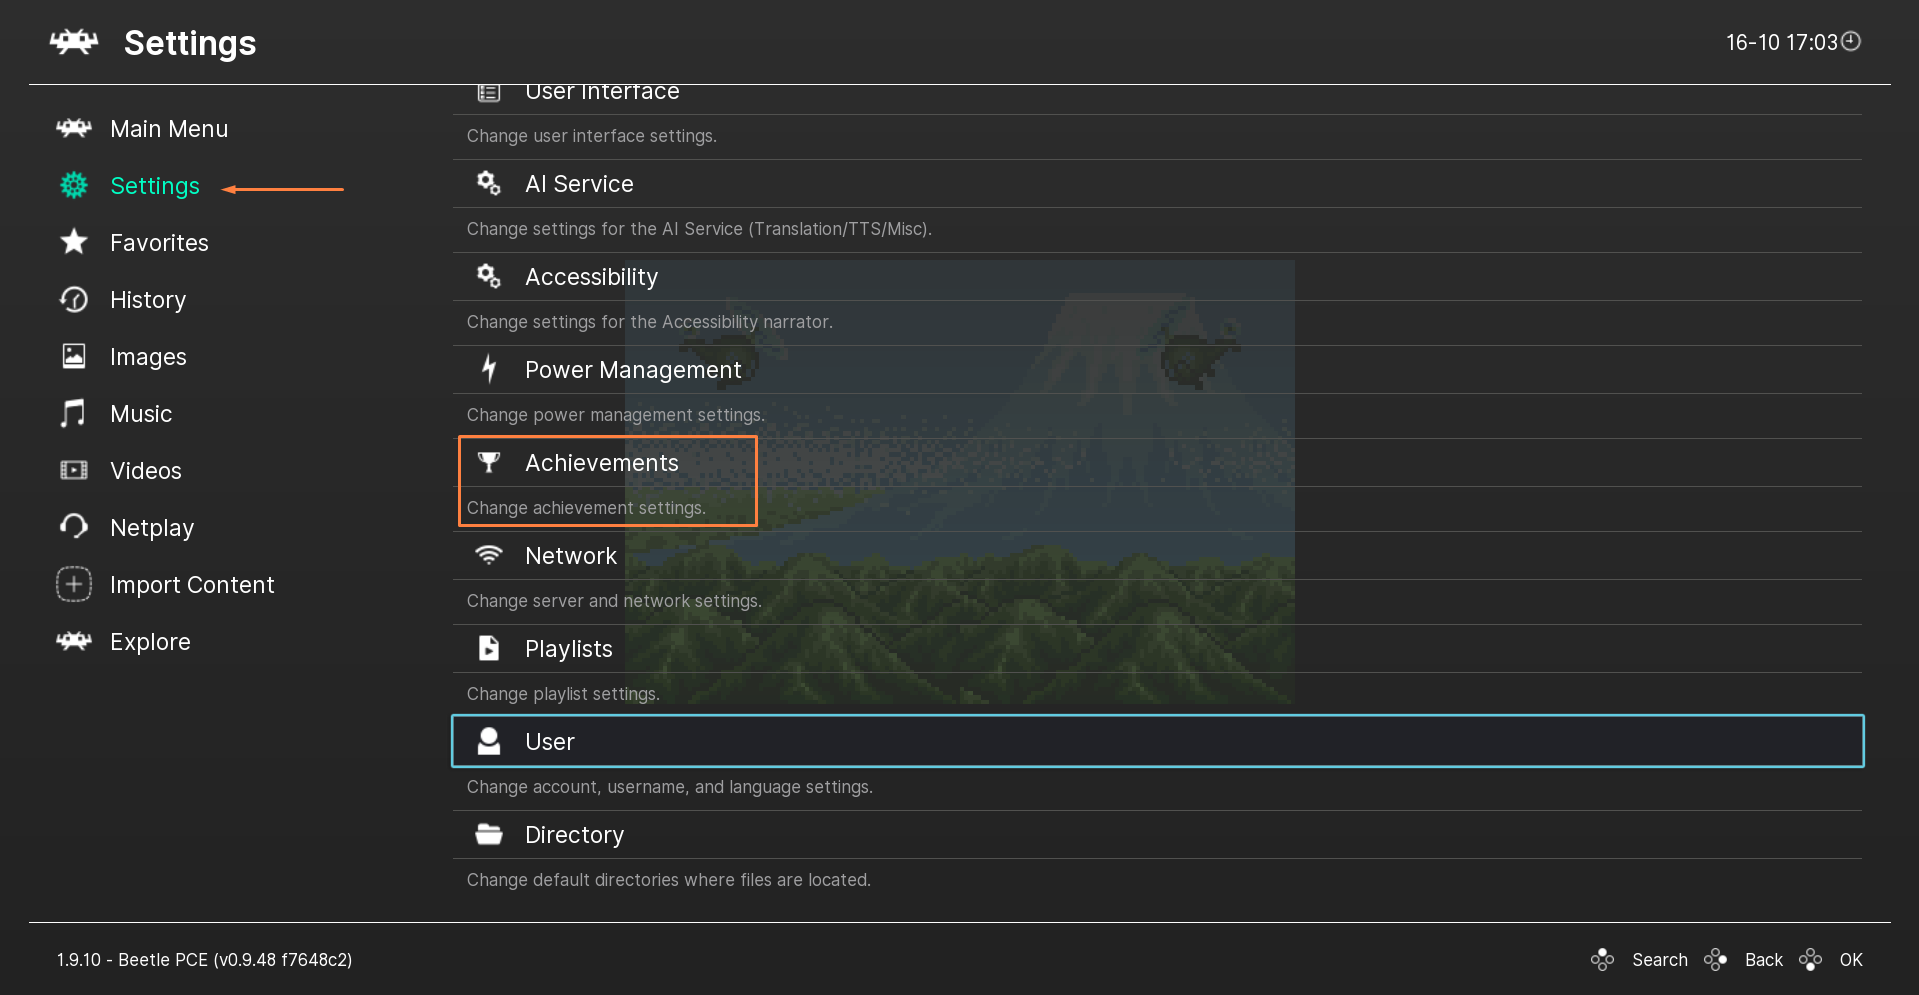
The first thing you want to do before enabling cheats in Retroarch is to go to the Retroachievement website and register an account there. Once you’ve done that and had your account set up, head to Settings >Achievements as shown above. You’ll see several options like the ones below you:
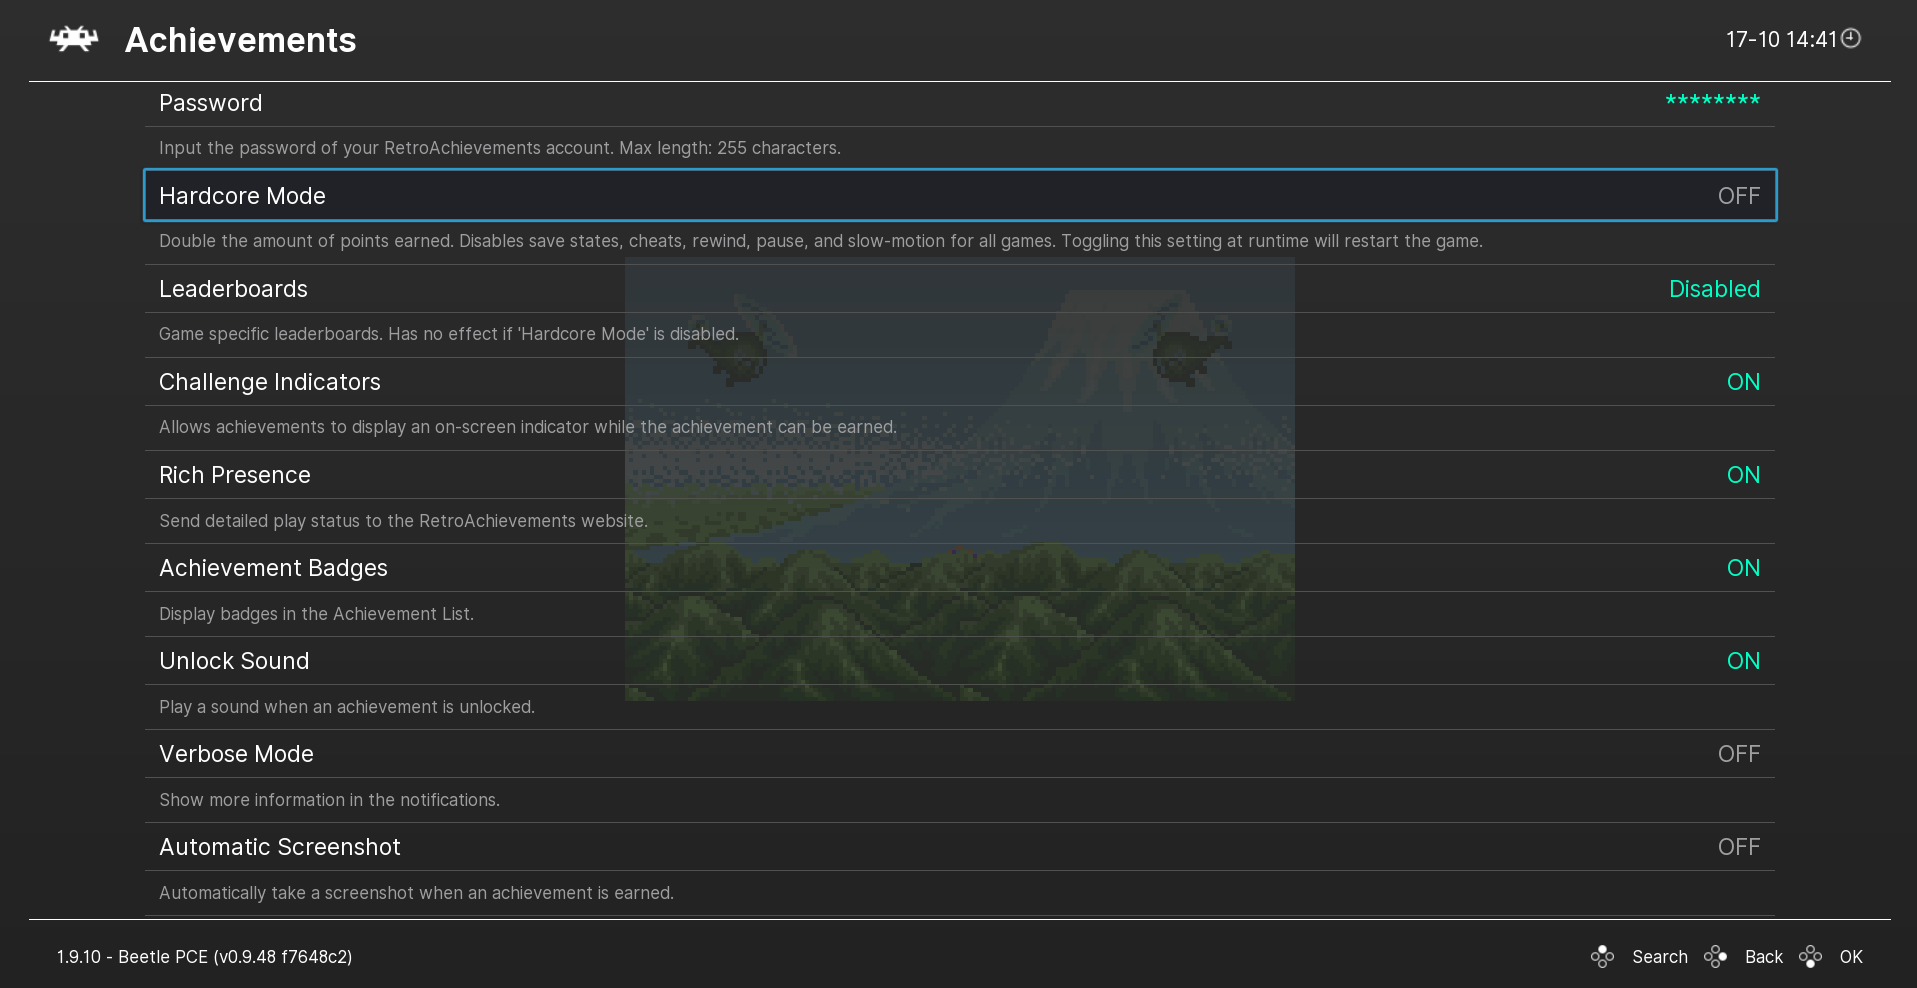
For instance, Hardcore Mode is for players who want to put their skills to the test. The option disables the rewind option, cheats, save states, and anything that would make the game easier for you. So, it’s definitely a feature you want to check out if the challenge is your cup of tea.
You can track all your achievements on the Retroachievement website. However, bear in mind that the service is not maintained by RetroArch or the libretro team.
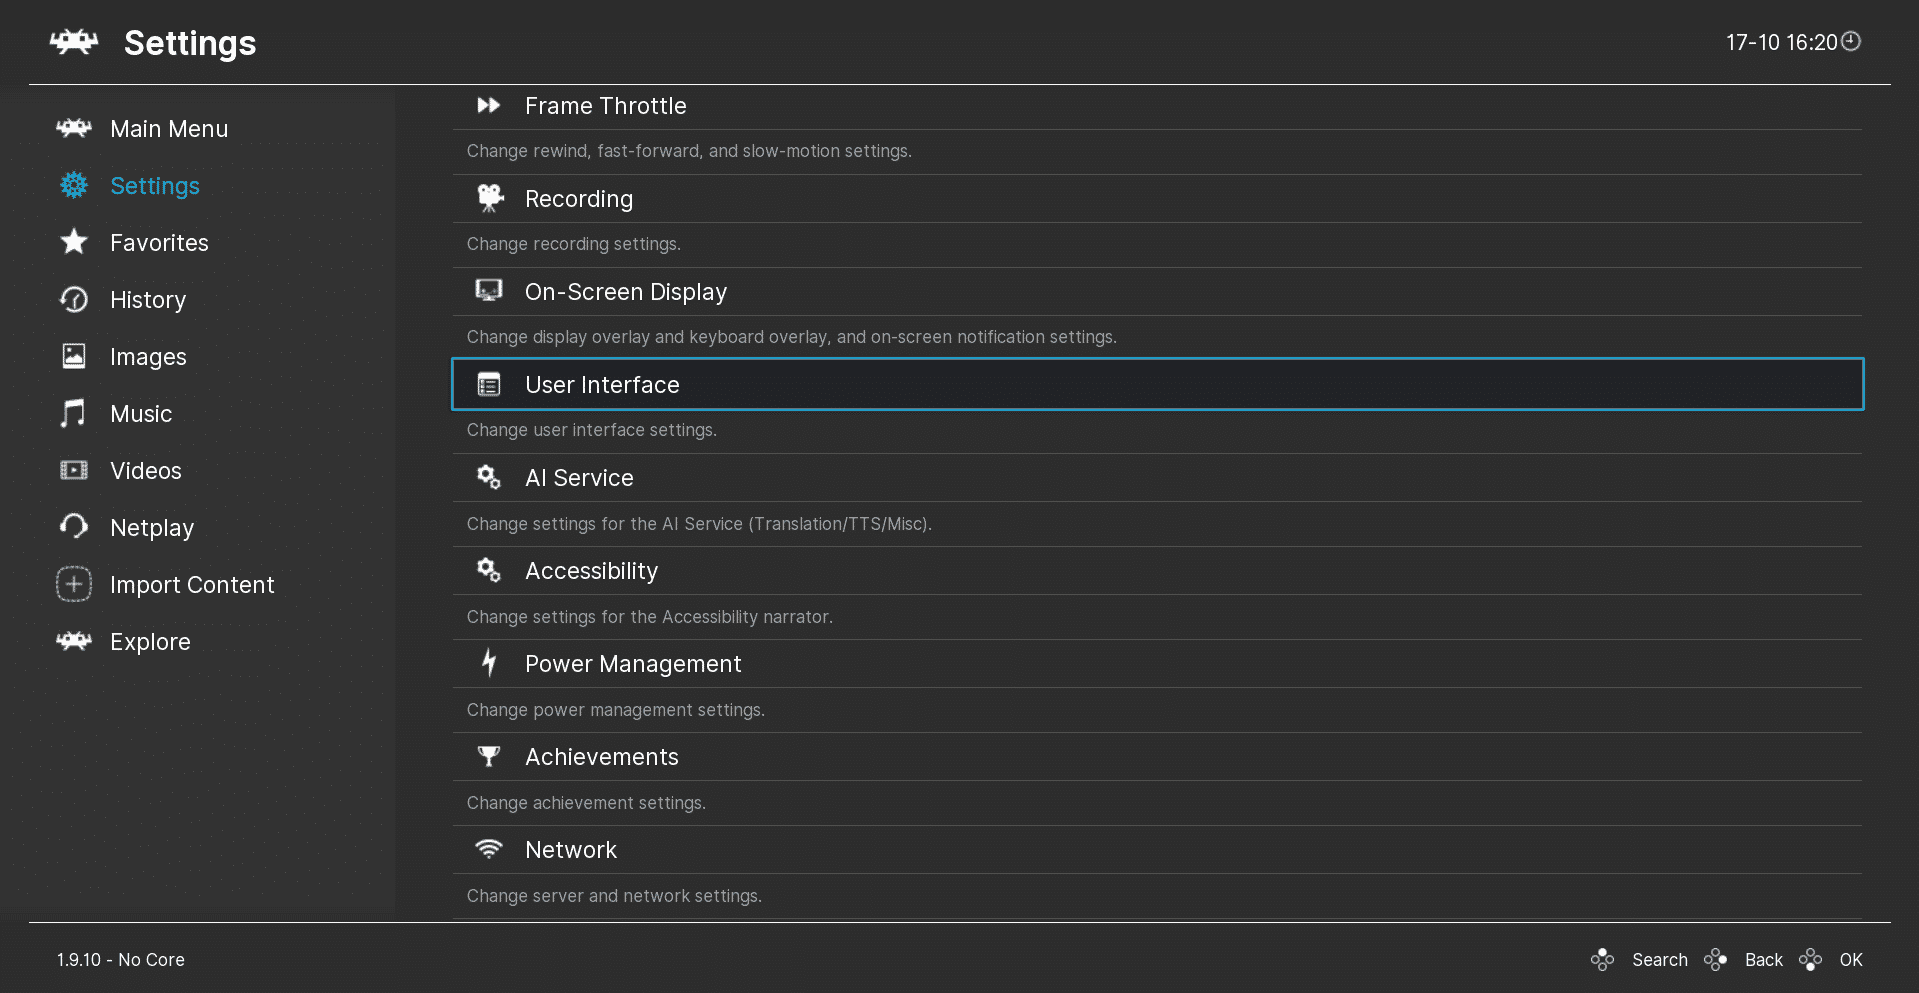
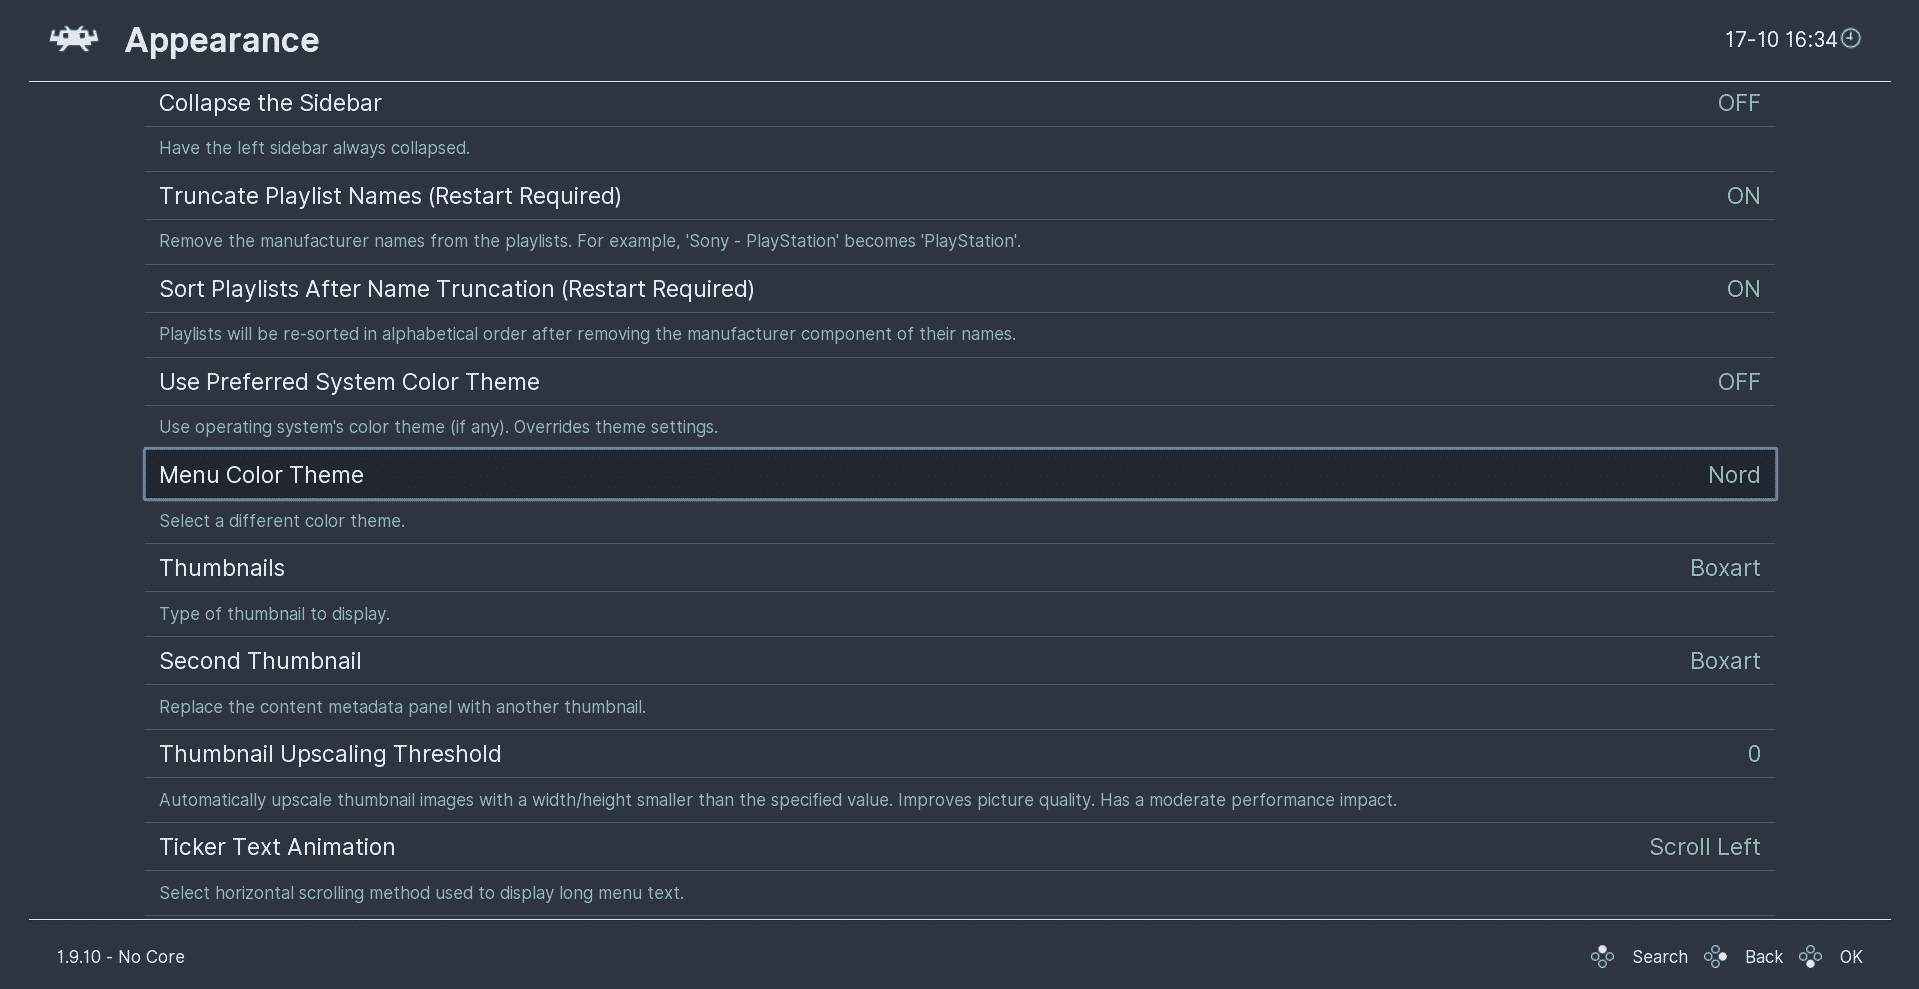
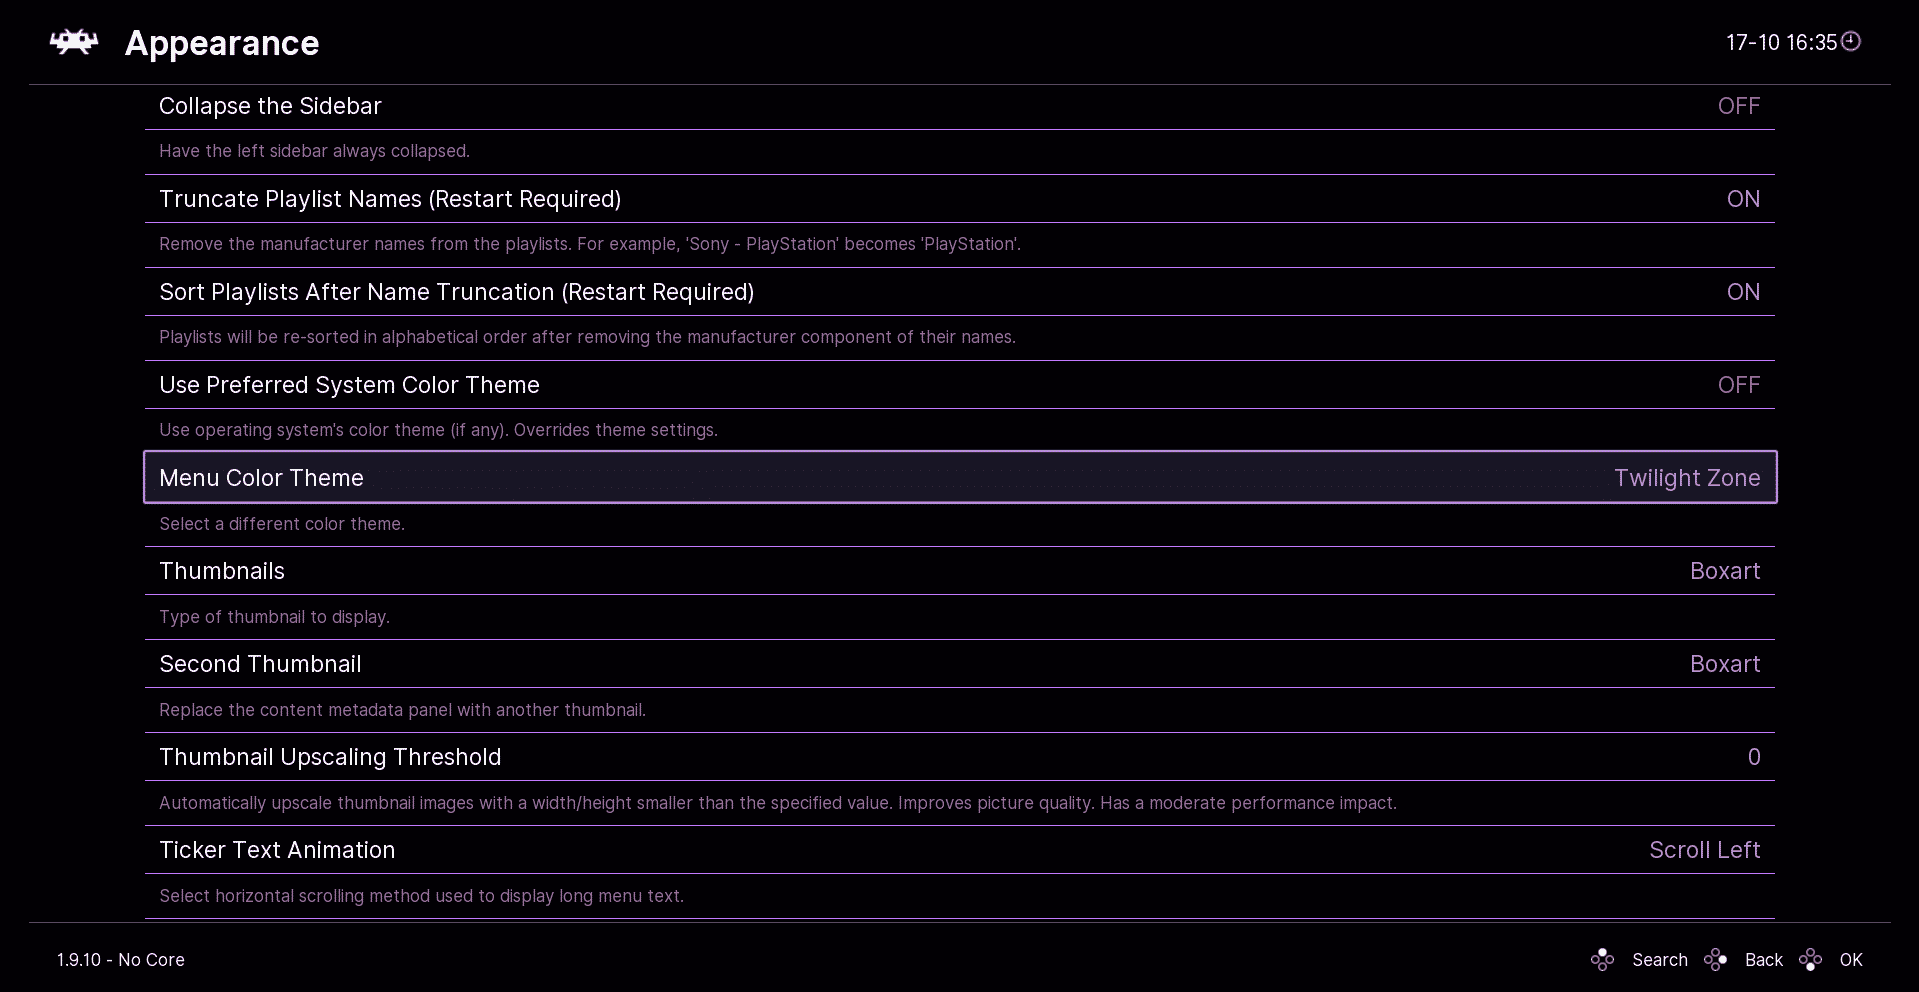
You can change Retroarch’s appearance to look different. But at the end of the day, it depends on how you want your program to look. Below, I’ll show three examples of what happens when you change the Menu Color Theme. To access it go to Settings >User Interface > Appearance > Menu Color Theme. Check below for the examples:

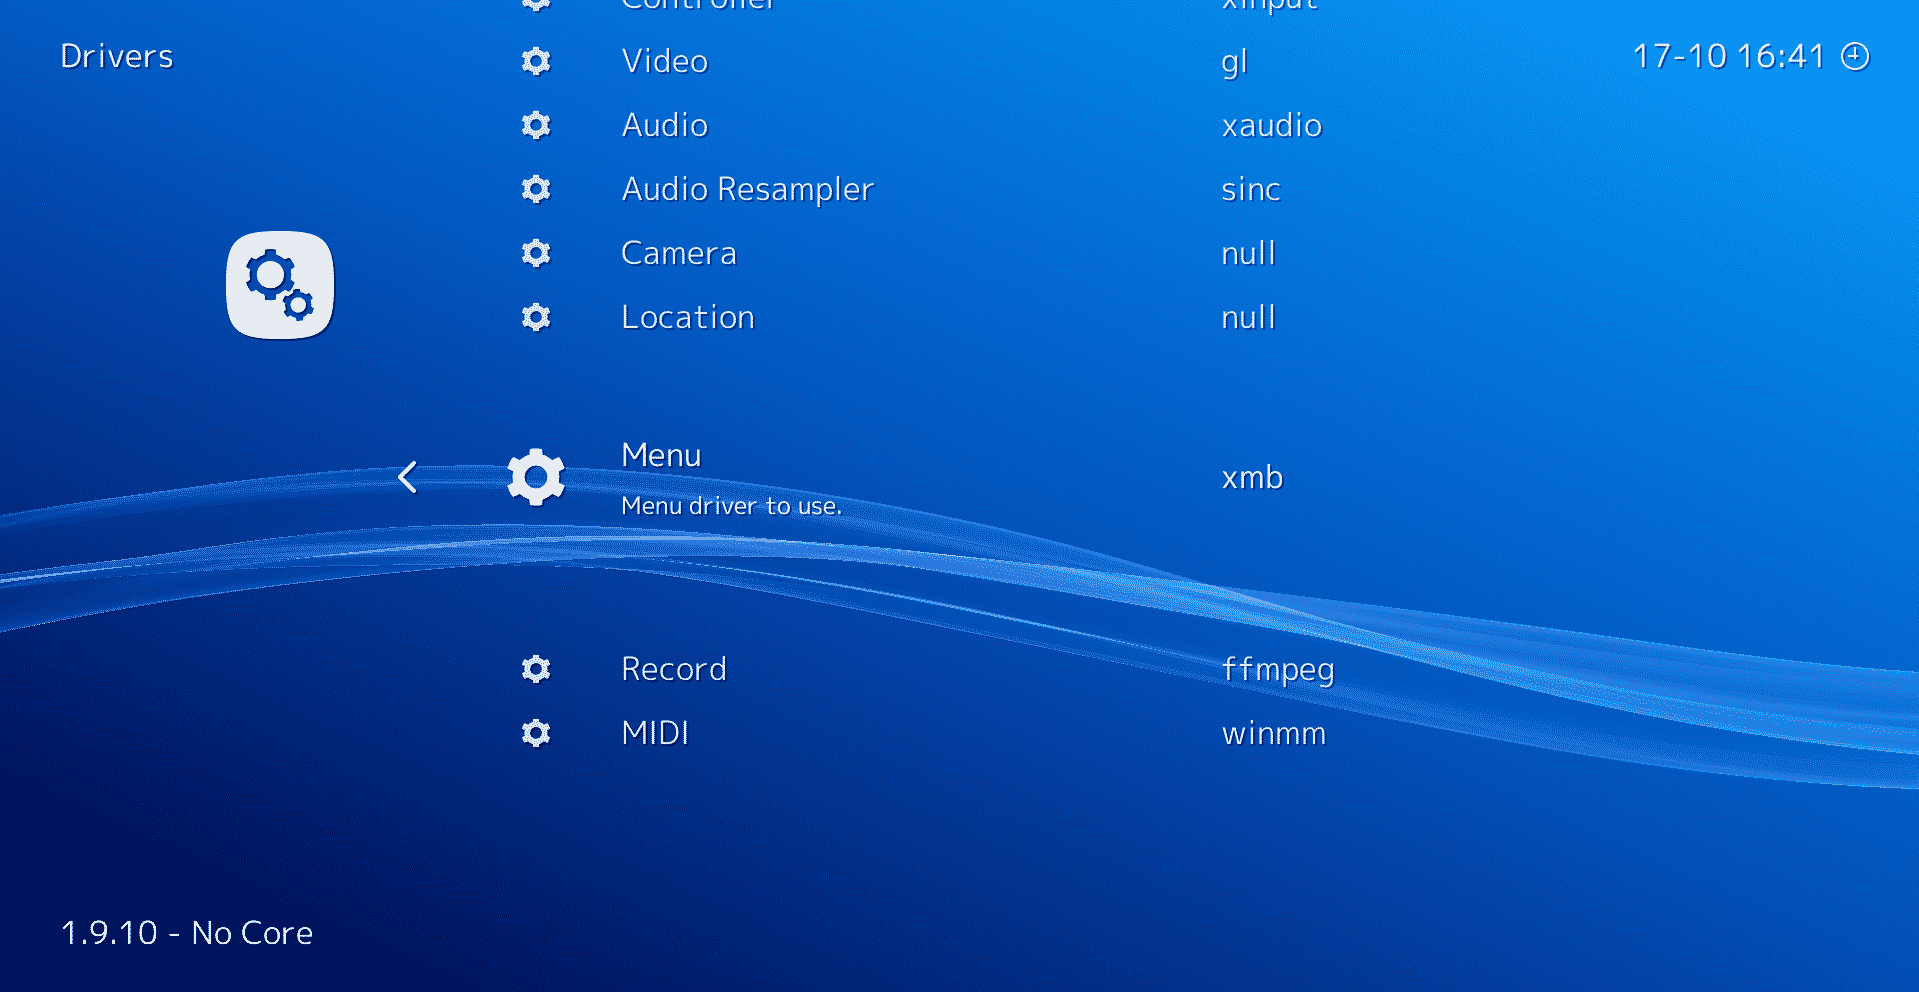
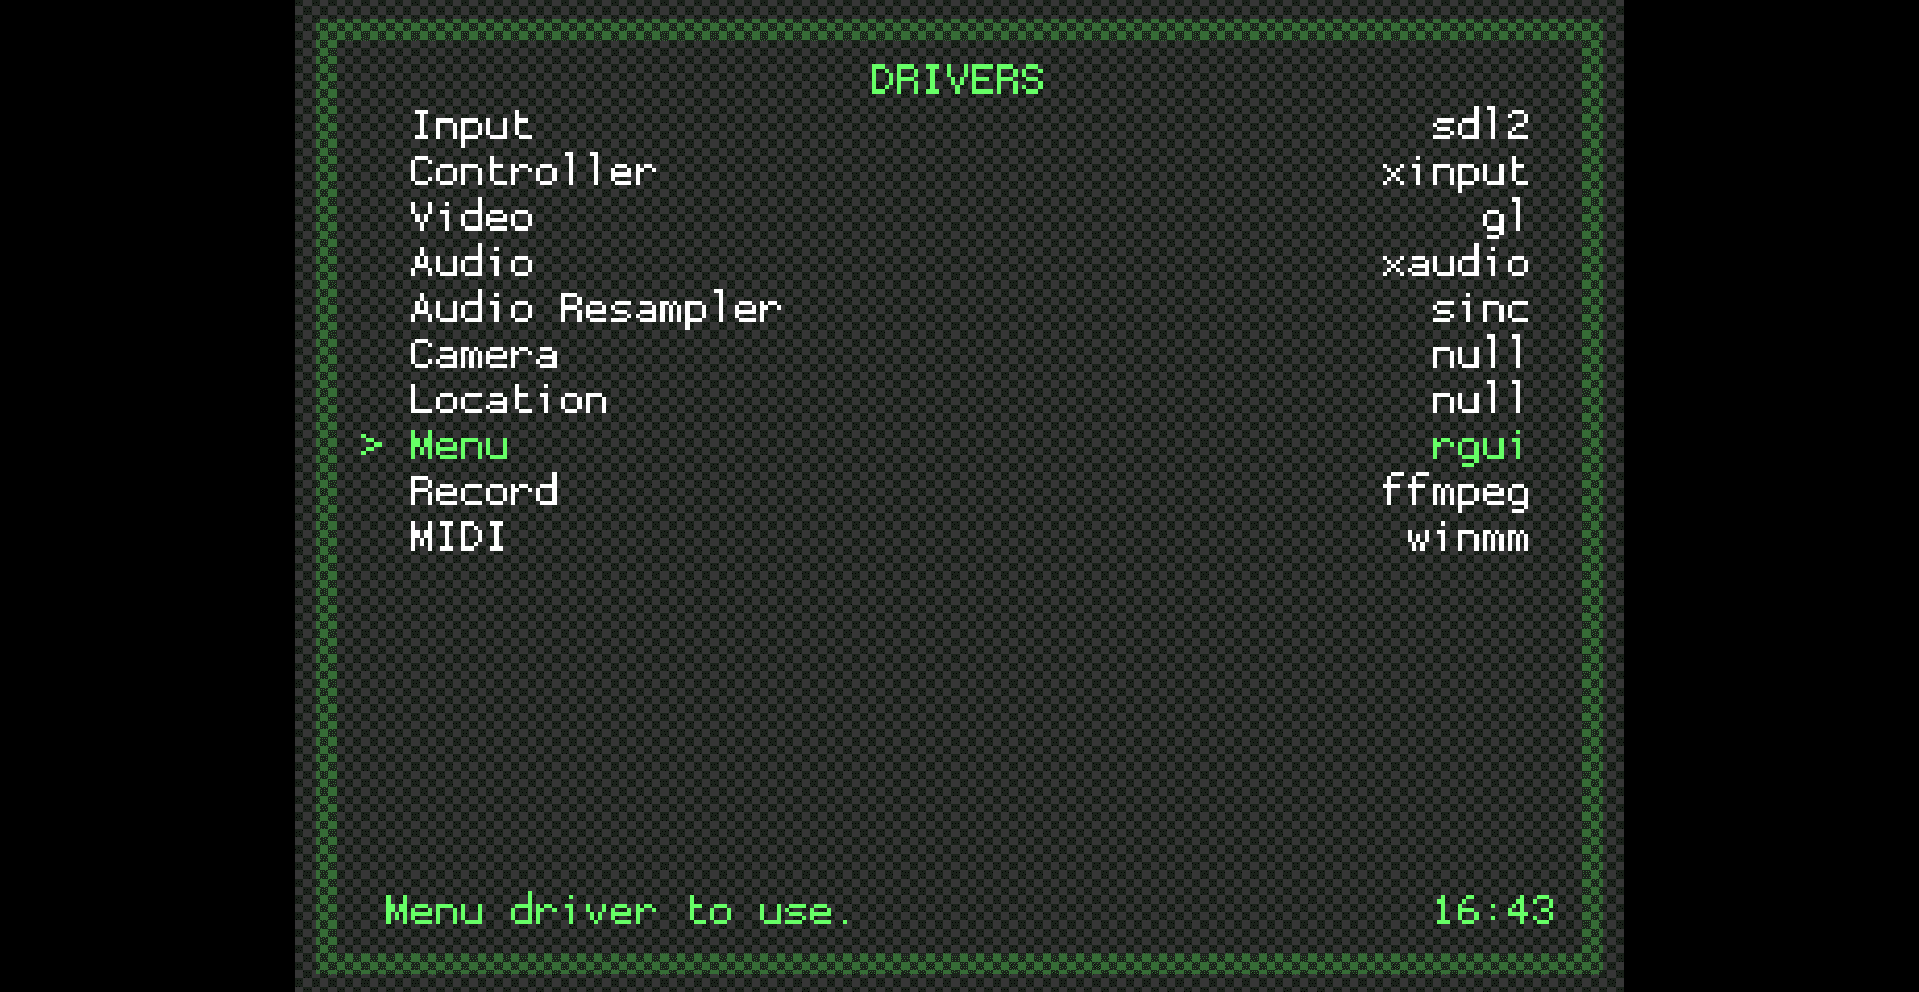
Now that we’re finished with changing only the Menu Color Theme. Let’s try changing the whole appearance of Retroarch. To access this feature, head over Settings >User Interface > Menu. Let’s try to change the interface to something that matches the PlayStation 3 atmosphere.
An interface that matches PS3 and PSP. Definitely recommended for die-hard PlayStation fans.
An interface that matches Game Boy/ Game Boy Color. Definitely recommended for die-hard Game Boy fans.
For those who enjoy playing Retroarch on their phone.


With Retroarch, you can experience multiplayer games where you challenge others in Mario Kart or team up together to bash thugs in Streets of Rage. All of this is done through a click on the button. Not only that, but you can also watch others play using spectator mode by joining a lobby. This section will help you discover how to enable Netplay in your emulator. Bear in mind that the emulator relies on peer-to-peer networking to reduce network latency.
Before I dive deep into this section, you should know these things:
Joining a lobby is easy. Go to Netplay> Refresh Netplay Host List. However, remember that you should have a stable internet connection a router that supports UPnP port Forwarding. Plus, you will have to have the same ROM as your partner and the same emulator.
To host your own netplay session, go to Netplay > Host > Start Netplay Host. You can make your lobby public or private, the choice is yours at the end of the day. You can also protect your server from unwanted visitors by adding a password.
That’s it for the guide. Thank you for reading. I hope that this guide will help you use Retroarch.
|
|
FreeckyCake
I'm just your average gamer who enjoys hunting hidden gems and underrated games. My love for Onimusha: Dawn of Dreams is like a truck and I recommend that you play it.
|
Leave a Reply