The Wii U was Nintendo’s successor to one of the best consoles, the Wii, and Nintendo Switch’s predecessor. Despite being a commercial flop, its rich library of games is something that is hard to ignore. From Bayonetta 2, and The Legend of Zelda: Breath of the Wild to other hidden gems like Legend of Kay, there is definitely a huge number of titles to experience on the Wii U.
Despite being discontinued back in 2017, Cemu exists to help preserve these games from perishing, and welcome newcomers to the Wii U. Today’s guide will help you learn how Cemu works, and how you can play games on it.
In this guide, we will be diving into how you can play any Wii U game using the Cemu Emulator. It’s simple to work with and doesn’t require much thinking. We’re here to even make it simpler for you.
Notice: I try to constantly update each emulator guide to be as accurate, helpful and fun to read as possible. Thank you.

Cemu is a closed source Wii U emulator that was initially released back on October 13, 2015, for Windows. This particular emulator is capable of running a myriad of titles from the Wii U’s library of games. Typically, the emulator is updated once every two or three weeks to ensure performance boost, new features, and so much more.
Cemu is completely safe to use and you shouldn’t worry about using it. It’s constantly updated and is also active to this very day.
Cemu can be downloaded from the official website. Head over to Download the latest version down below, and click it. The download will start immediately afterwards. Bear in mind that what you’re downloading is a Zip file and you’ll have to extract it eventually.
Cemu can be a demanding emulator, especially when emulating intense titles on the platform. Some games on the Wii U are pretty demanding to run, such as The Legend of Zelda: Breath of the Wild and Bayonetta 2. So ideally, the minimum requirements should be the following:
Specifications:
OS: Windows 10 64bit.
CPU: Intel Core i5 3470 3.2GHz / AMD FX-8350 4GHz. CPUs with higher cores and threads are always prefered.
GPU: Nvidia GTX 750Ti / AMD Radeon R7 265 or above
RAM: 8GB RAM (more is always better)
Note that these requirements may vary when emulating a graphically demanding game like Bayonetta 2 or The Legend of Zelda: Breath of The Wild. If you’re using low-end hardware, you may encounter slight hiccups every now and then. If you’re using a laptop which uses an iGPU you may run into issues as CEMU doesn’t support that.
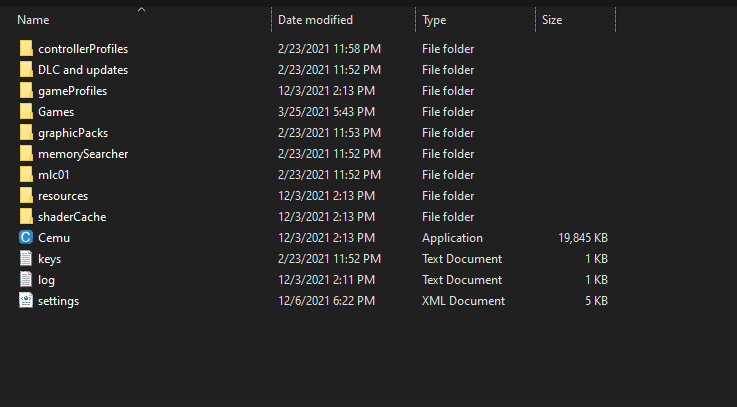
After you’ve downloaded Cemu, extract the 7-zip onto your desired folder. After that, create two folders. Name one ” DLC & Update “, and the other as ” Games ” so that it’s easy to access your stuff. I recommend having all your emulators anywhere except your C/or User folder.

Before you boot up Cemu, there are a couple of options that one must enable first. They’re not necessary for every Windows user, but the Cemu community recommends these enabling these to avoid encountering any issue. Follow the steps below:
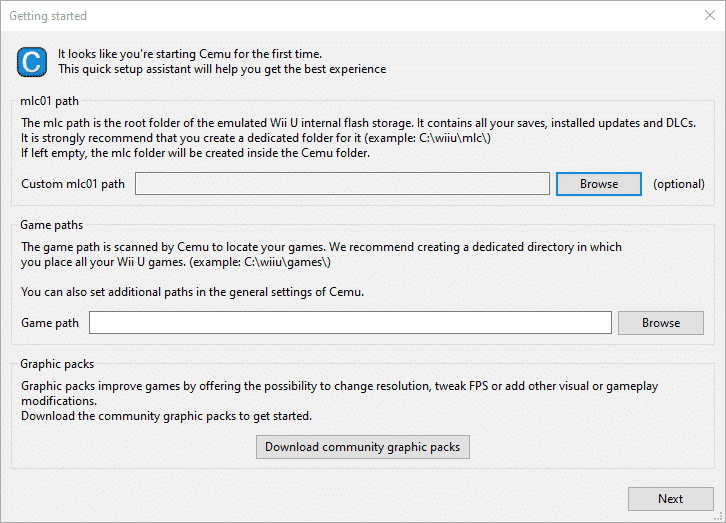
The first time you boot up Cemu, you’ll be prompted with a small quickstart screen. The process is easy and quick. First, click on Browse, go to where your mlc01 folder is located and select it. Mlc01 is basically what stores the emulated Wii U internal memory, including:
It also acts as a storage drive that Cemu must have access to all the time. Do not delete this folder as you’ll risk all your progress and crucial data. Although the folder will be reset, your data will be gone forever. Next, go to your Game Path and browse where you’ve put your games. If you don’t have any games yet, skip this process for now. Finally, click on Download community graphic packs. Basically, these graphic packs allow the user to make the game visually different from the Wii u. The feature includes the following:
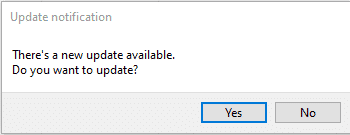
This option will be visible on almost every game you boot on Cemu. I will show to apply these features later on in this guide. With that being said, you’re almost done, all you have to do is skip configuring your controller and just enable “Automatically check for updates” so that Cemu is always up to date. When a new update is up and ready for download, you’ll see a small screen like this:
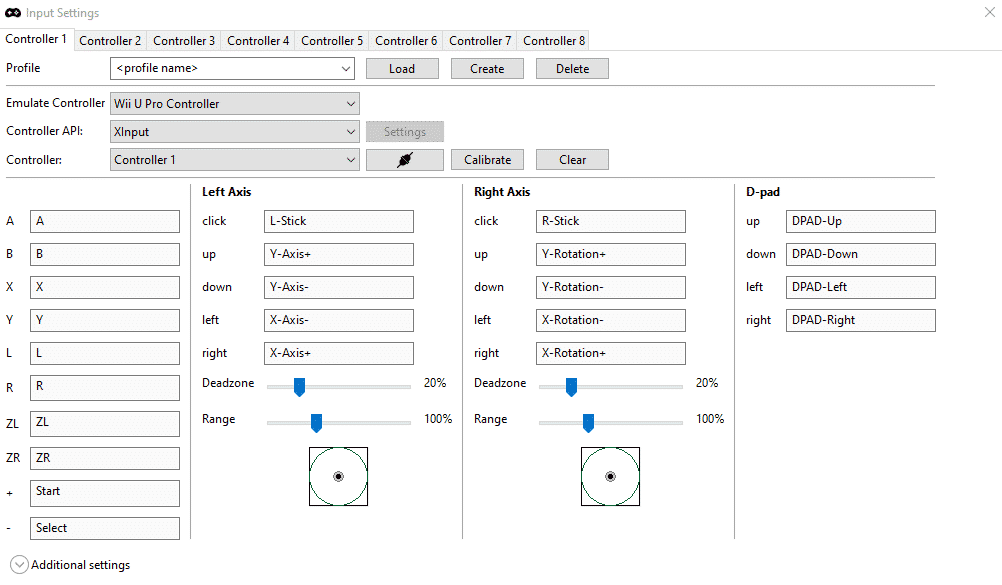
If you’ve never owned a Wii or Wii U console, this section may prove to be confusing to you. You don’t need to worry because I’ll be explaining in-depth each option you’re going to pick. For starters, Cemu is capable of emulating up to 4 controllers: A Wii U Gamepad, Wii U Pro Gamepad, Wii U Classic Pro Controller and a Wii Mote. To configure your controller in Cemu: Run Cemu ☛ Options ☛ Input Settings.
Pick a controller type as shown above and choose your controller API. I picked Xinput as I use an Xbox controller. And don’t forget to also click on Controller so that it’s marked as Controller 1. Start mapping your inputs to your own desire. Once you’re done, don’t forget to name your profile, and hit Create. That way, your inputs will be saved.
On the Cemu Emulator, there are four types of controllers to pick up from. This section will tackle them.
Wii U Gamepad
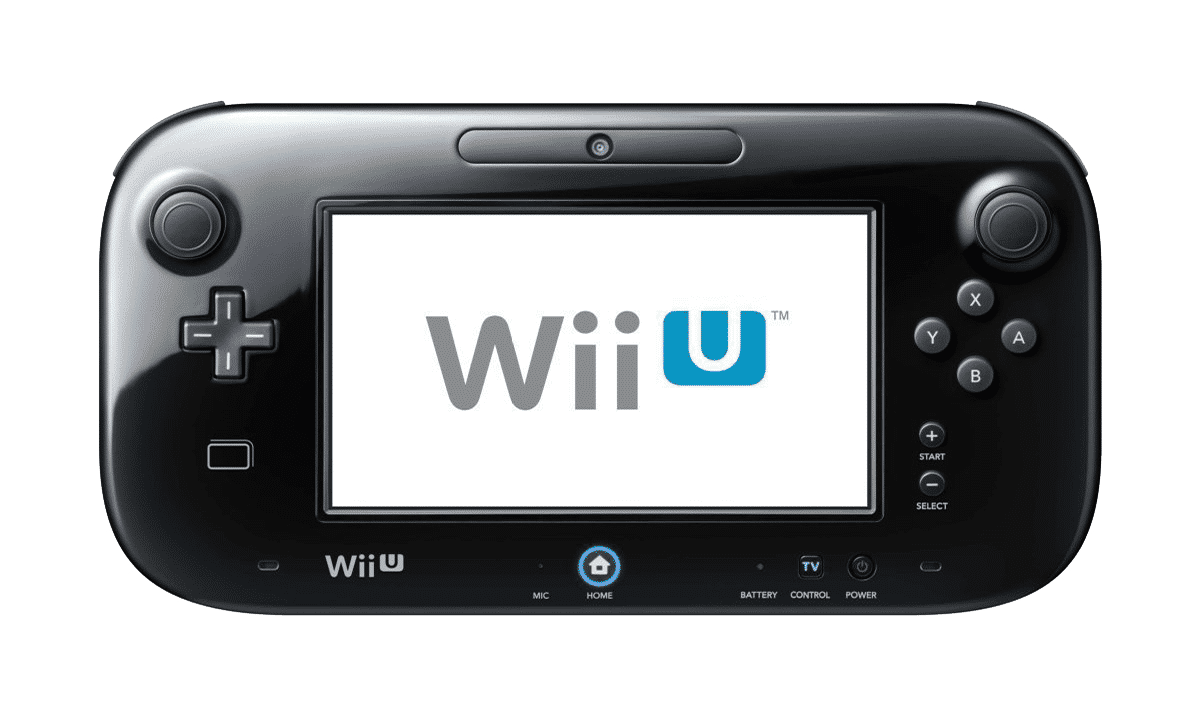
This is the standard Wii U controller. Similar to the Nintendo Switch, it has motion controls and a touch screen that supplement a game by providing alternate, second-screen functionality The screen can also be used to play a game strictly on the GamePad screen. So, if you’re using a controller like say Xbox One controller, your controller won’t emulate this option perfectly.
Wii U Pro Controller
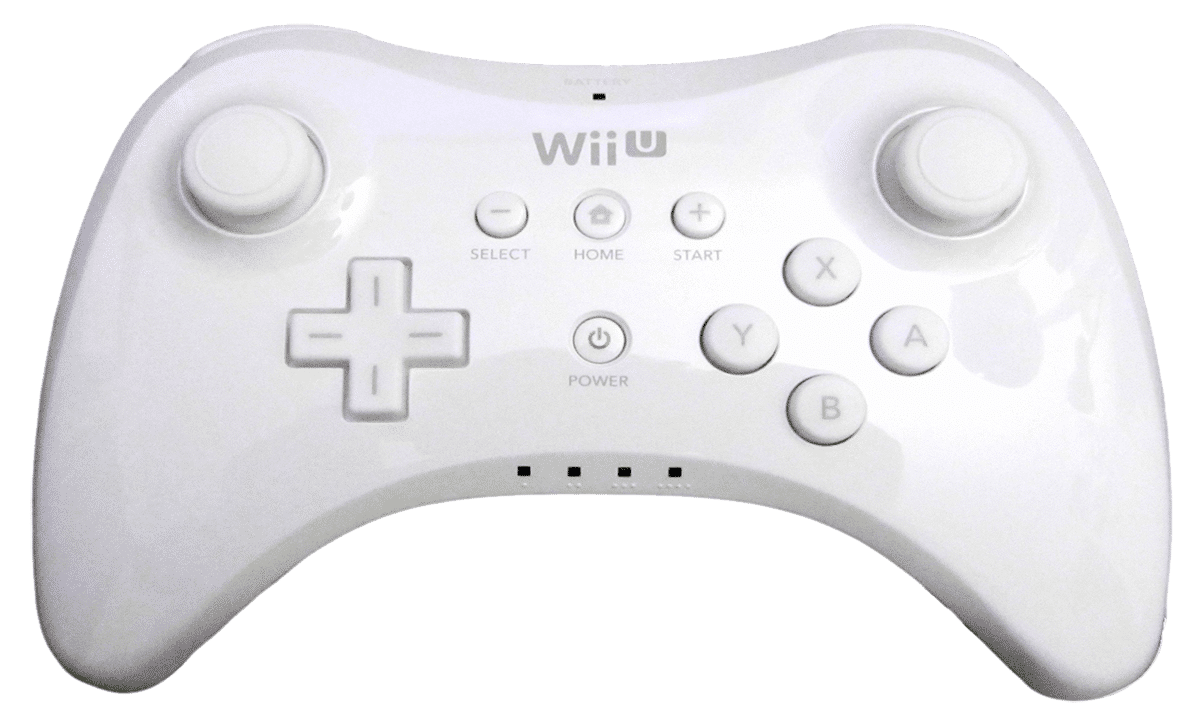
An enhanced version of the Wii classic controller that is best suited for hack and slash titles and platformers. If you’re using an Xbox One Controller, this option is best suited for you. The same goes for Dualshock 4 or DS5 users.
Wii U Classic Pro Controller
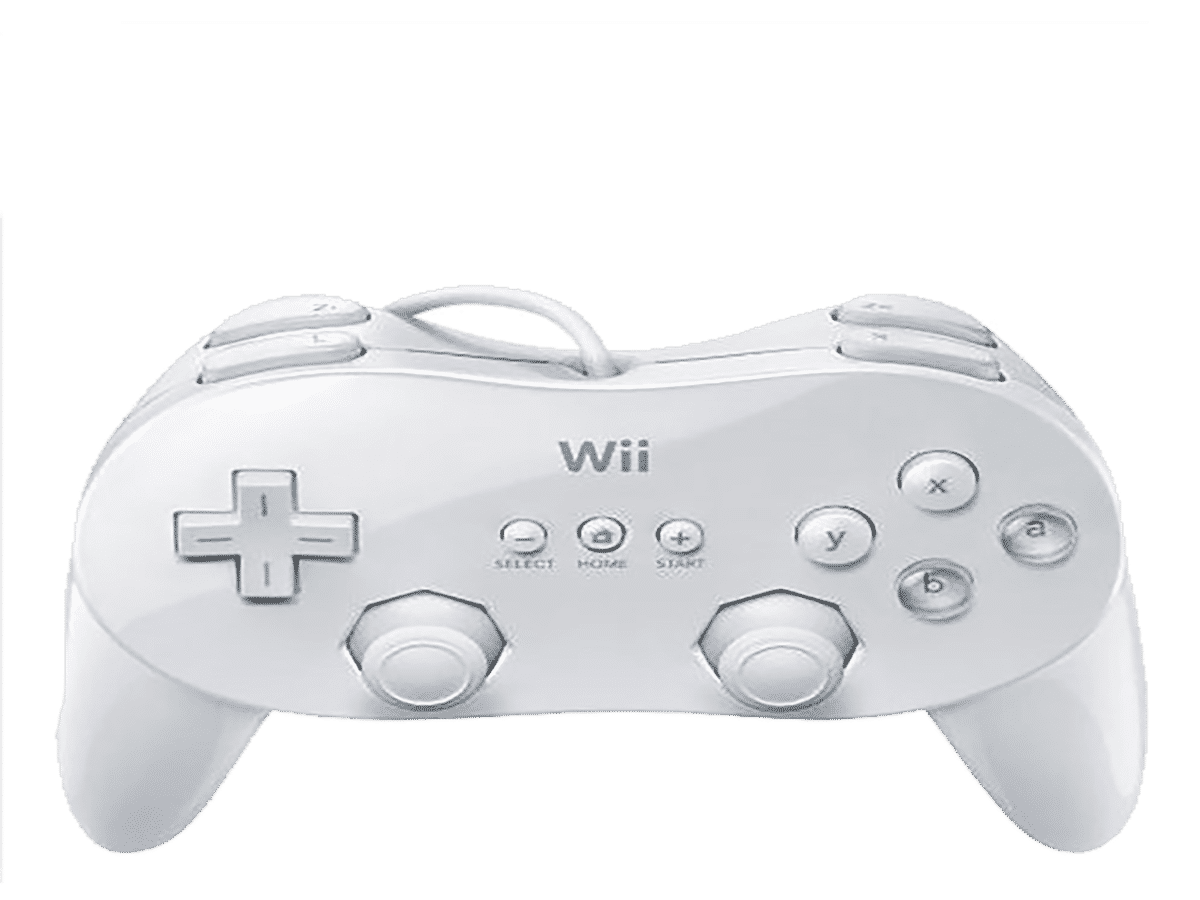
I haven’t used this option myself, but from what I gathered online it seems that this controller can’t be used on Wii U unless the Wii U games specifically support it through the Wii Remote.
Wii Remote
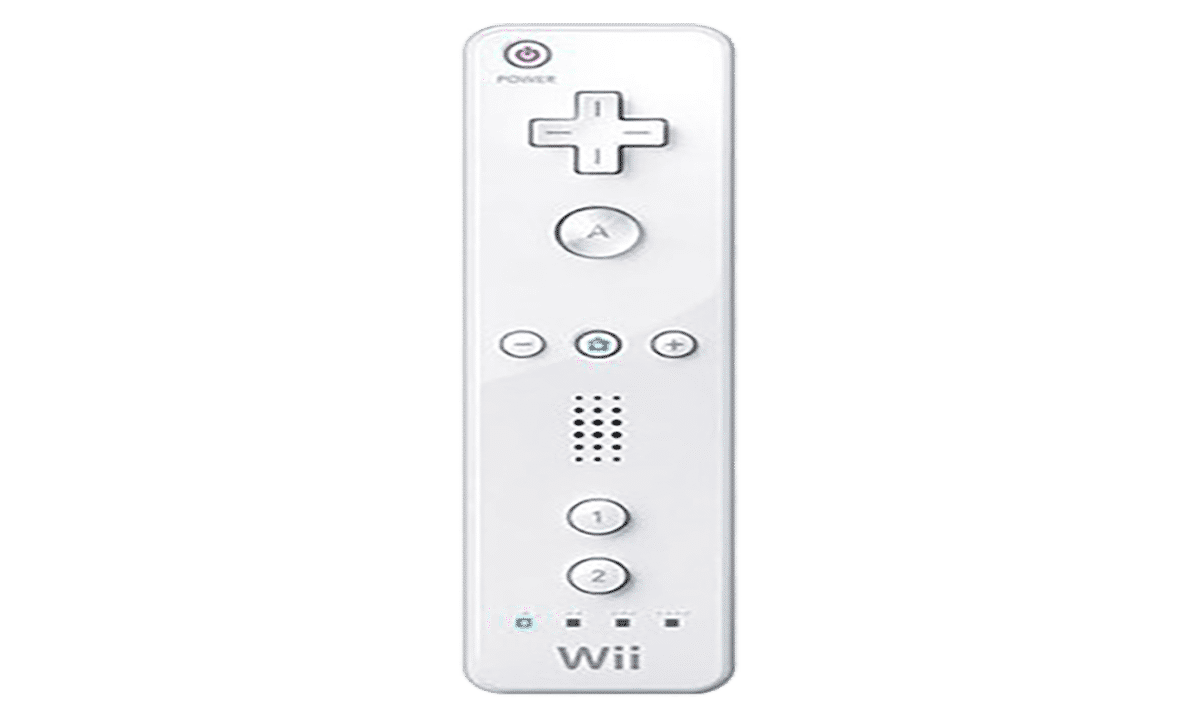
Plenty of Wii U games supports the Wii remote. The Wii remote provides a different experience compared to a regular Wii U Gamepad or Pro Controller. Pick this option if you have a Wii remote at home, but if you don’t, it’s not necessary to pick this option.
On the Cemu emulator, there are 7 types of API to pick up from. For someone who is new to emulation, these options will prove to be confusing in the beginning. That is why this section will tackle them all:
SDL:
This is Cemu’s native support for DS4, DS5, Switch Pro Controller, Joy-Con controllers. If you have the following Gamepads, pick up this option. In brief, this option adds native support for motion controls when using the mentioned controller. In the past, users had to use a third-party program called DS4Windows in order to make their DS4 controller work on Cemu, now this is not needed with SDL.
Xinput:
Emulates your Xbox 360/One/Series X or S controller. A suitable choice for those who own an Xbox controller or a Logitech Gamepad.
DirectInput:
Emulates a generic controller. Try this in case your controller is not recognized using the Xinput option.
DSUClient:
According to what was explained to me on the Cemu subreddit, DSU Client is ” used to hook into a UDP server. It’s a bit like Cemuhook”. The community doesn’t recommend this as it’s kind of broken.
Wii Mote & Gamecube:
As I mentioned above, you can use your Wii remote to play Wii U games as long as the games support them. However, Cemu doesn’t have these limitations. Cemu also provides the ability to play your games using your Gamecube controller which is a great addition.
I’ll make it simple:
You’ll have to dump your Wii U games from your own console. There’s a guide you can follow from the main Cemu website which will teach you how the process is done. If interested, check the official website from here.
The process of booting up your game using CEMU is easy. However, unlike other emulators, Cemu requires installing these games along with their updates and DLCs. First, open your Cemu emulator ☛ File ☛ Install Game title, Update or DLC. Check below for the full process:
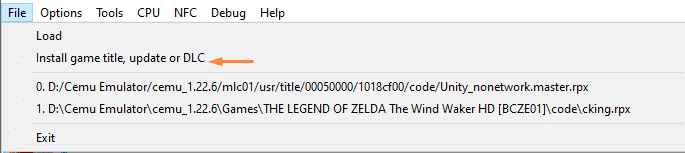
After you do this, a small window will pop up:
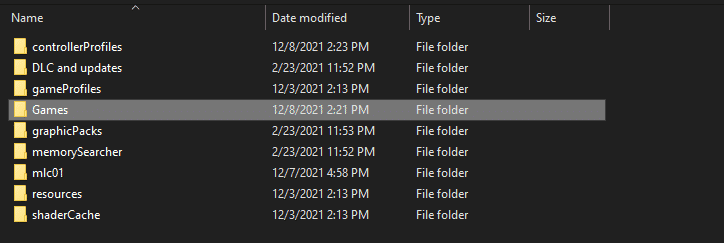
Navigate to where you have put your games and double-click on the folder. You should see your games now, but once you double-click on the folder you may see several folders like this:

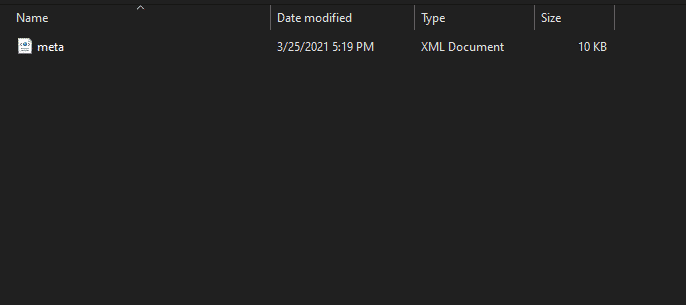
What you should do right now is go to the meta folder and double-click. A meta.xml file type will show up and that’s the one you want to pick up so that it’ll be installed on your Cemu emulator. It should look like this:
Bear in mind that you should repeat this process for each new game you want to install. Once you’re done, your game should pop up right in front of you on Cemu. You can double-click on your game icon and it will load, or go to File ☛ Load.

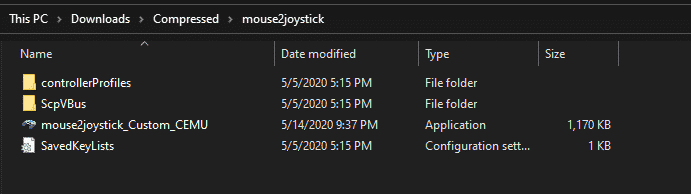
In case if you don’t like gaming with a controller, CEMU allows users to use their Keyboard & Mouse. You’ll need a couple of programs to make it work. The process is easy and should work for every user. First, go get the first program called Mouse2Joystick which can be obtained from Github. And the other is vJoy which can also be obtained from Github.
Once you’ve had these two downloaded on your computer, it’s time to extract Mouse2Joystick. I recommend extracting it in a familiar folder so that you’ll have easy access to it. For vJoy, that one needs to be installed on your computer.
Do not attempt to run the program yet as it requires vJoy to be installed as well. Once you’ve extracted mouse2Joystick, go on and install vJoy. Like I said earlier, extract or install those programs to folders that you’re familiar with. Once you install it, go to the Windows search bar ☛ type Configure vJoy ☛ double-click. A small window like this should pop up:
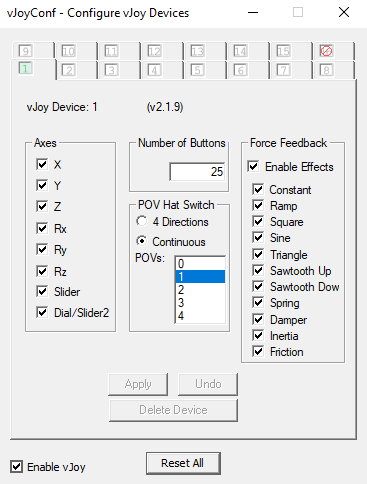
Copy the settings as shown above and hit Apply. Once you’ve done that, go back to the folder where you’ve previously installed Mouse2Joystick and double-click on controllerProfiles. You should see something like this:

You must pick VjoyDevice_GamePad in this situation. Copy and paste it on the controllerProfiles folder inside the Cemu folder this time. Next, go to Cemu ☛ Options ☛ Input Settings. Follow these steps:
Next, open up Mouse2Joystick. It should boot right now after you’ve installed vJoy.
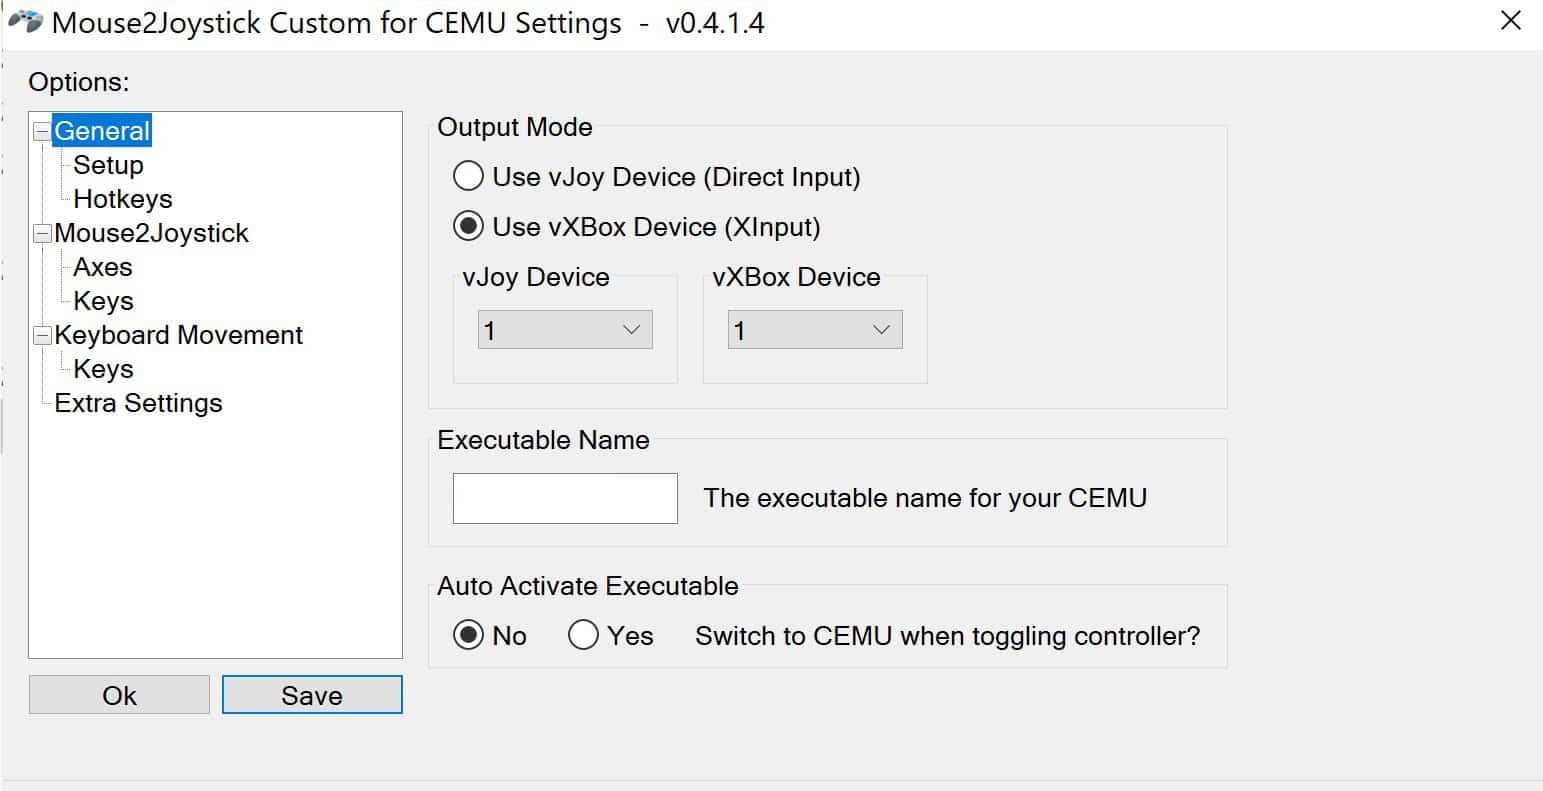
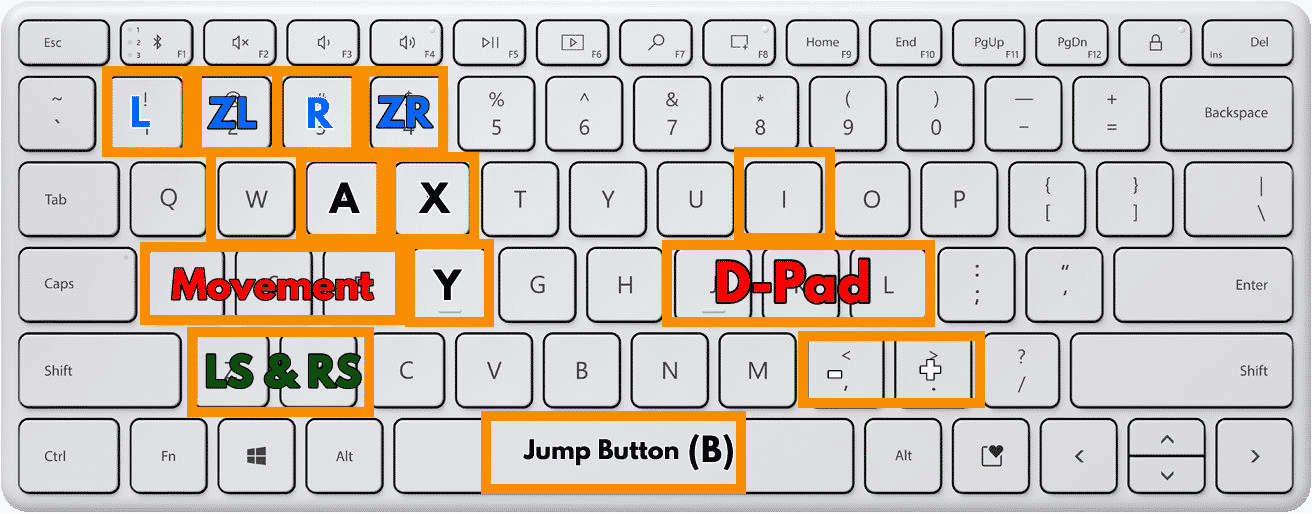
Name your executable to whatever you want and change your Output Mode to Use vJoy Device (Direct Input). Head straight to Keys just below Mouse2Joysticks, and hit Keylist Helper. The process of mapping your controls should be easy and doesn’t require an explanation from my end. I hope this section will help you. Don’t forget to press F1 to activate the script from Mouse2joystick, without it, your mouse won’t be recognized. Here are some keyboard mapping suggestions from me:

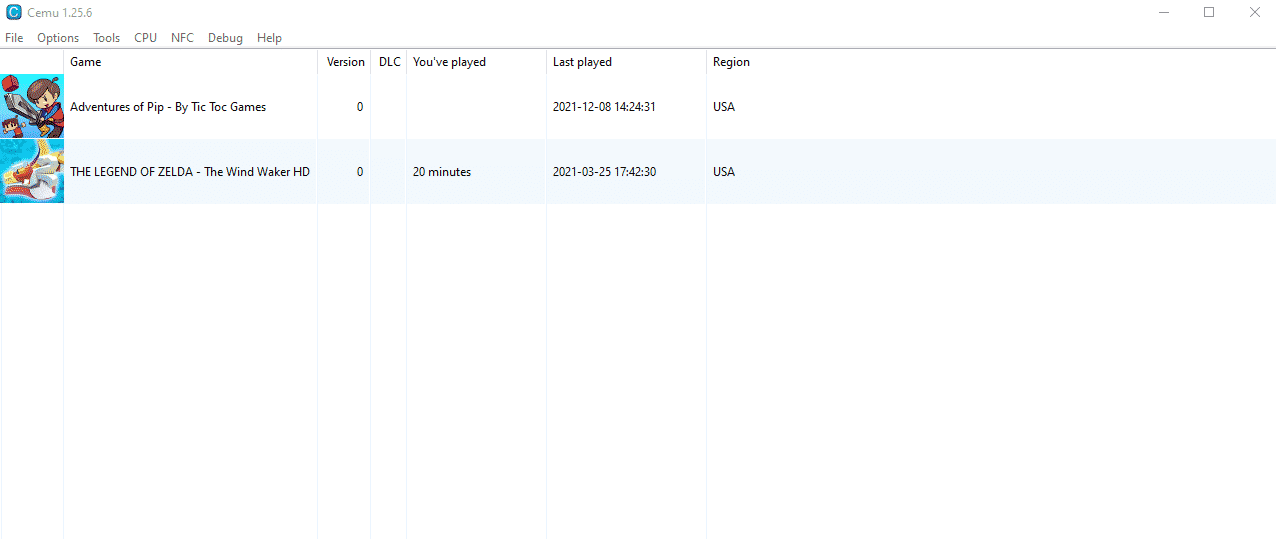
Booting up your games using Cemu is simple. All you have to do is double-click on the games you’ve installed and the game should boot up. Or, right-click on your installed game and hit “Start “. In case the game doesn’t boot up instantly, don’t panic. Usually, demanding games take a couple of seconds before something shows up on the screen.
Just a piece of advice, before you attempt to boot any game on CEMU, make sure to check the compatibility Cemu wiki page. Normally, popular games should run fine, but it’s just better to be informed of issues you’ll be facing beforehand.


Pretty much like every emulator out there, Cemu grants its users the ability to alter the game to how they see fit. This is done through downloading what is called ” Community Graphic Packs “. This feature can be accessed by going to Cemu ☛ Options ☛ Graphics Packs and downloading the latest community graphics packs.
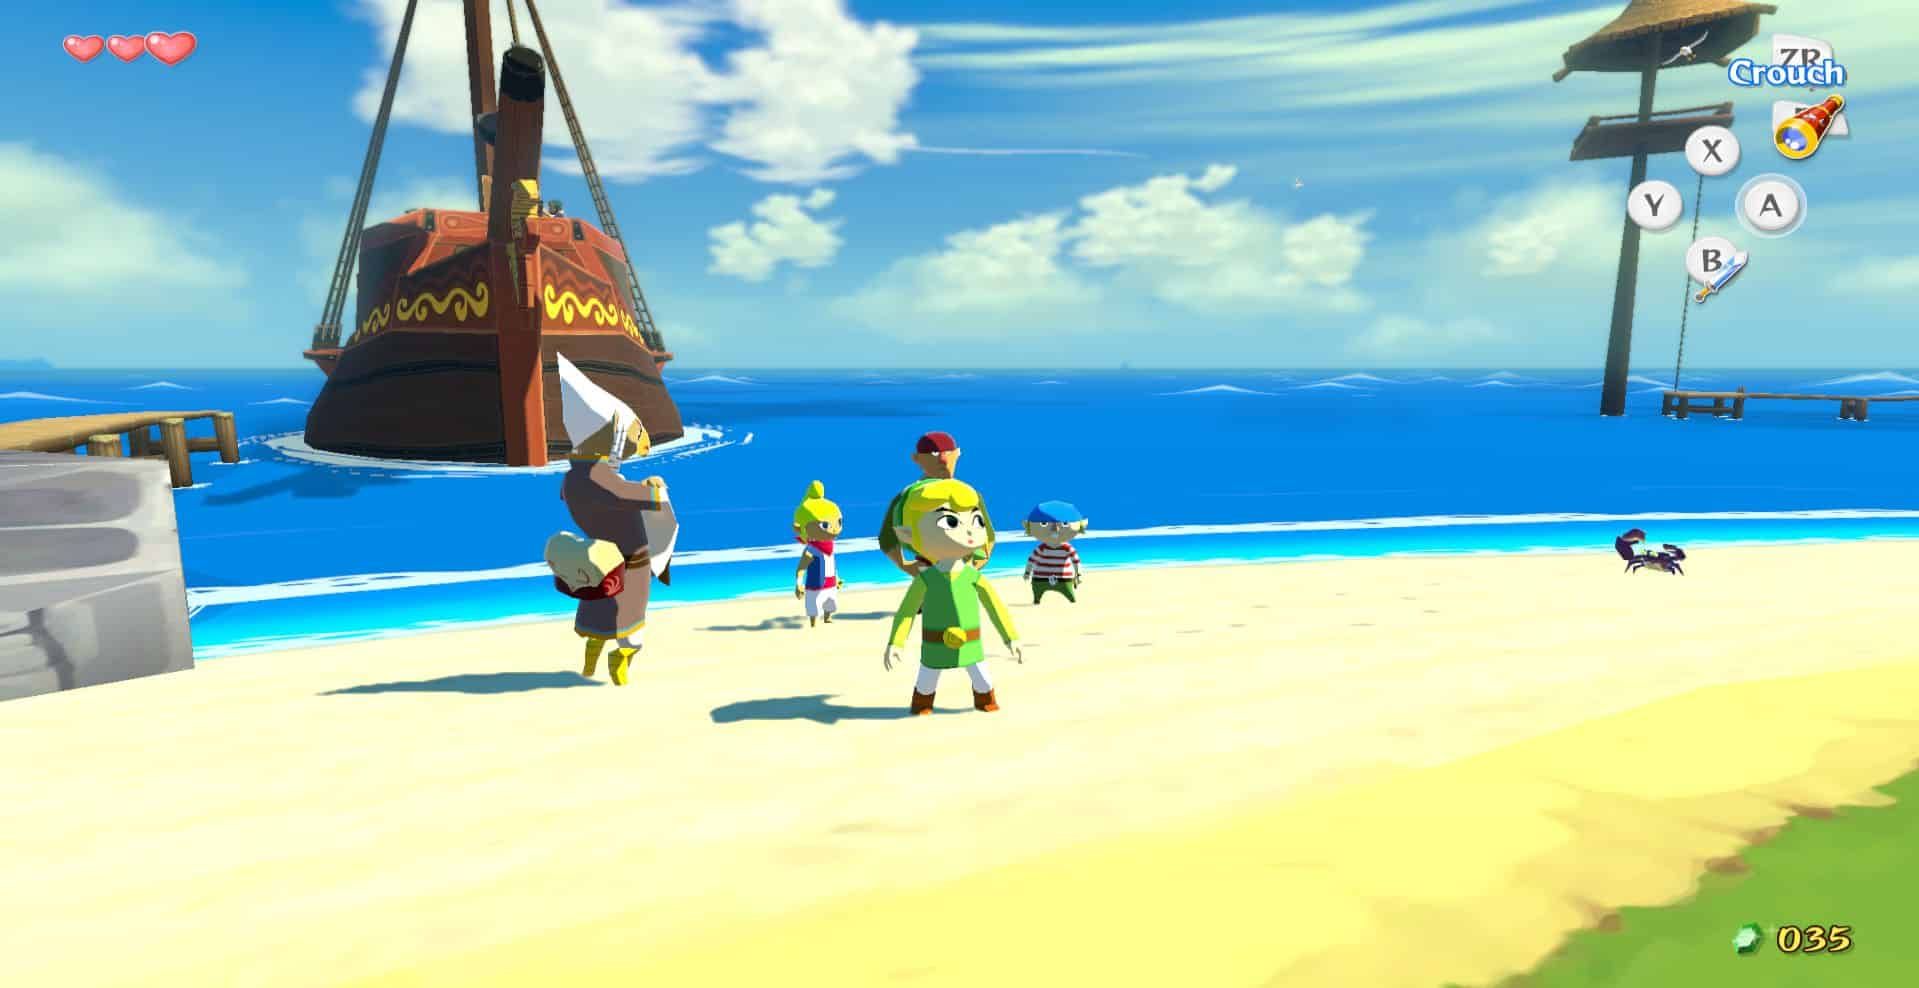
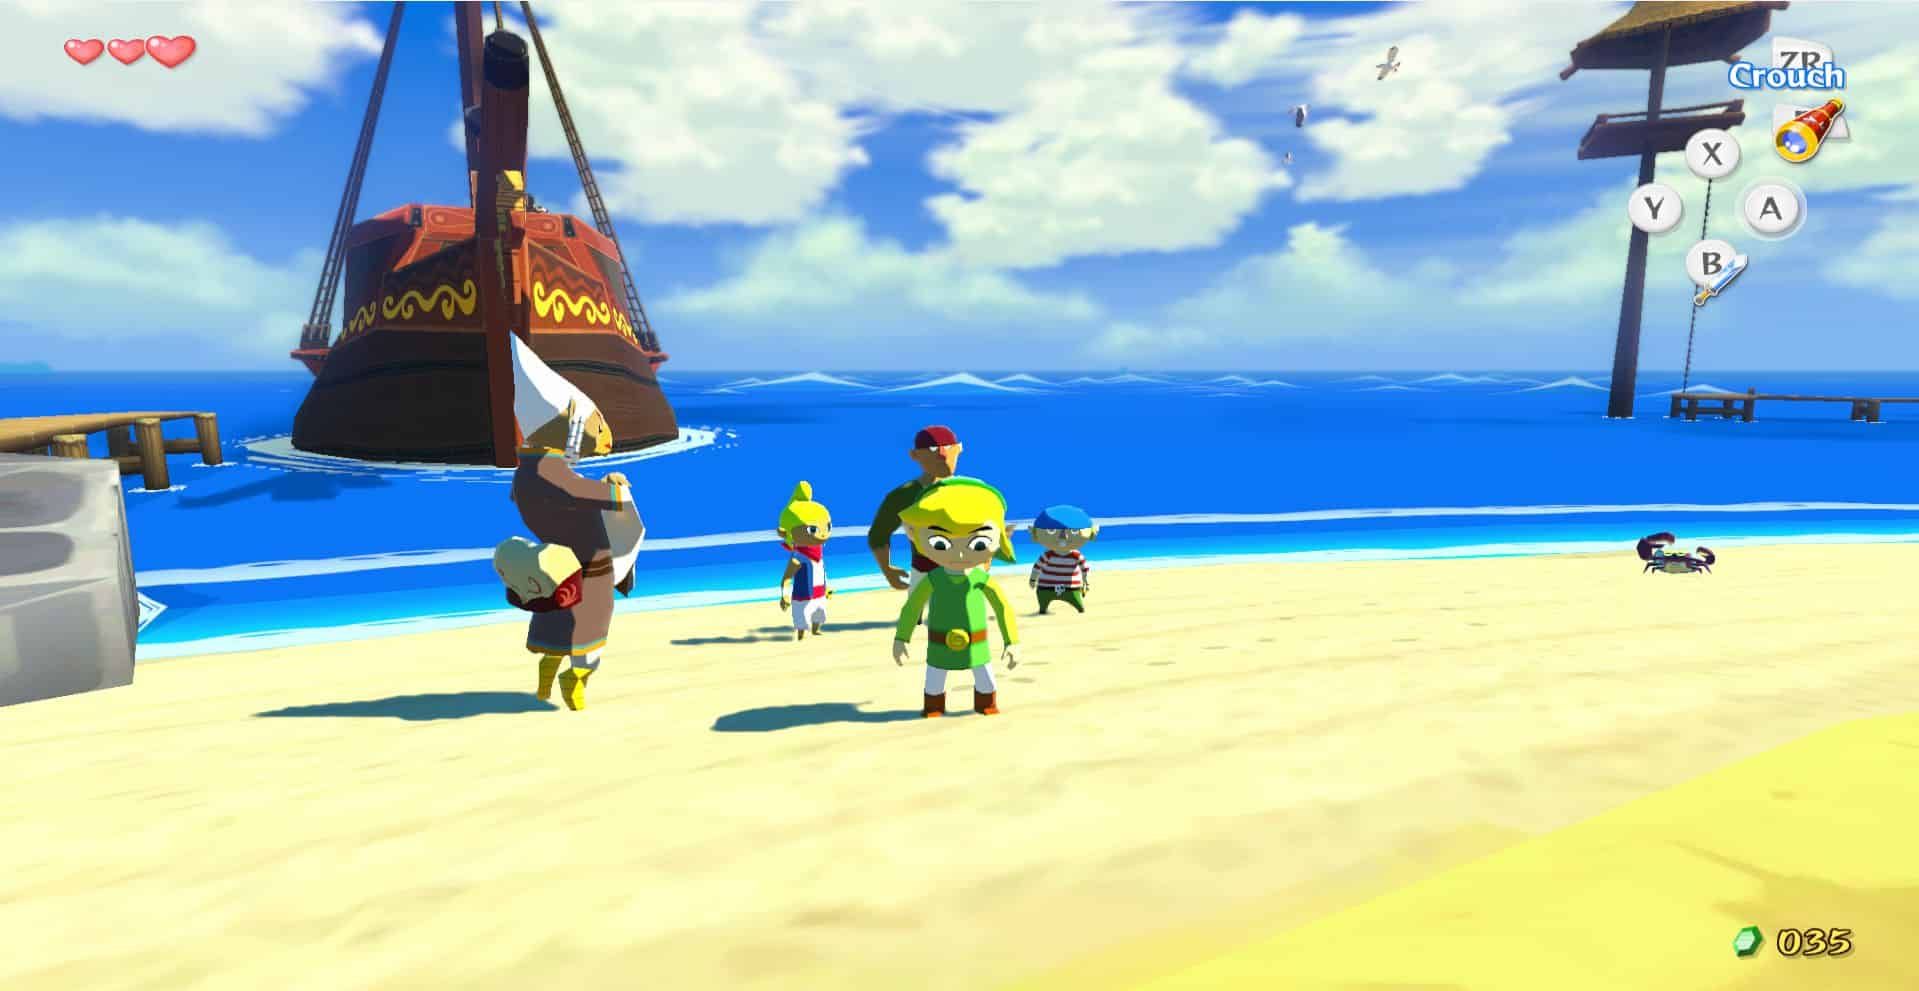
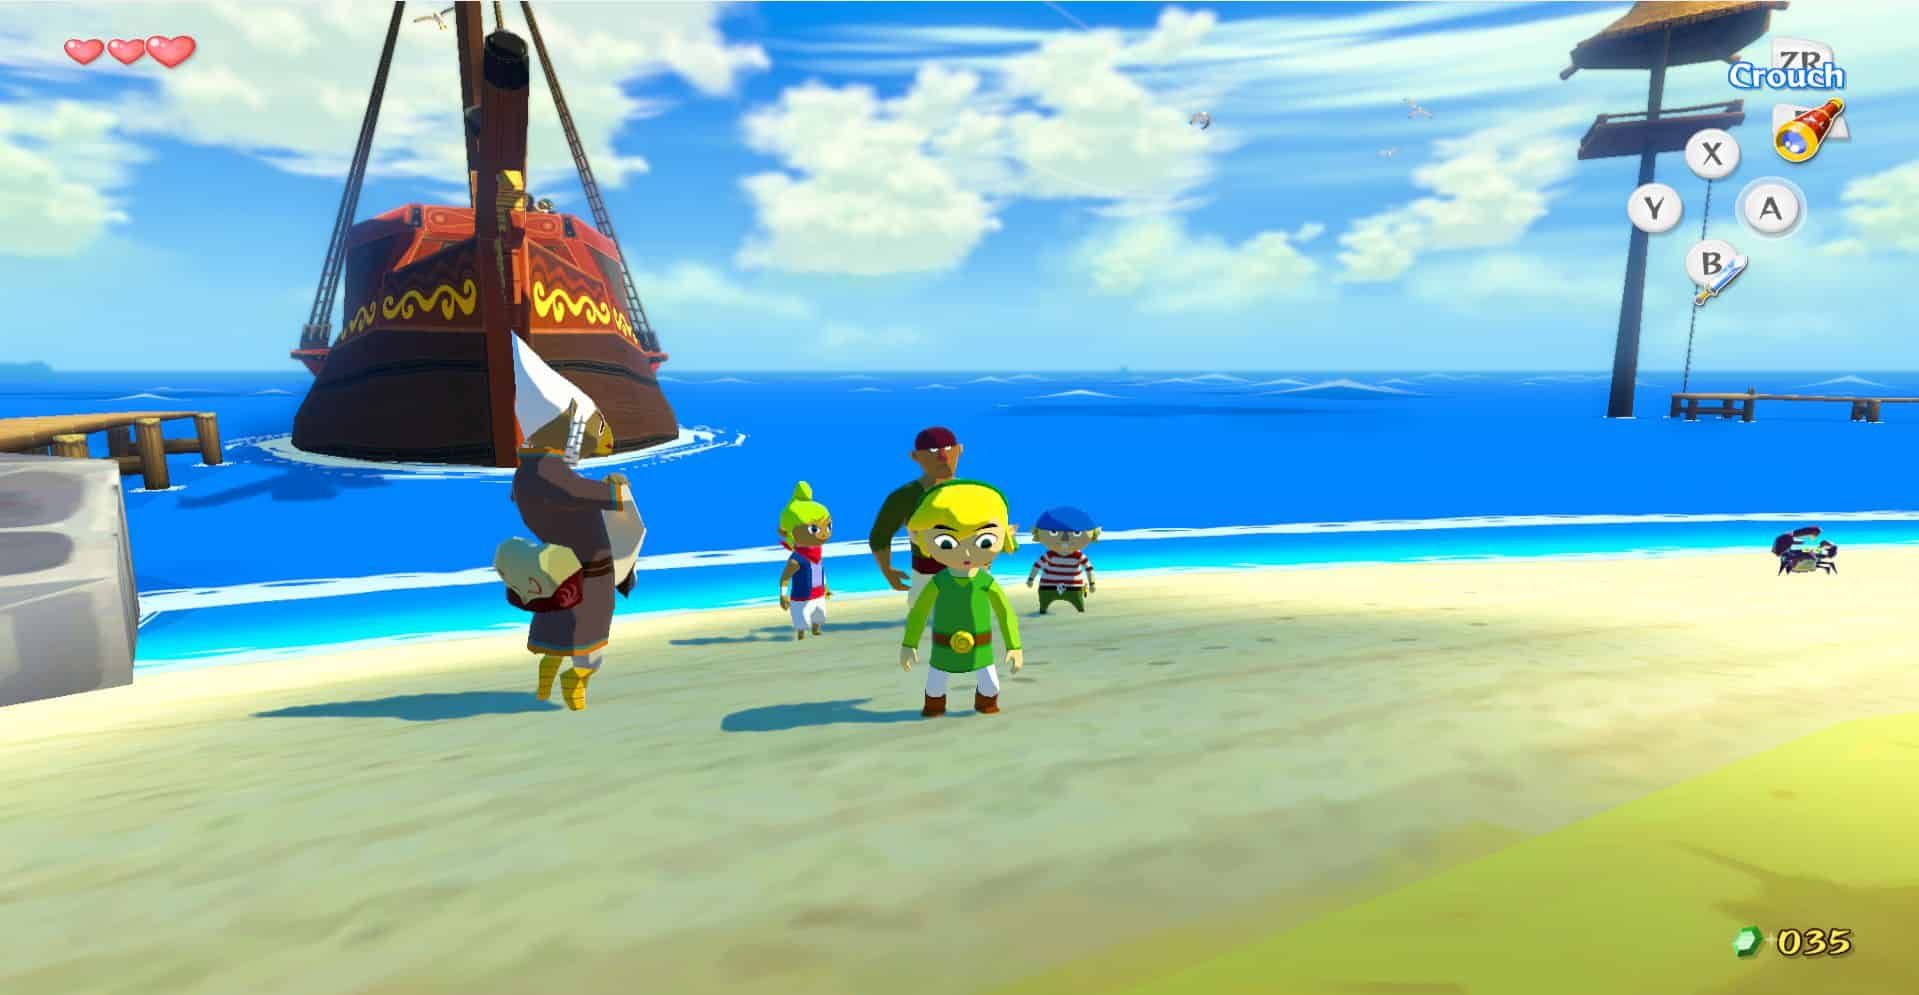
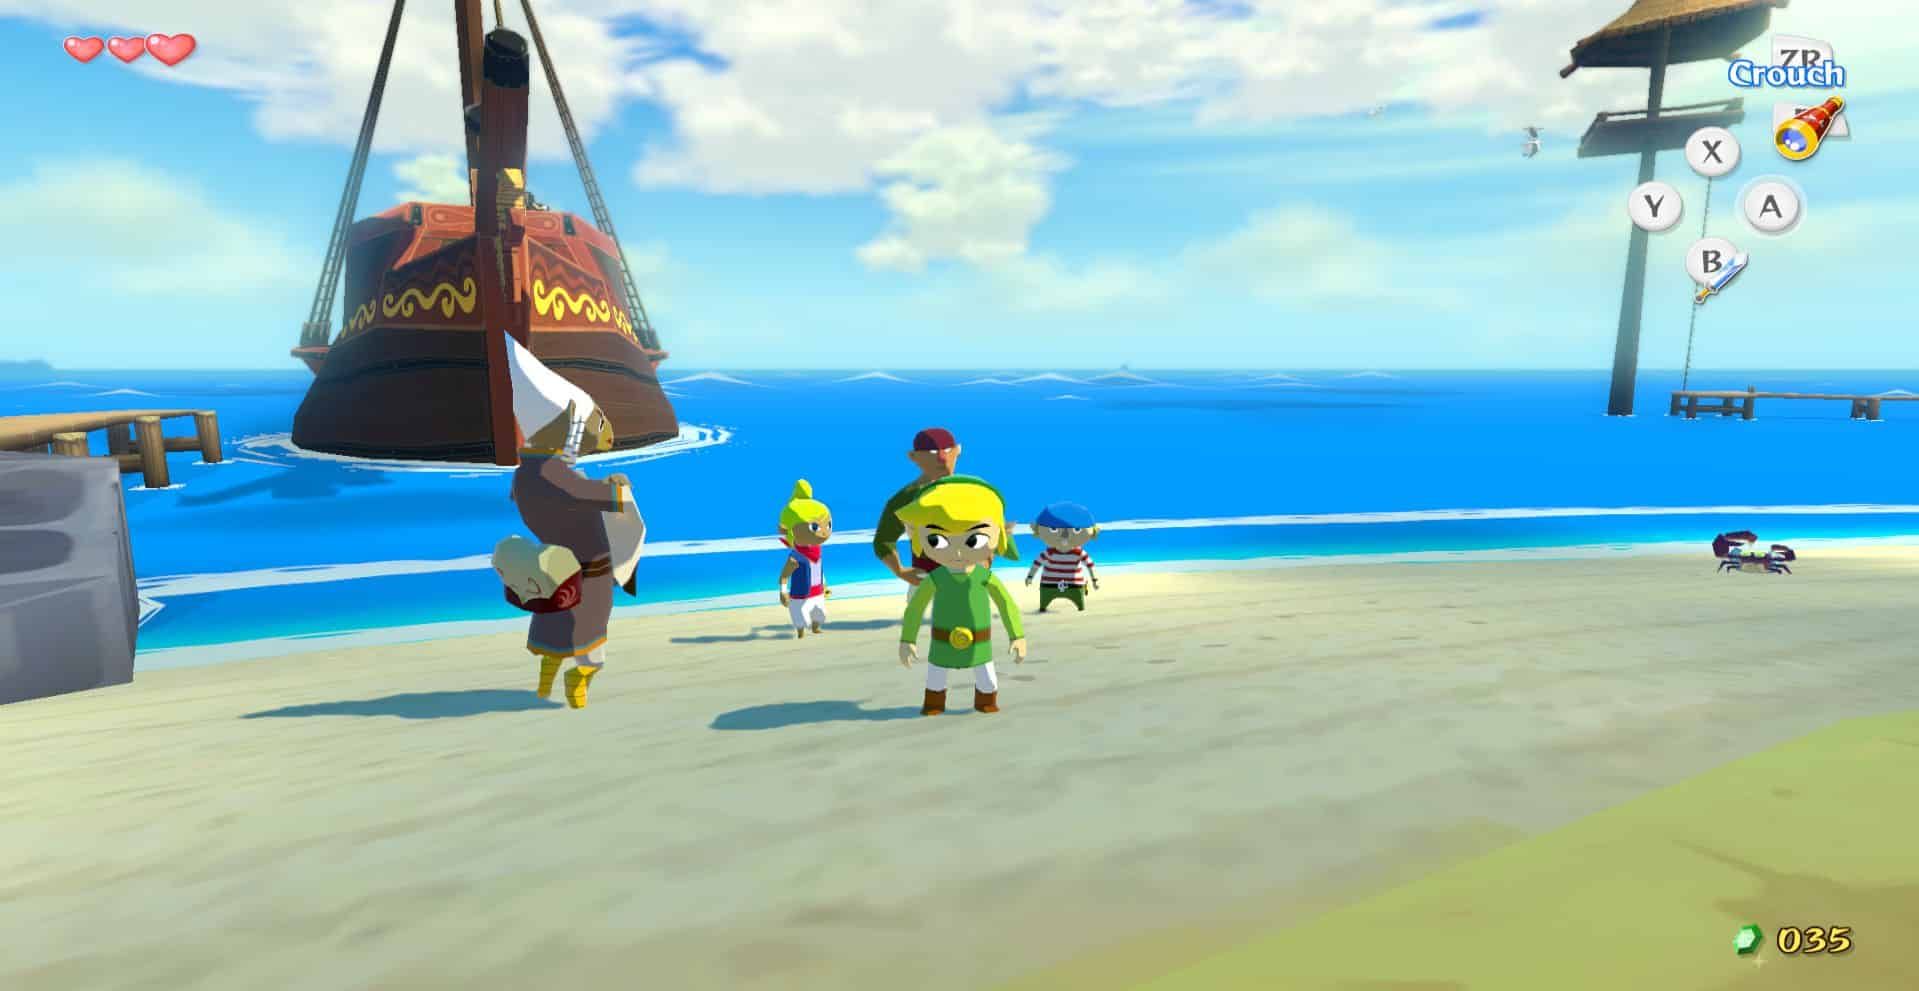
Here are a couple of examples of how Graphics Packs alter your game:


Here I used the default resolution and enabled the contrasty v1.1 afterward. It doesn’t show much of a difference, but if you look at the second picture where Link is looking weird, the sky has a different colour and feel to it.

As you can see, thanks to these Graphics Packs, you can alter the game to however you want it. You can even remove the HUD from the game, but that will break the menu. Other features include increasing the resolution up to 4K ultra-wide. Or increase or decrease the shadow resolution. There are other features which I think is fun for you to discover. And remember, each game has its own Graphics Packs, so results may vary from one game to another.
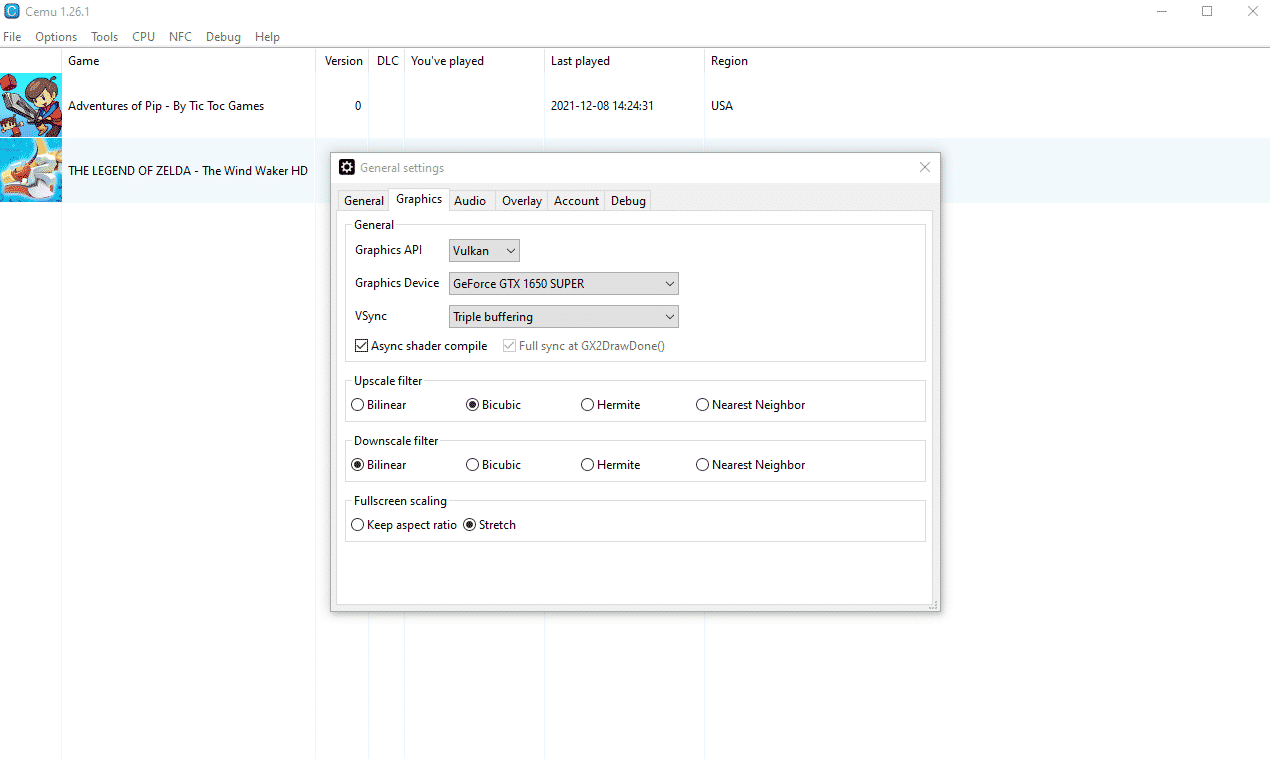
This tab is very important to check before your games on CEMU. To access this, boot CEMU ☛ Option ☛ General Settings ☛ Graphics. Pick Vulkan as your Graphics API instead of OpenGL. While the former may be less stable, it is much faster and has additional features that the latter lacks. If your graphics card supports Vulkan, there’s no reason not to pick it up.
Secondly, pick your Graphics Device, on my end I’m using GeForce GTX 1650 SUPER. If you’re using a laptop, make sure to pick your dedicated graphics card and not the iGPU. Thirdly, for Vsync, I recommend picking Triple buffering as it syncs your framerates with your monitor’s refresh rate. This will eliminate any screen tearing. There’s no harm in using Double buffering if your monitor has free sync and can produce little to no screen tearing.
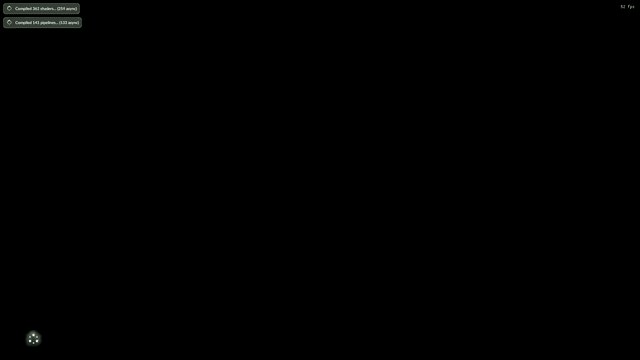
This option reduces stutter at the cost of objects not rendering for a short time. In fact, it depends on your CPU, it may take a couple of seconds, it may be instant, it just depends on how powerful your CPU is. Here’s an example of what Async Shader Compile does.
Similar to other emulators out there, CEMU includes upscale and downscale features to help its users. But what are these filters used for, you may ask. Well, let’s check below:
As you can see in the previous image there are several options to choose from, and it just boils down to what you are most comfortable with. Experiment and check what suits you better.
That’s it for the guide, thank you for reading.
|
|
FreeckyCake
I'm just your average gamer who enjoys hunting hidden gems and underrated games. My love for Onimusha: Dawn of Dreams is like a truck and I recommend that you play it.
|
Leave a Reply