About BDO |
||
|---|---|---|
|
|
||
| Release Date Oct 17, 2013 |
||
|
|
Developer Pearl Abyss |
|
|
|
Publisher Pearl Abyss |
|
|
|
Country of Origin South Korea |
|
The Fughar’s Road to Success is one of the BDO Adventure Logs, upon completing it unlocks a few useful buffs for your entire family. This log consists of three books and there are 5 chapters in each book. The best reward for this is ALL DP +1 buff, but we still get +2LT Weight Limit and +1 Inventory Slot for it, along with some Contribution Points.
Although there are only so many nominal criteria, the piquancy of the log is still the last chapter of the third book. The chapters must be completed in a row, but even if you fail to complete the last part, it will still give you valuable rewards.
Most chapters involve Fughar’s Secret Book item. This is a consumable item, which contains 100 Contribution EXP. This pretty much means if you start the book with 200 CP, you can already have 230 by the end. If the question arises: this is not affected by scrolls.
The books will certainly take a few hours to complete. I have gathered the most important information and requirements to make your job as easy as possible and as fast as possible. Despite the difficulties, there is a quite good reward for it.
The book’s requirement is a character above level 57, and a finished Mediah main questline, exactly the last part called “Apocalyptic Prophecy” from the Reliving the Darkness. If you meet these conditions, you can accept the Adventure Journal: From the Bottom to the Top quest from Black Spirit. This quest leads you to Fughar, and unlocks the first book.
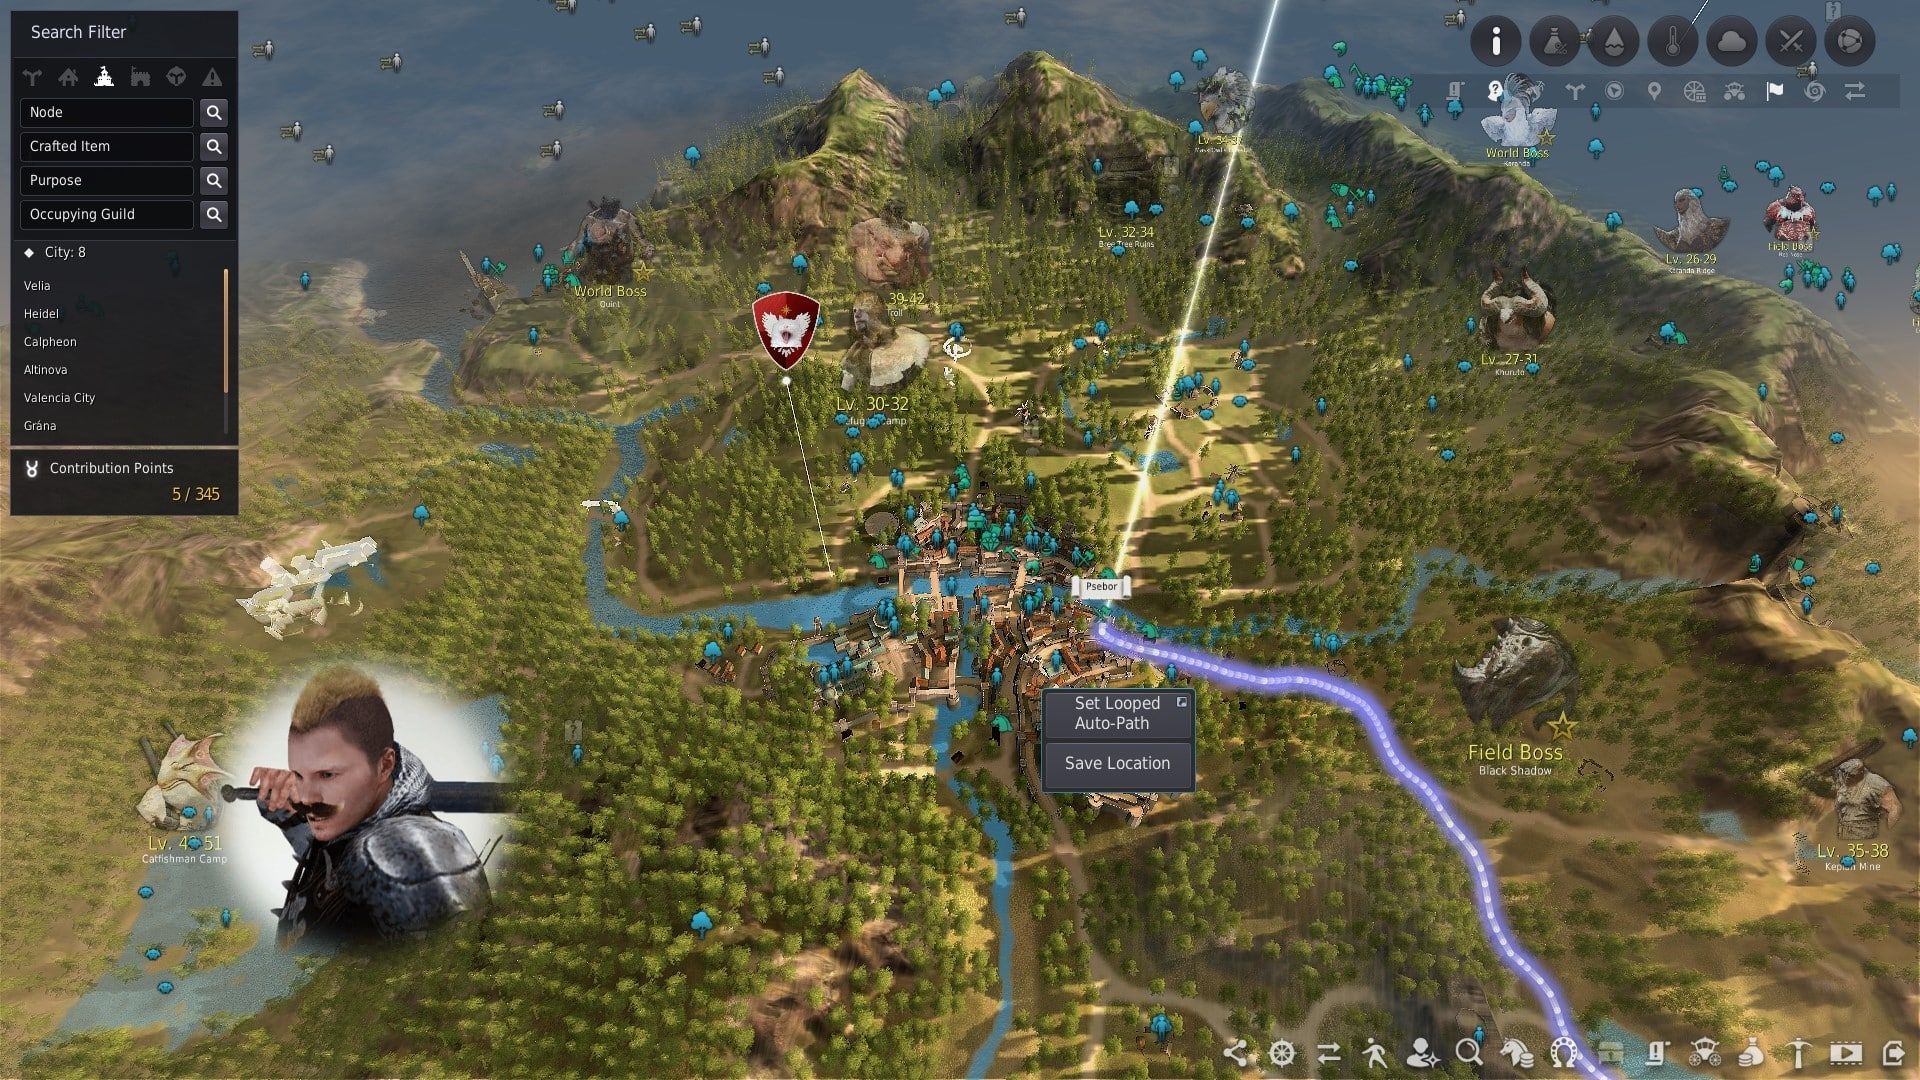
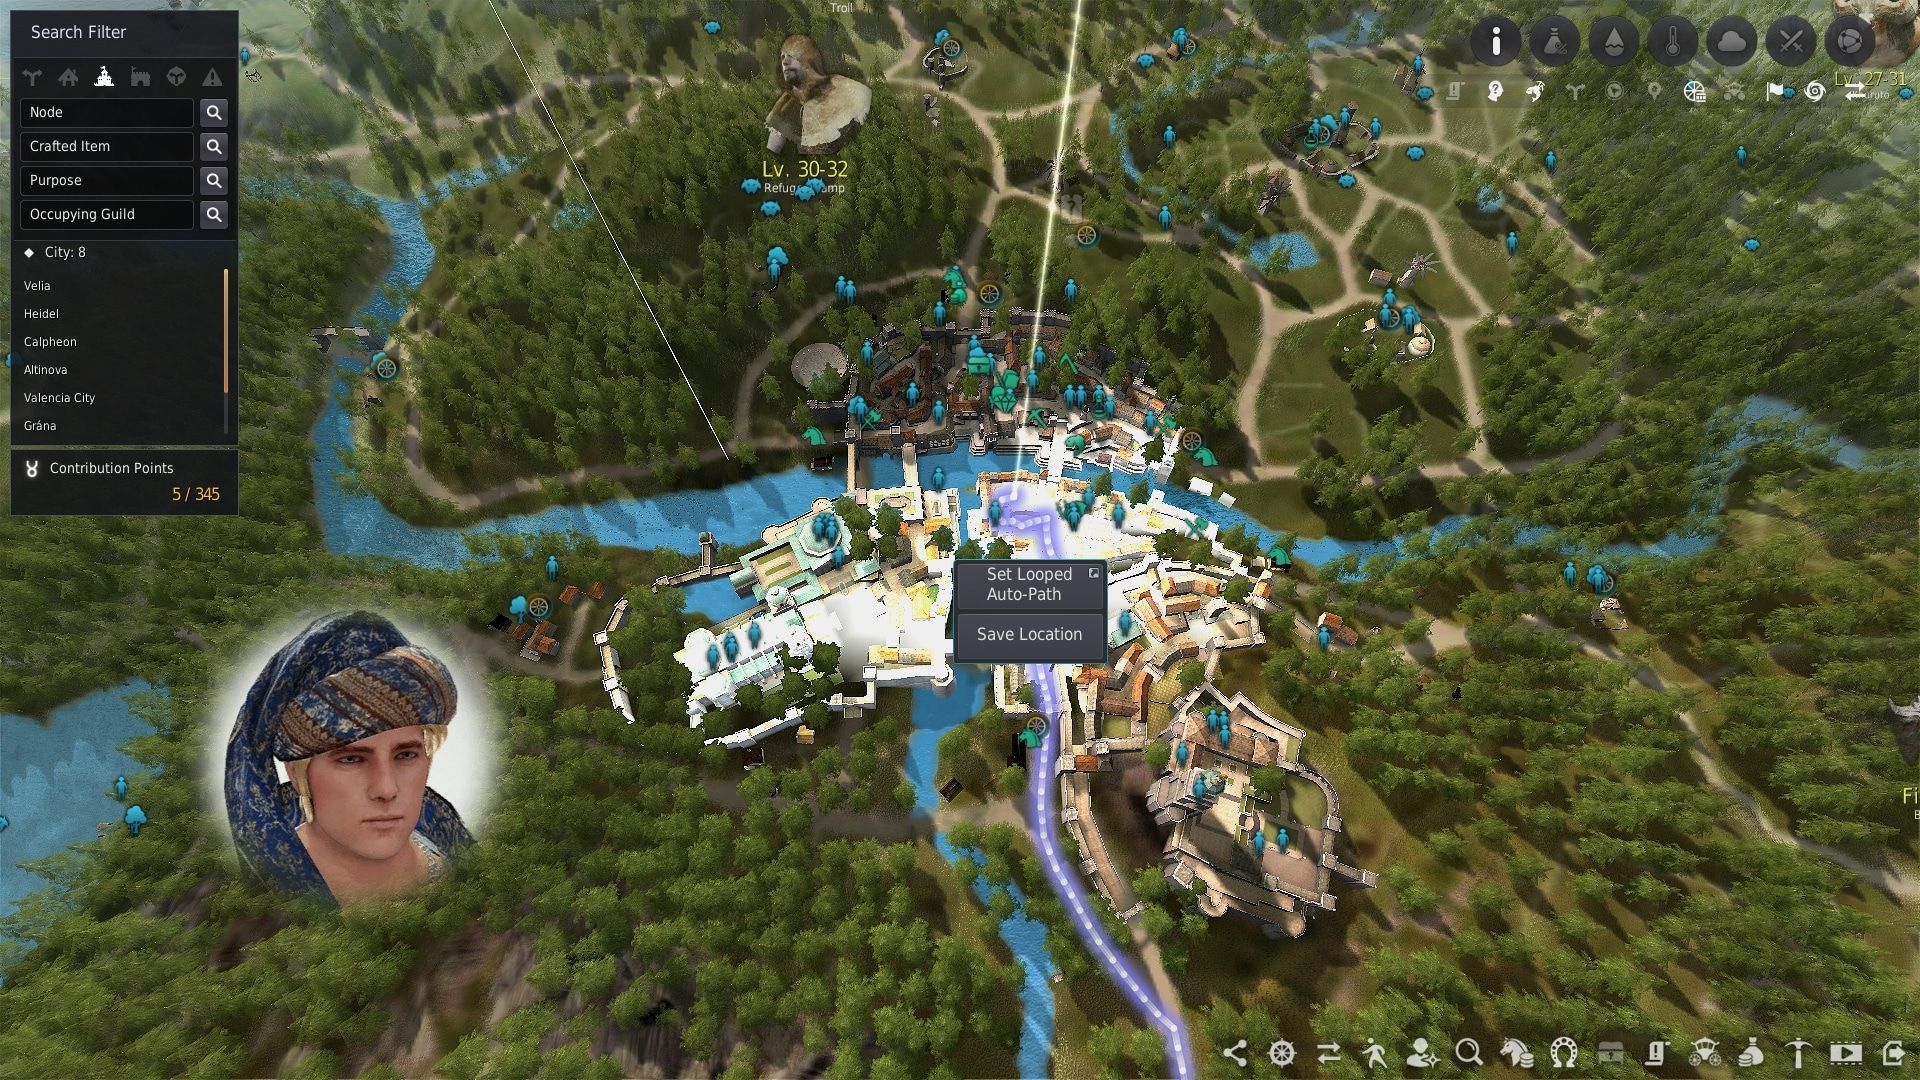
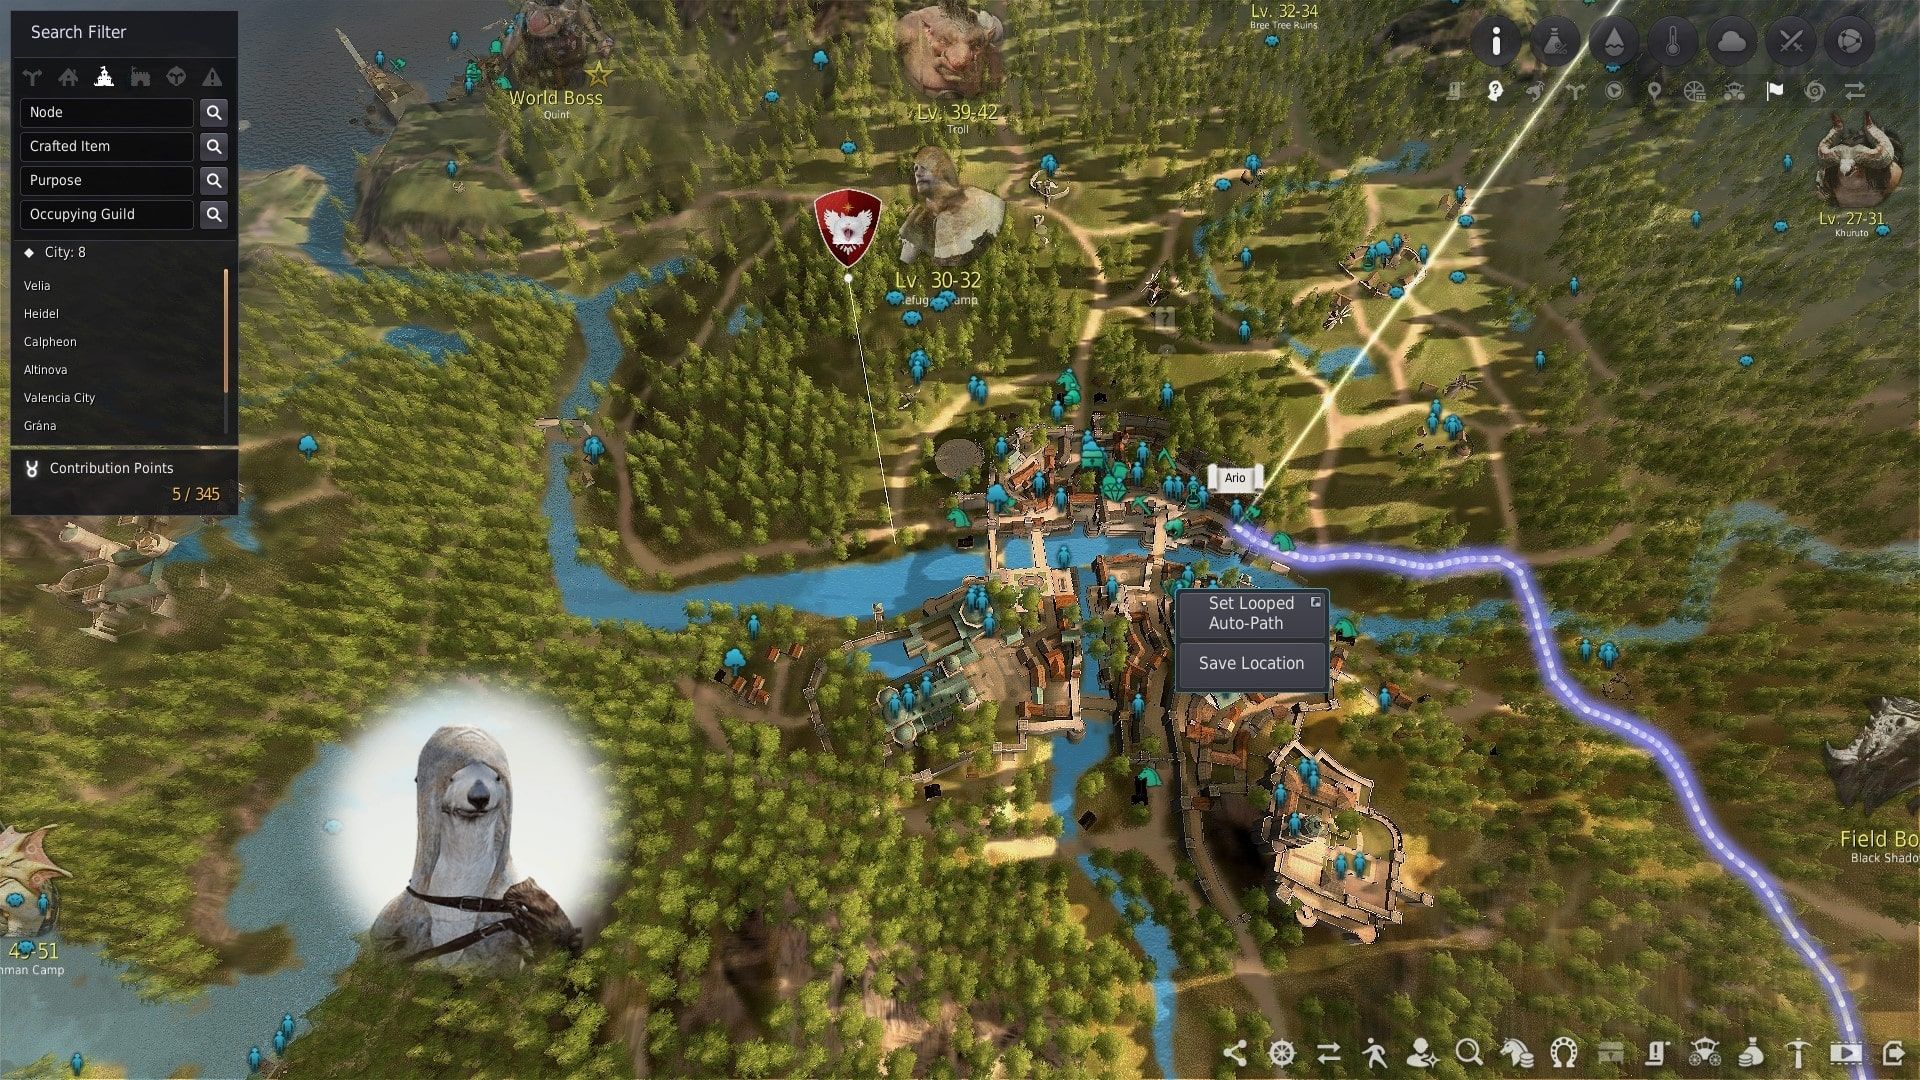
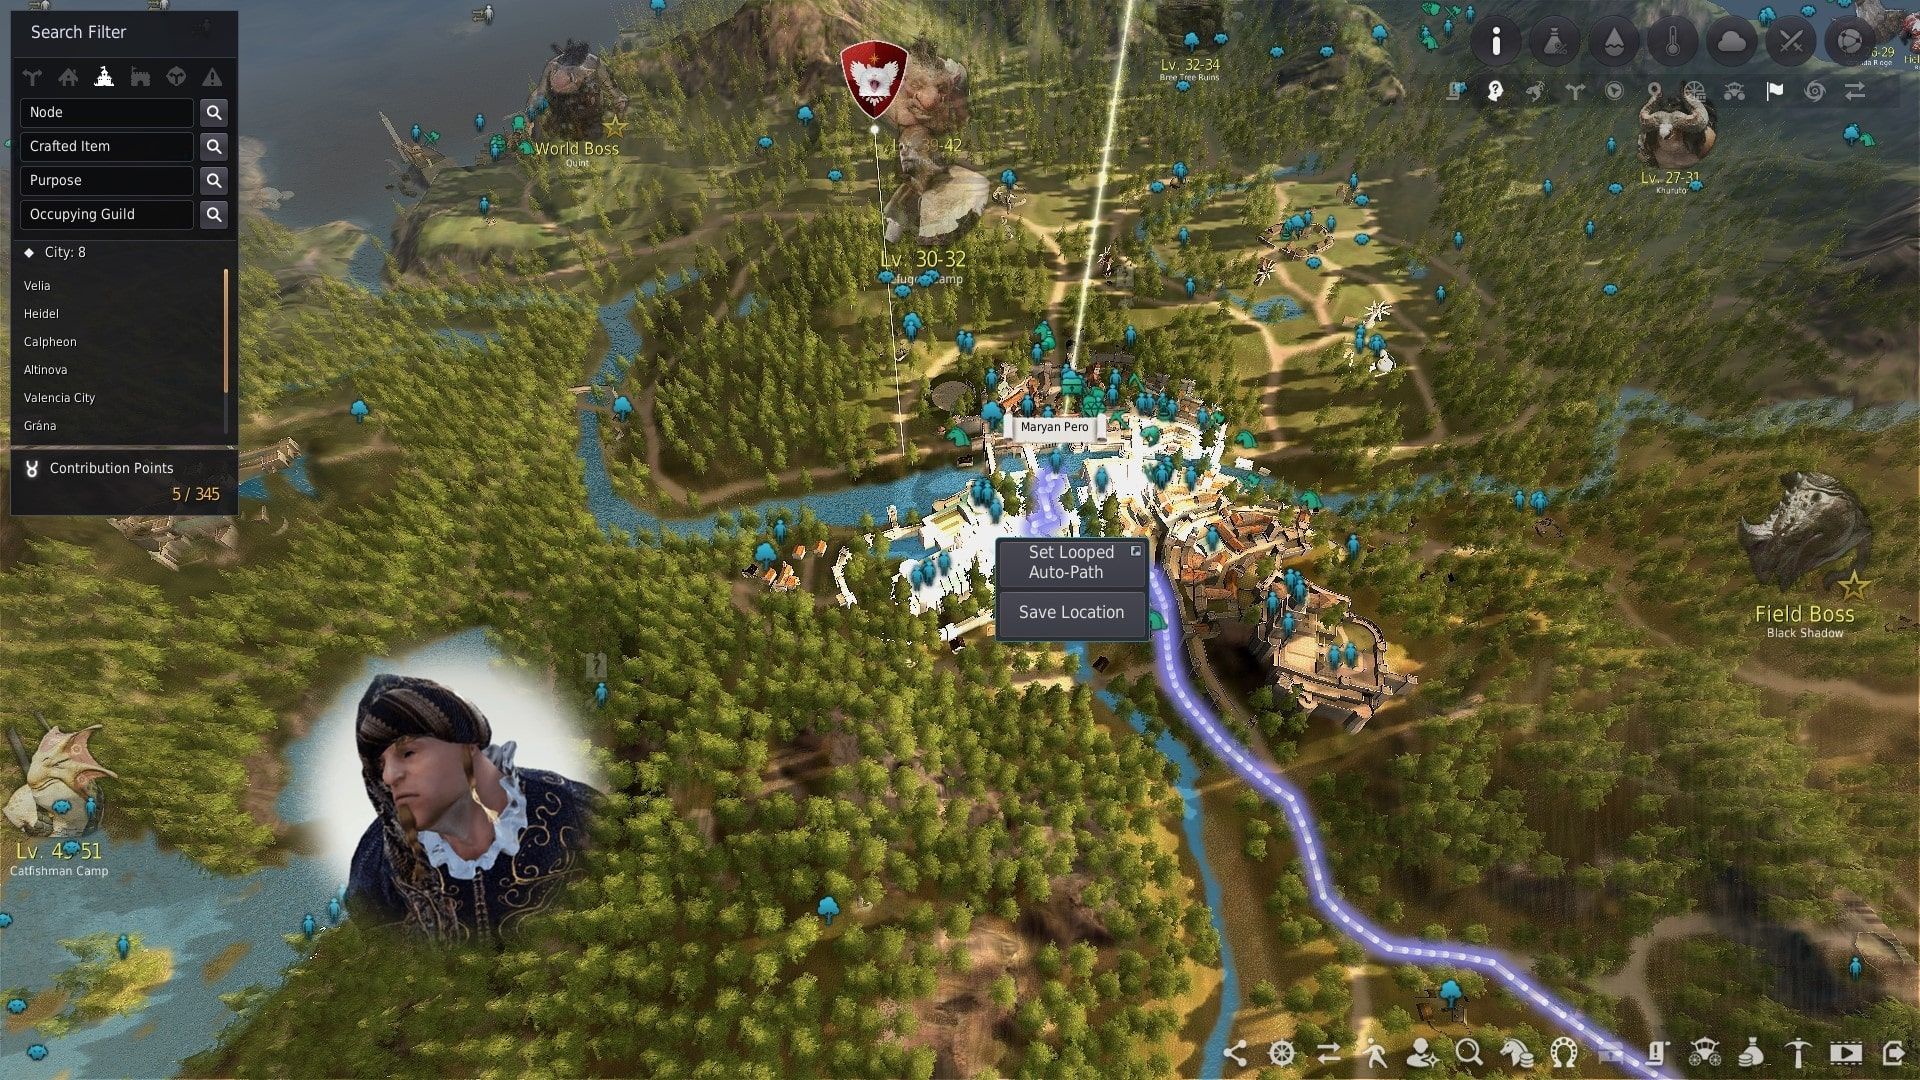
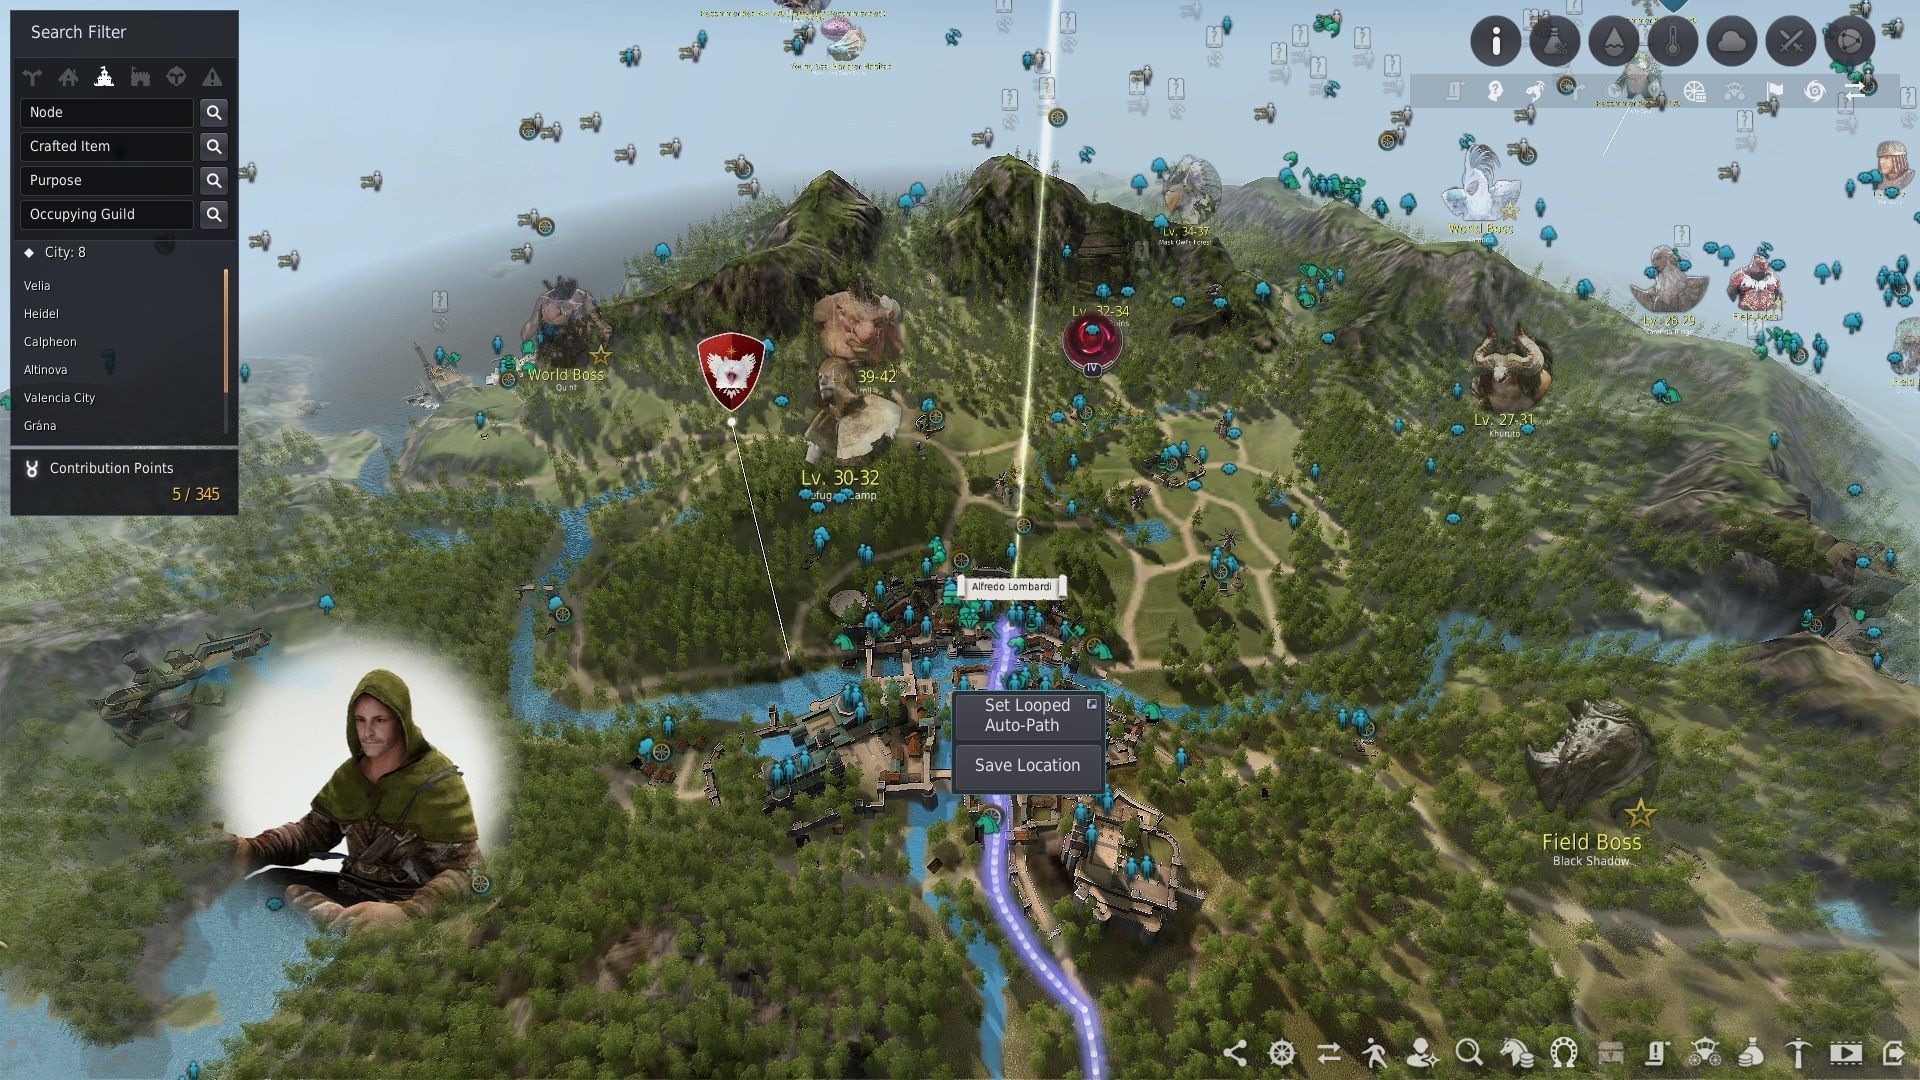
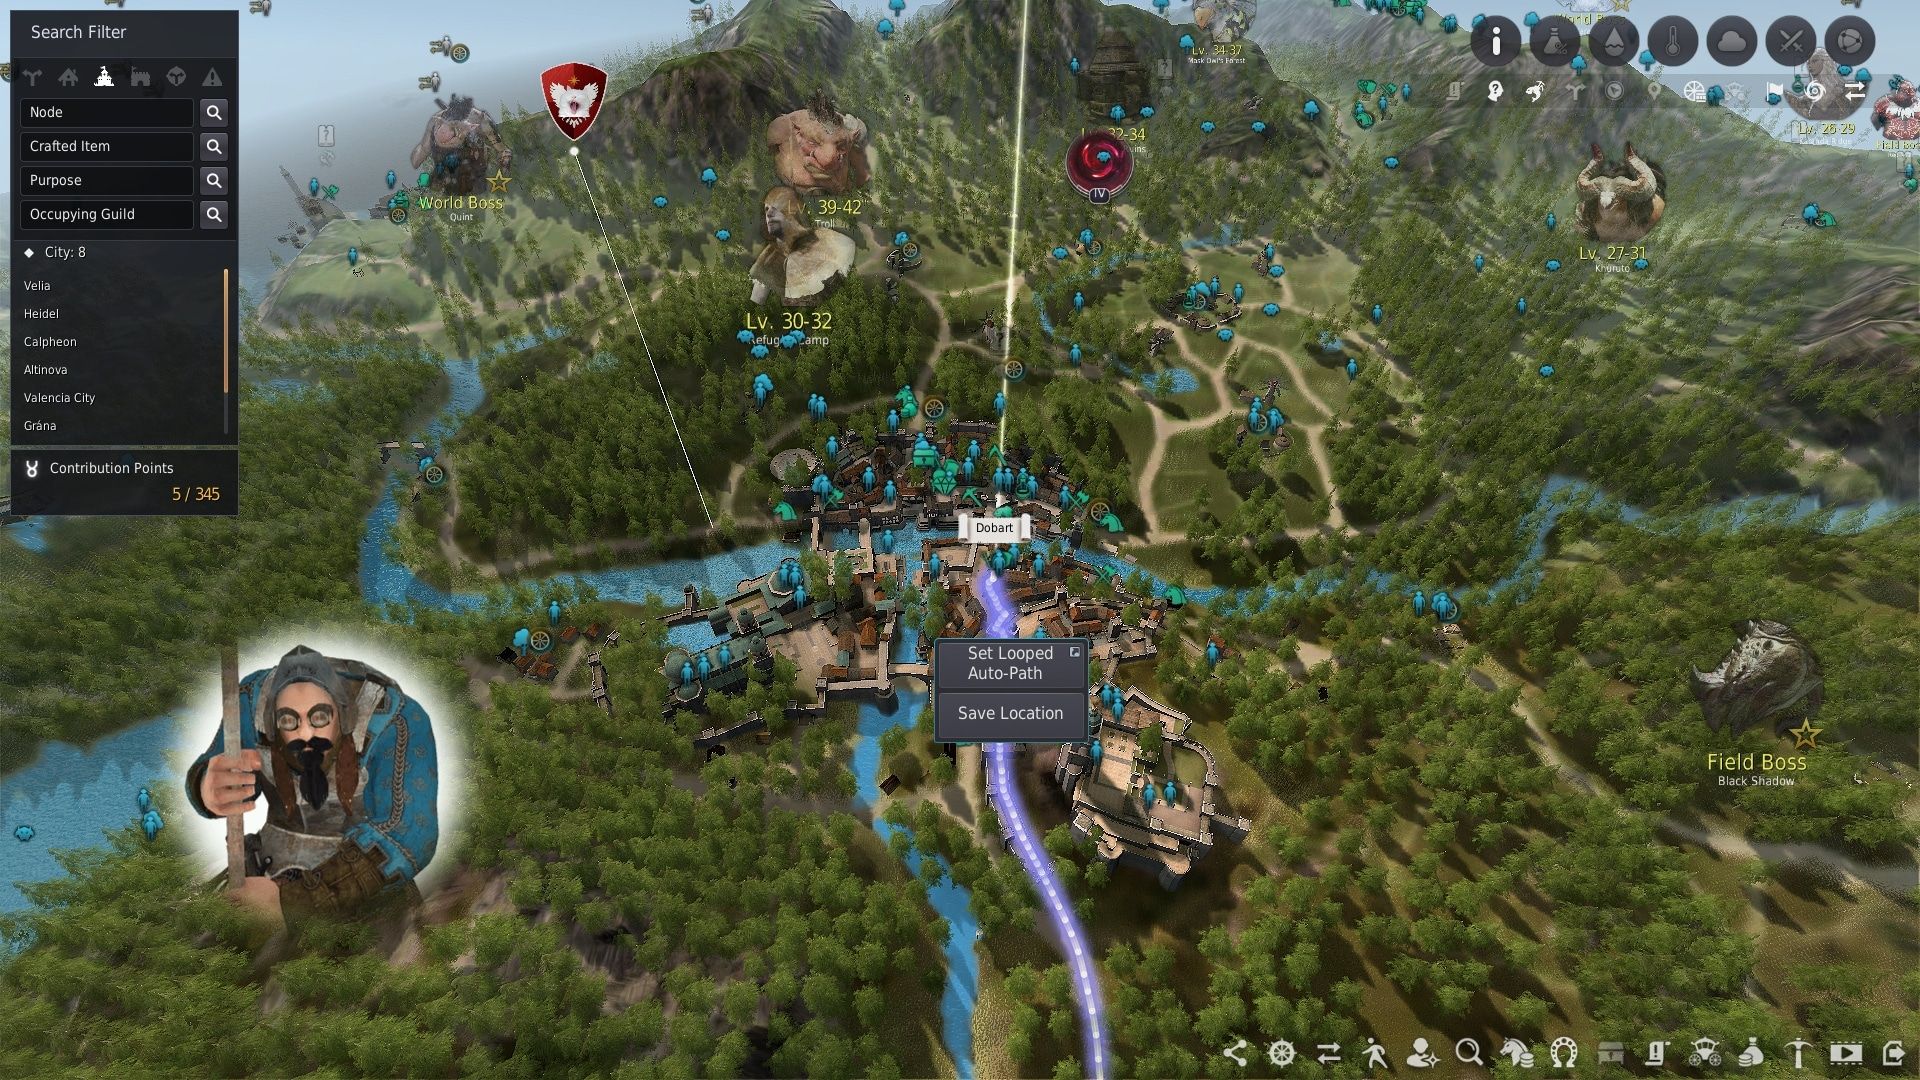
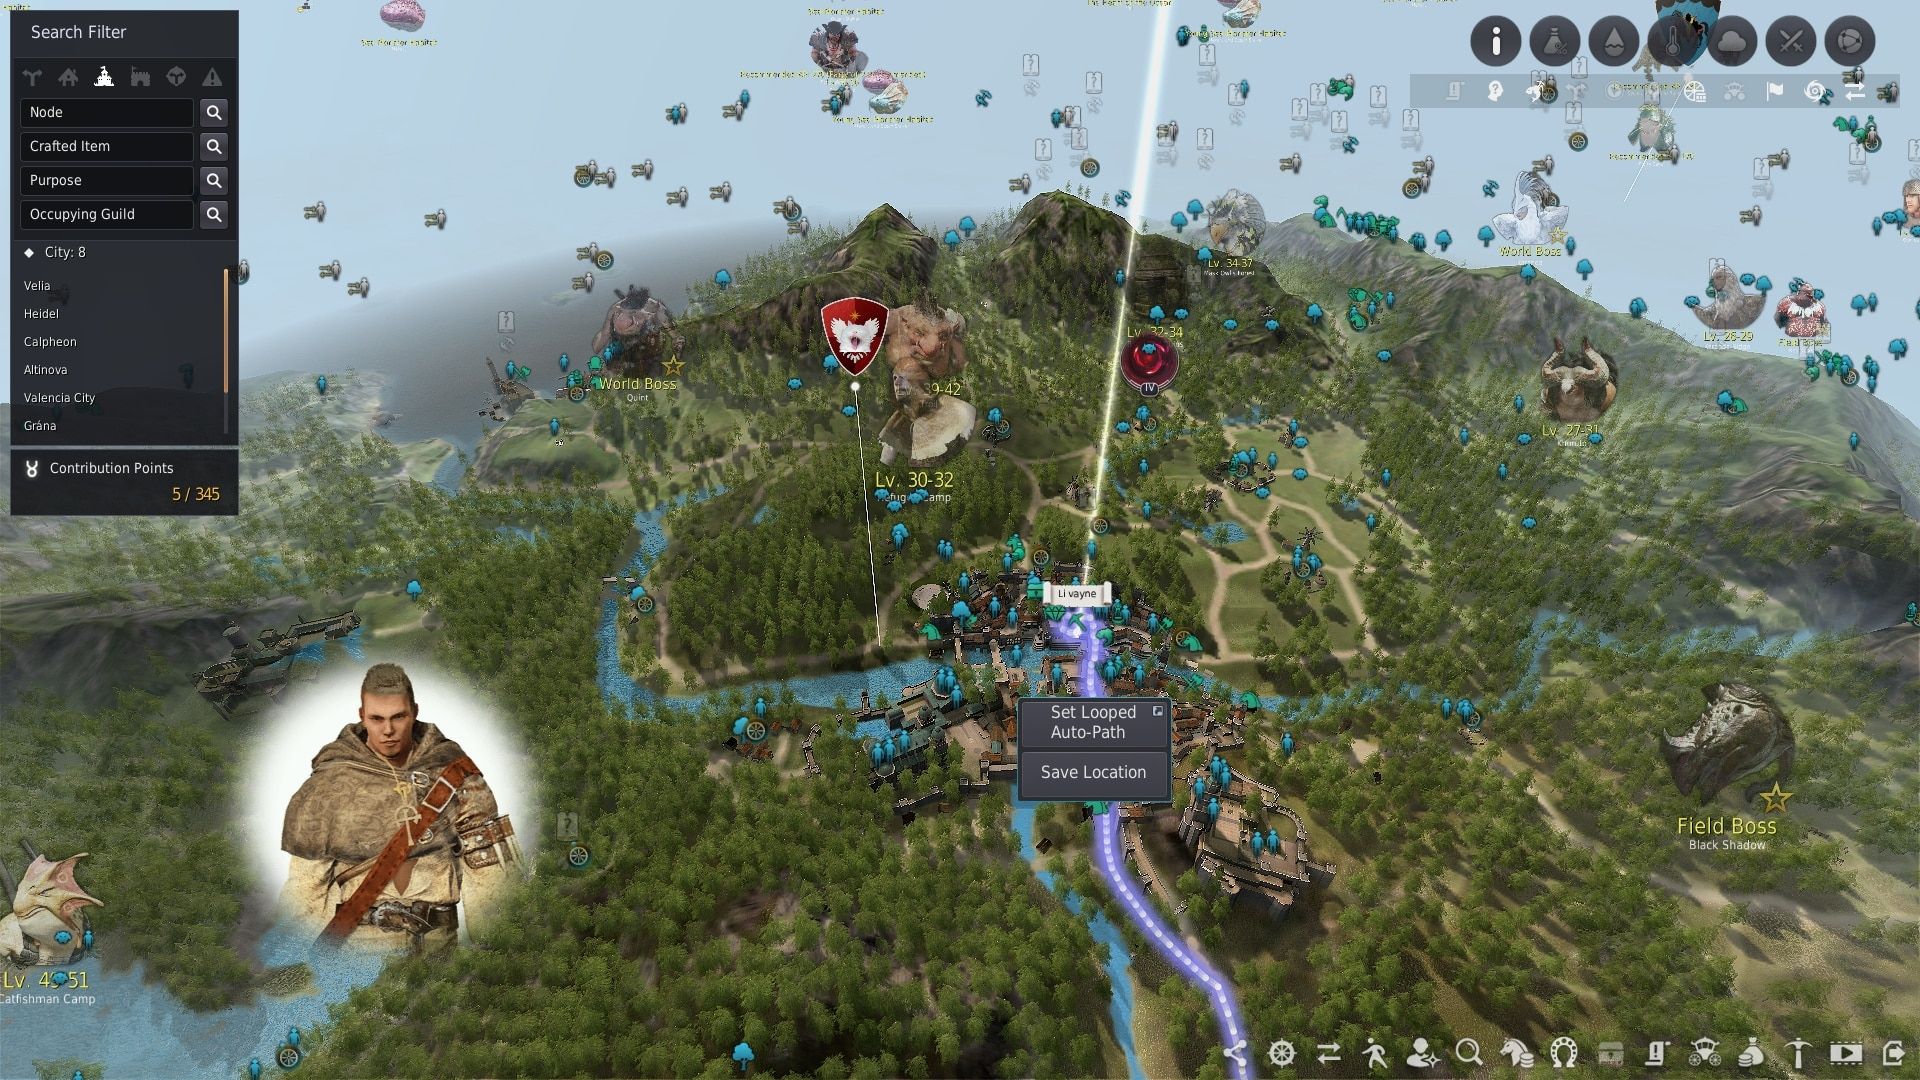
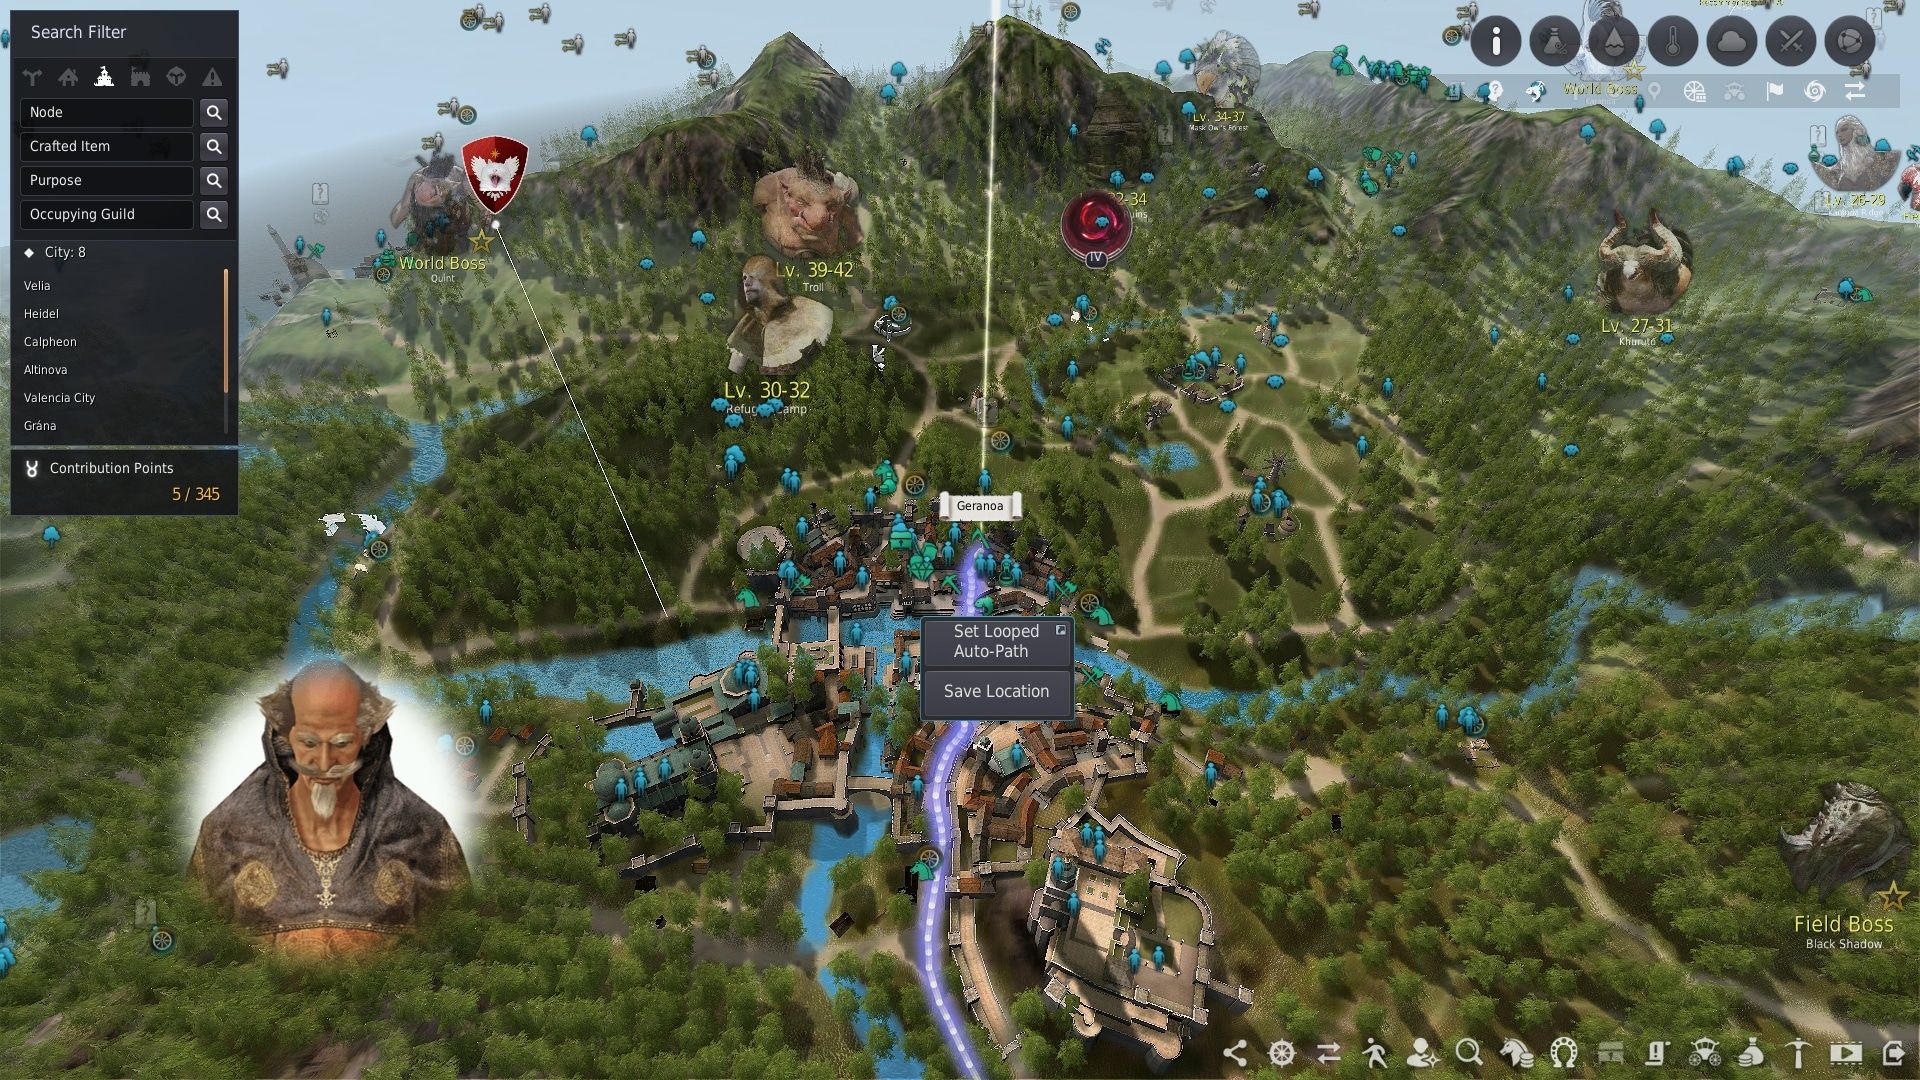
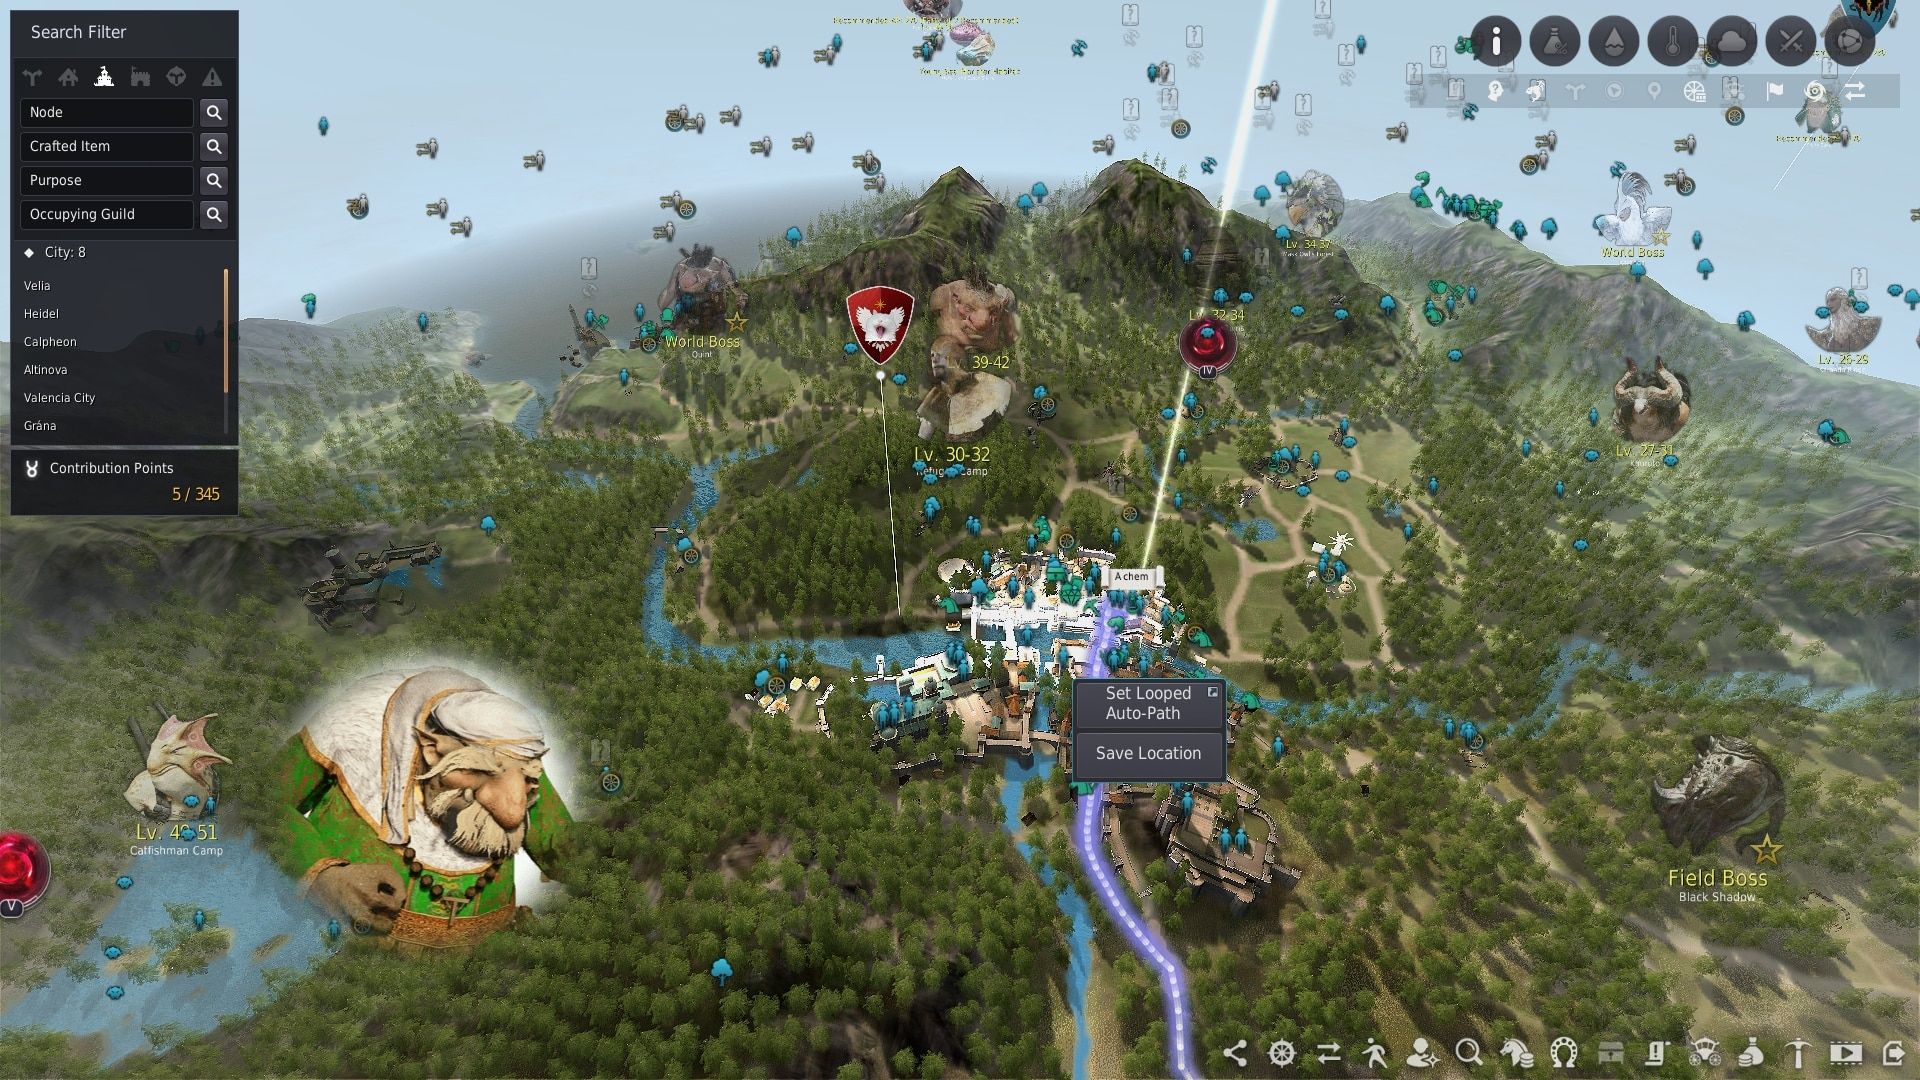
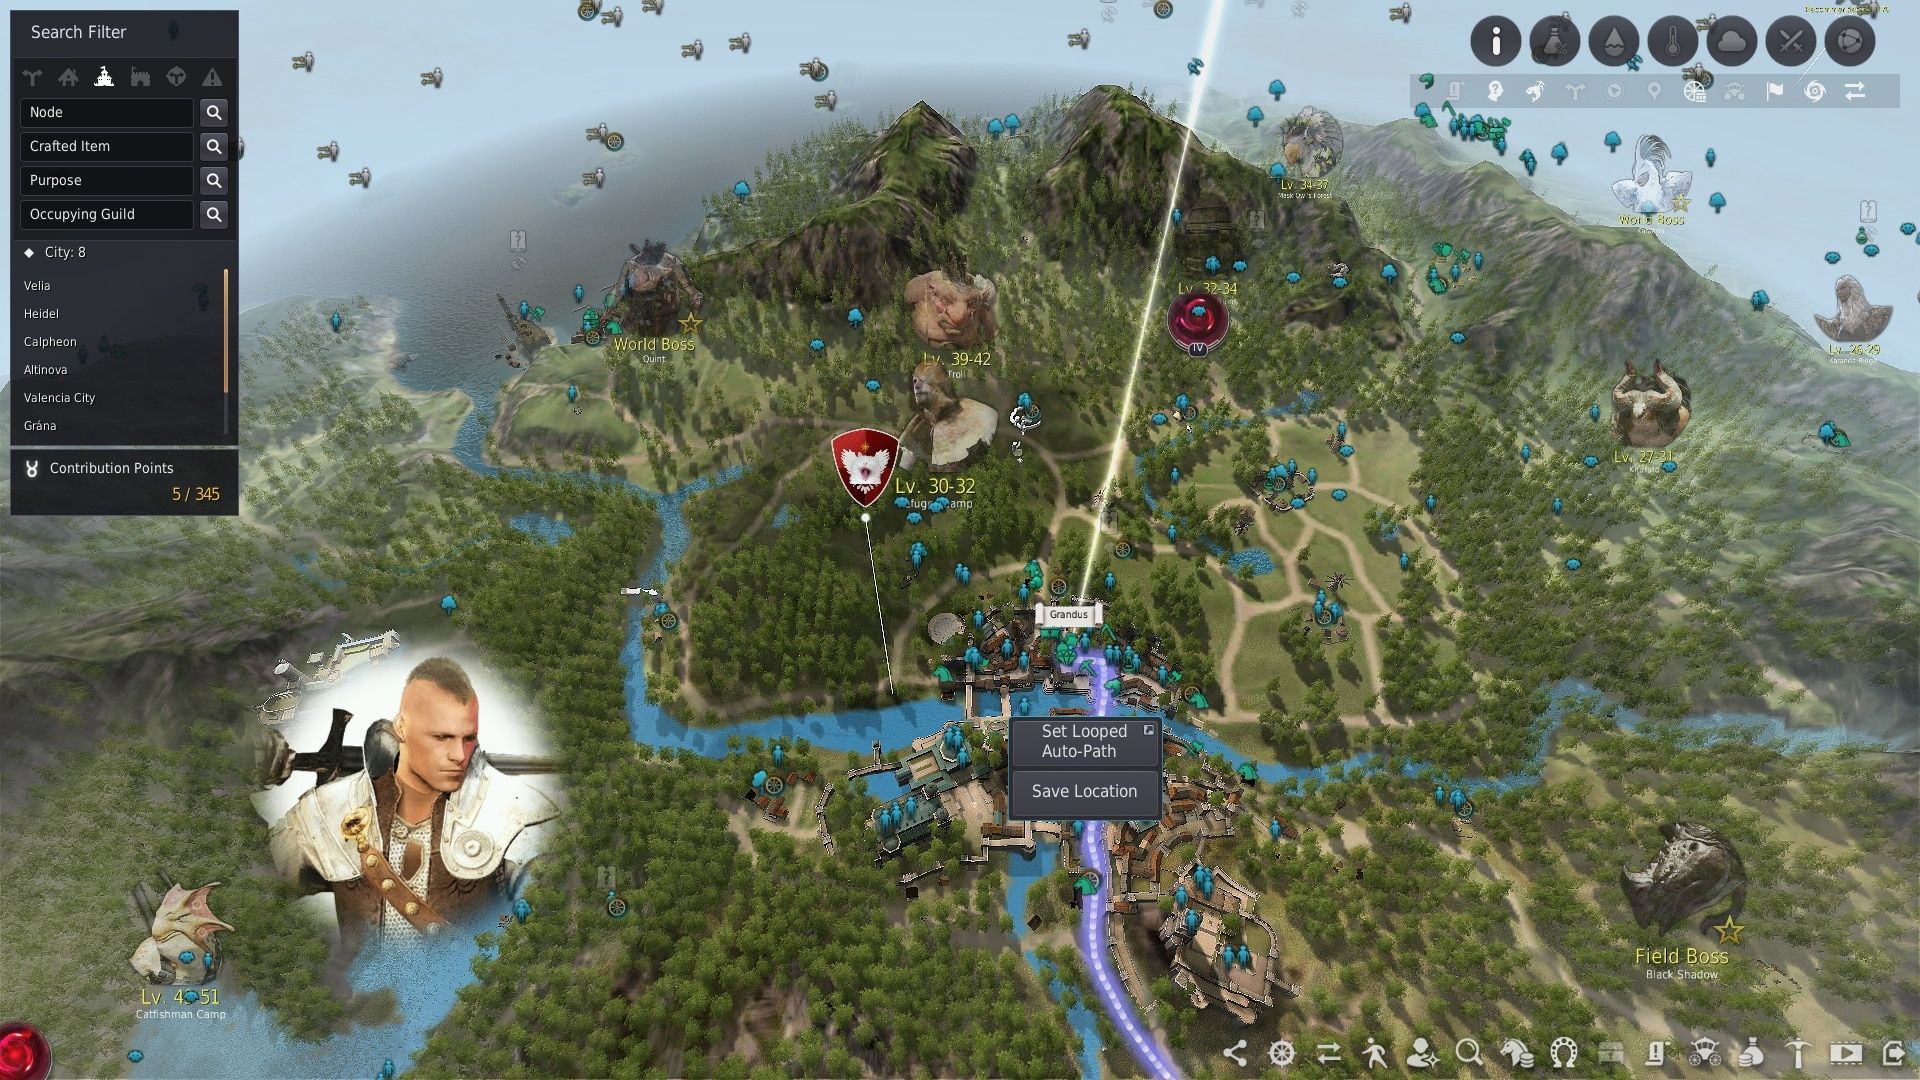
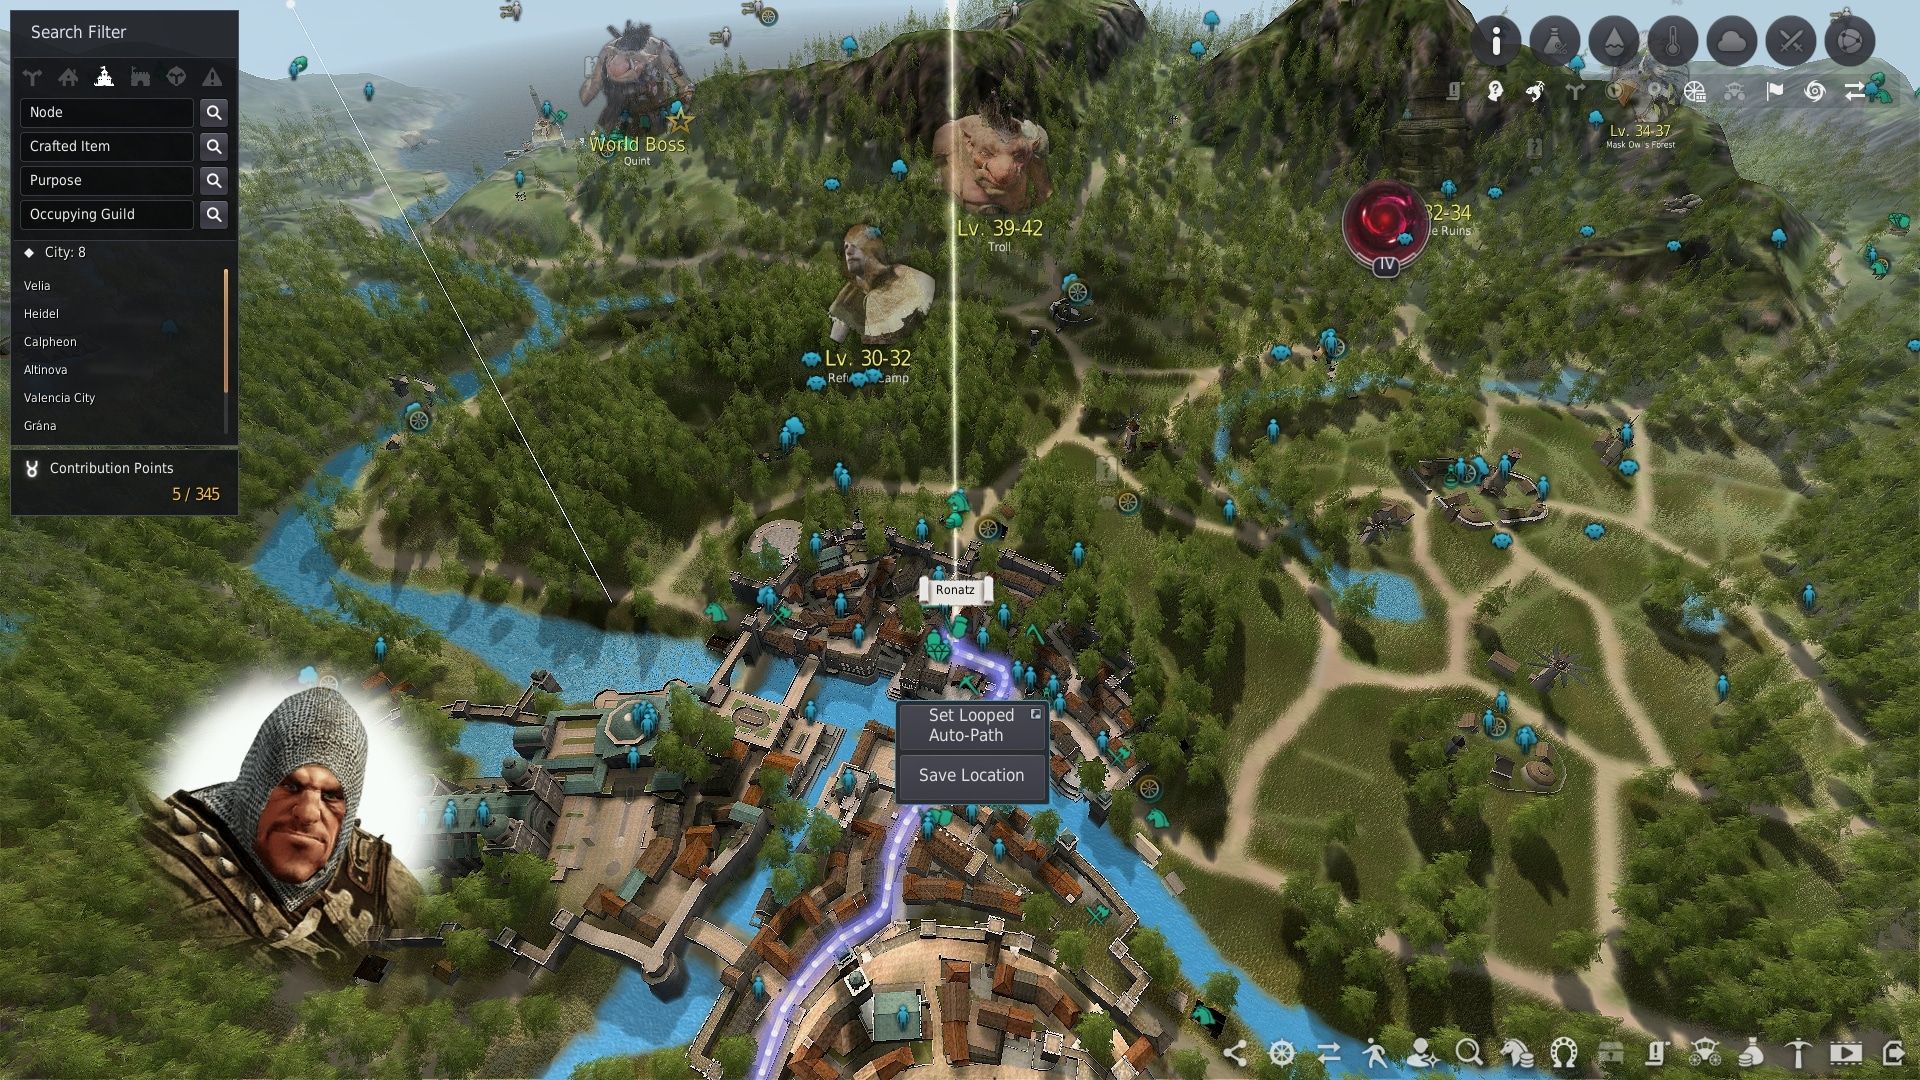
NPC Fughar is located next to the Stable Keepers in large towns including Velia. (Picture in the 2nd chapter)
This book consists largely of running around (and a little killing), there is no particular difficulty in it.
Fughar’s Road to Success – 1st Book Rewards:
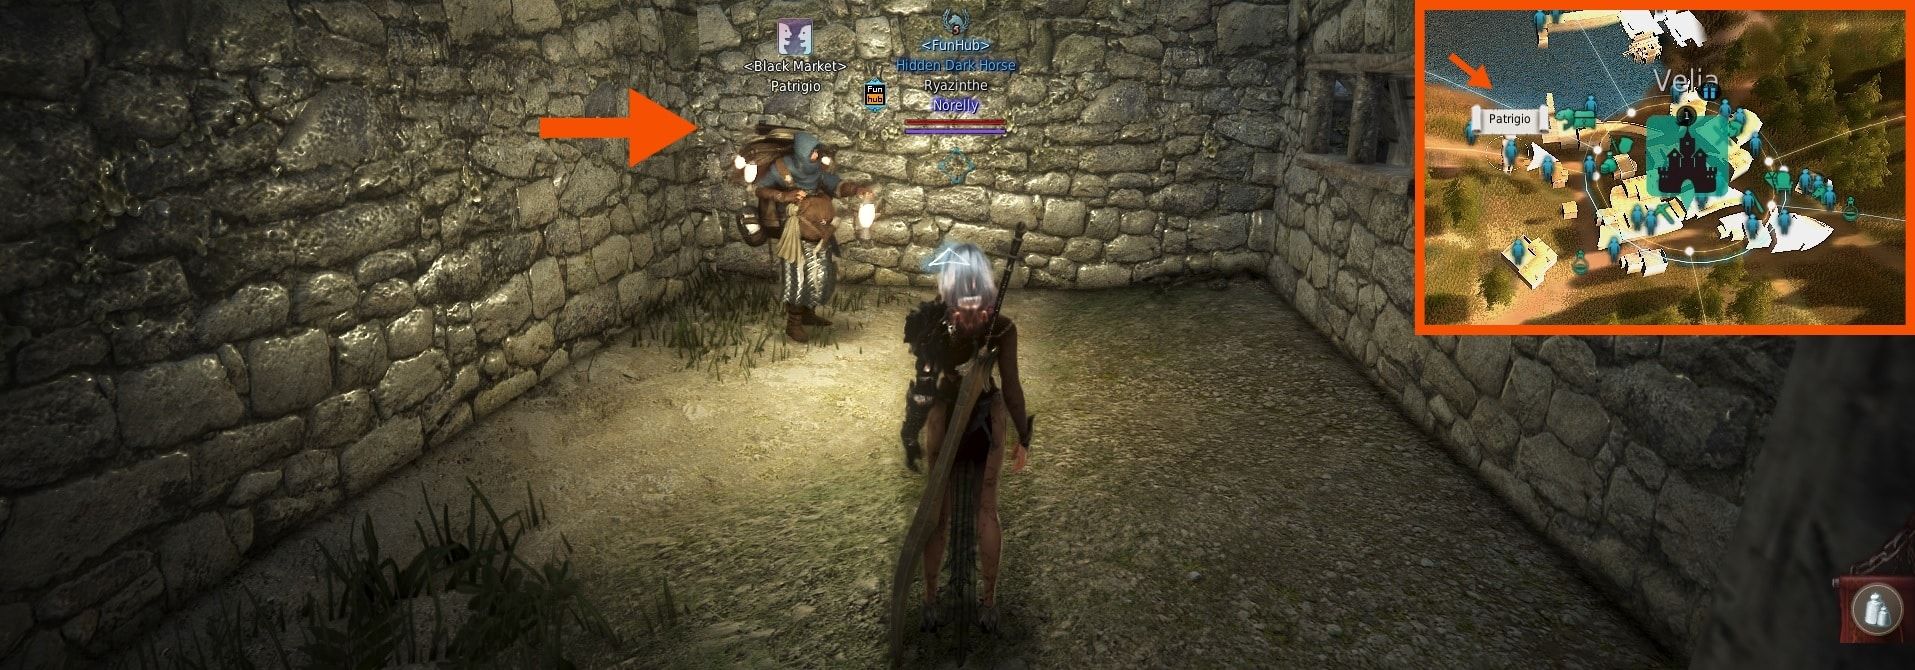
Goal: Visit the man Fughar met
Fast Method: You have to meet Patrigio, who is a night NPC. If there is night-time in the game, use the Find NPC option (magnifying glass icon), search for Patrigio’s name, and select Patrigio in the city closest to you, and choose the Chat option with him.

Goal: Hand over
Crow Gold Bar to Fughar
Fast Method: To get a
- Summon the Black Spirit and complete the quest [Adventure Log] Bright Red Apple from the Suggested tab. This quest leads you to NPC Milano Belucci (located at Calpheon City).
- Continue the next quest from her called [Adventure Log] This Apple Gaves You an Idea. This quest asks you to buy an apple from her, so open the Shop option and buy one.
- Take it to the target NPC, then pick up the next quest [Adventure Log] In Need of Good Bread from the Black Spirit, and give the required quest item to NPC Ahr (located at Calpheon City).
- Now the Black Spirit gives you the next quest called [Adventure Log] In a Good Mood what gives you the
- The Black Spirit automatically offers you the quest called [Adventure Log] Captivating Hearts. This leads you to Fughar, where you can hand over the


Goal: Obtain all knowledge in the Calpheon City Merchants category, Citizens of Calpheon City category, Upper Class of Calpheon Category
Fast Method: Open the Knowledge Window (press H) and use the pictures above to find out which NPCs you are missing.These topics located at Character >> People of Calpheon section. In the table below, you can see the location of each NPC by clicking on their name and an image with information will open. You just have to speak with them and you can even pocket 8 bonus energy points for the knowledge in total.
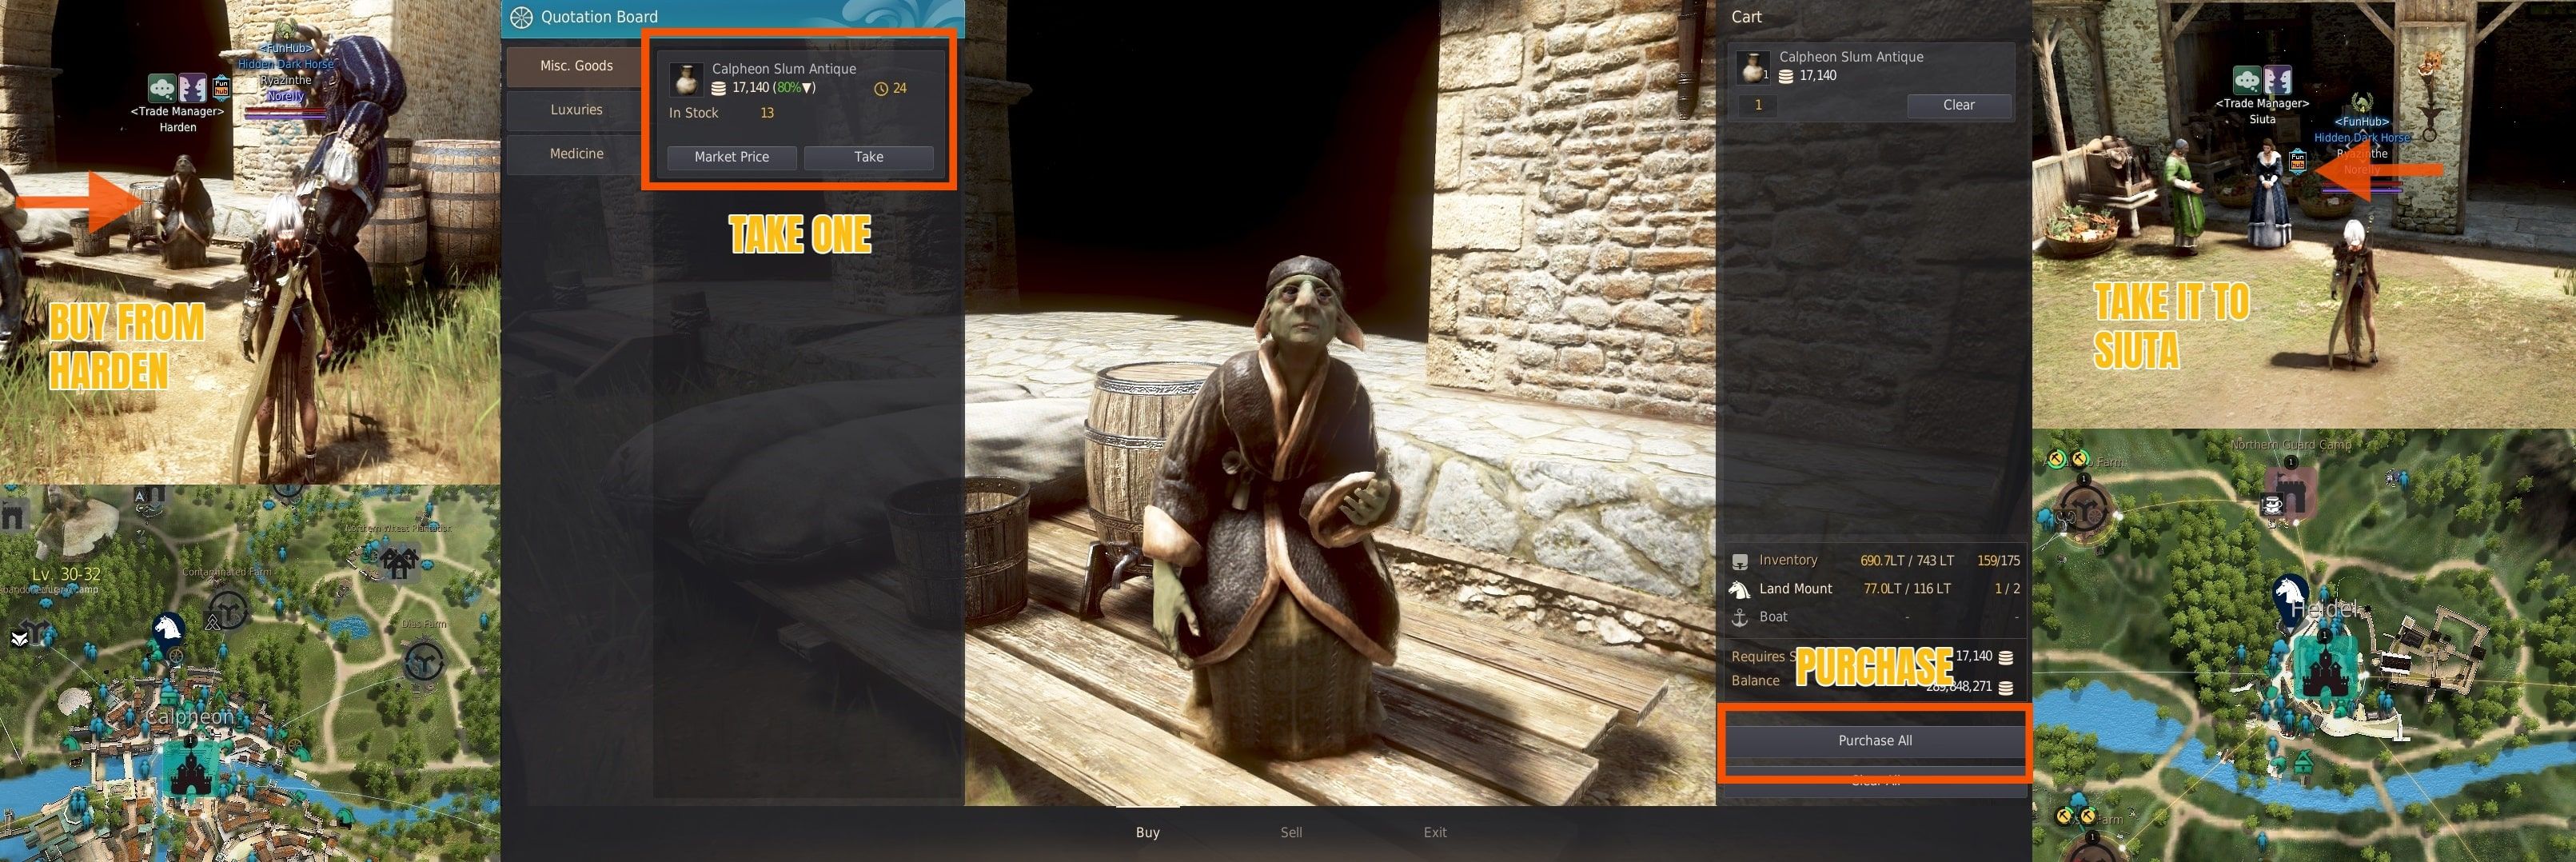
Goal: Trade antique from Calpheon slums with Heidel Trader
Fast Method: Go to NPC Harden (located at Calpheon City), buy aCalpheon Slum Antique item from him, and take it to NPC Siuta (located at Heidel).
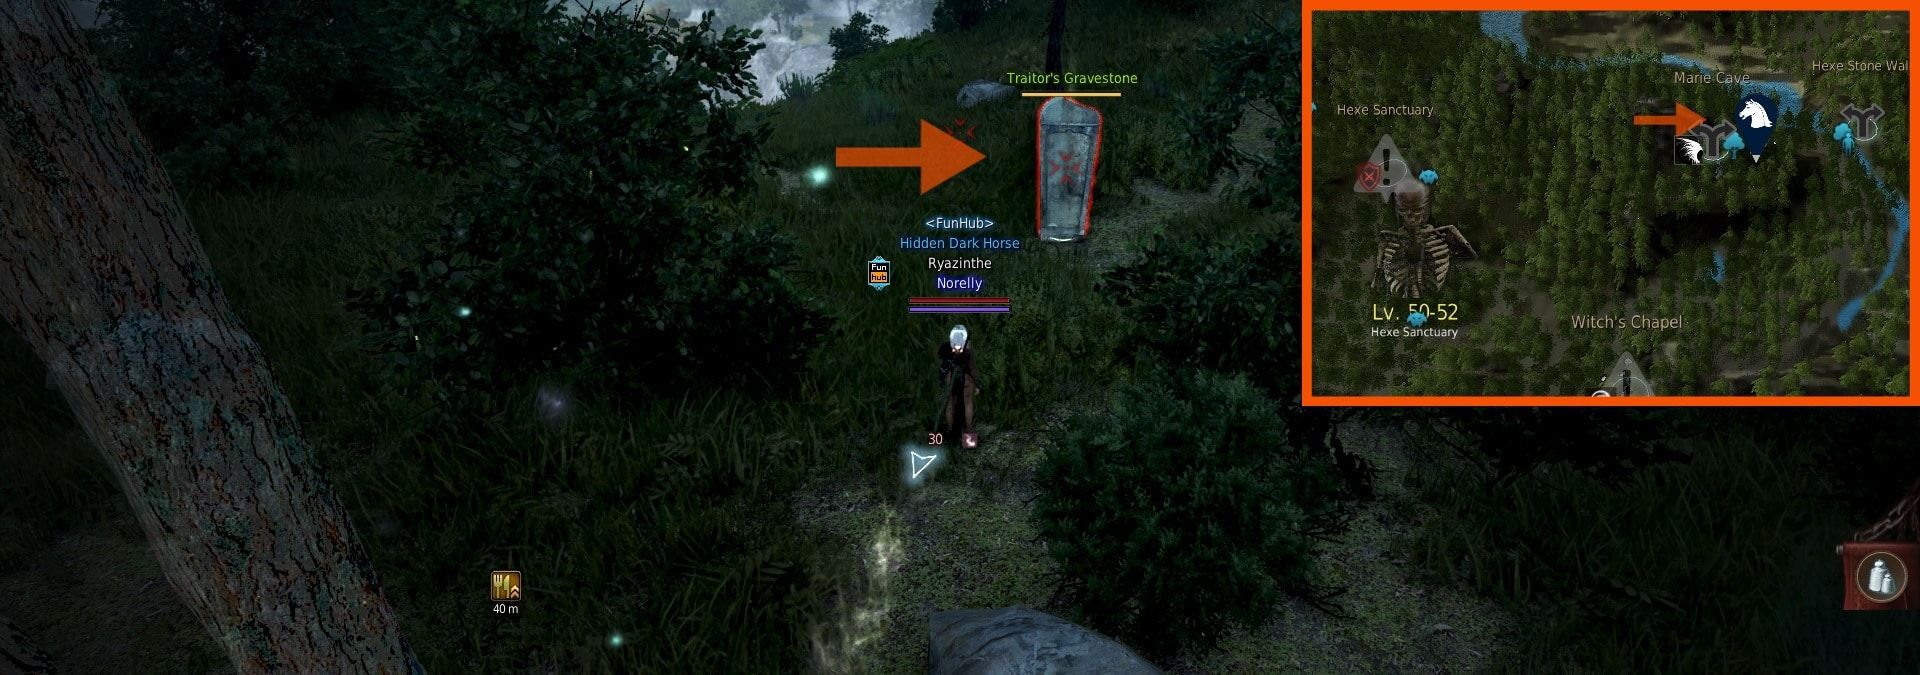
Goal: Excavate the Traitor’s Graveyard
Fast Method: Go to Marie Cave node (to the right of Hexe Sanctuary), which is a level 50-52 monster zone. Find a Traitor’s Gravestone which summons you skeletons, and kill the spawned monsters until you reach 777 kills here. This mission can also be done in a party, there are also three gravestones in the immediate vicinity of the node.
This book is already a little more complicated than the previous one, in this, we already have to complete a significant number of quests to complete. In addition to quests, we will also have to earn Amity Points and will also need to reach kills in a required 250 AP zone.
You will need to have a few things for the 2nd book, so make sure to prepare them before you get started: 10 million Silver and 18 unused Contribution Points.
Fughar’s Road to Success – 2nd Book Rewards:
Goal: Gain the respect of Mediah Traders
Fast Method: This can be accomplished with a slightly longer sequence of quests, follow the steps below.
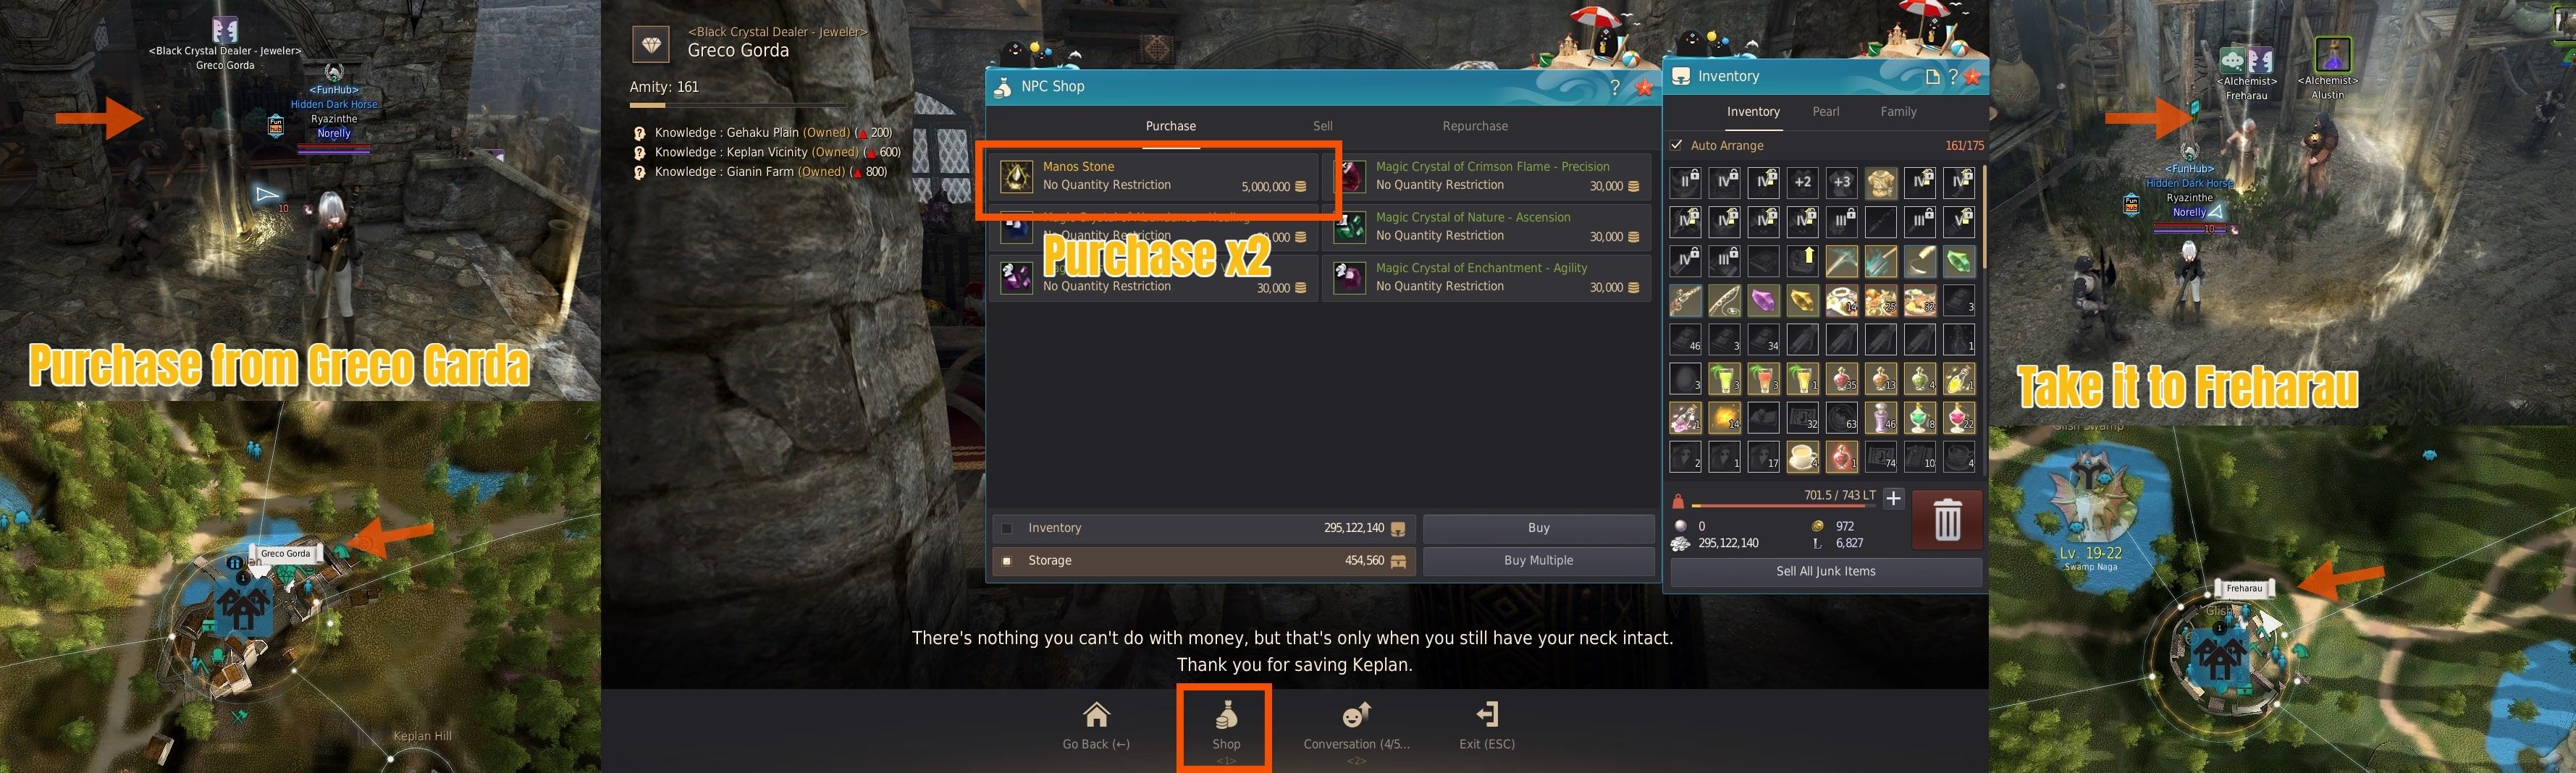
- Summon Black Spirit and start the quest called “[Adventure Log] – Sweet Sunlight” from the Suggested tab. This quest leads you to meet with NPC Greco Gorda <Jeweler> in Keplan.
- Go meet him, and accept the next quest from him namely the [Adventure Log] Another Opportunity. Purchase 2
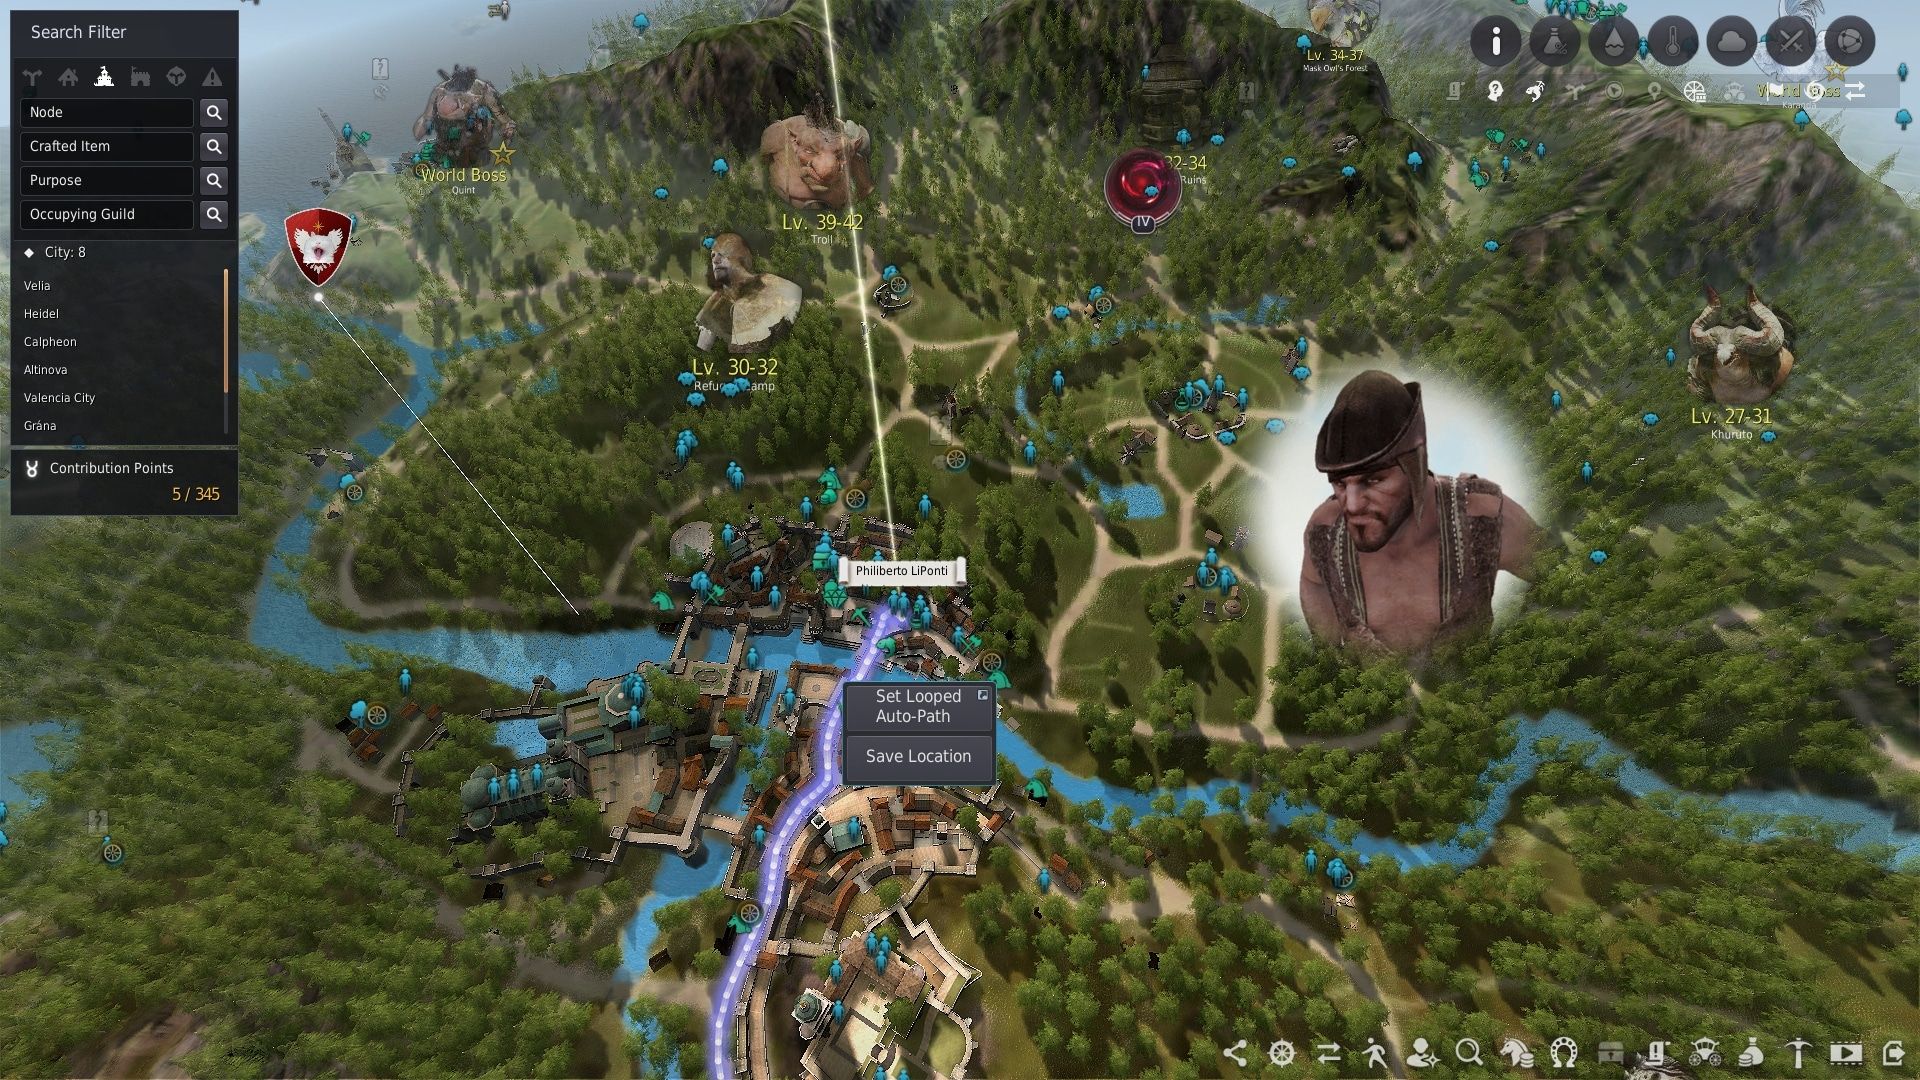
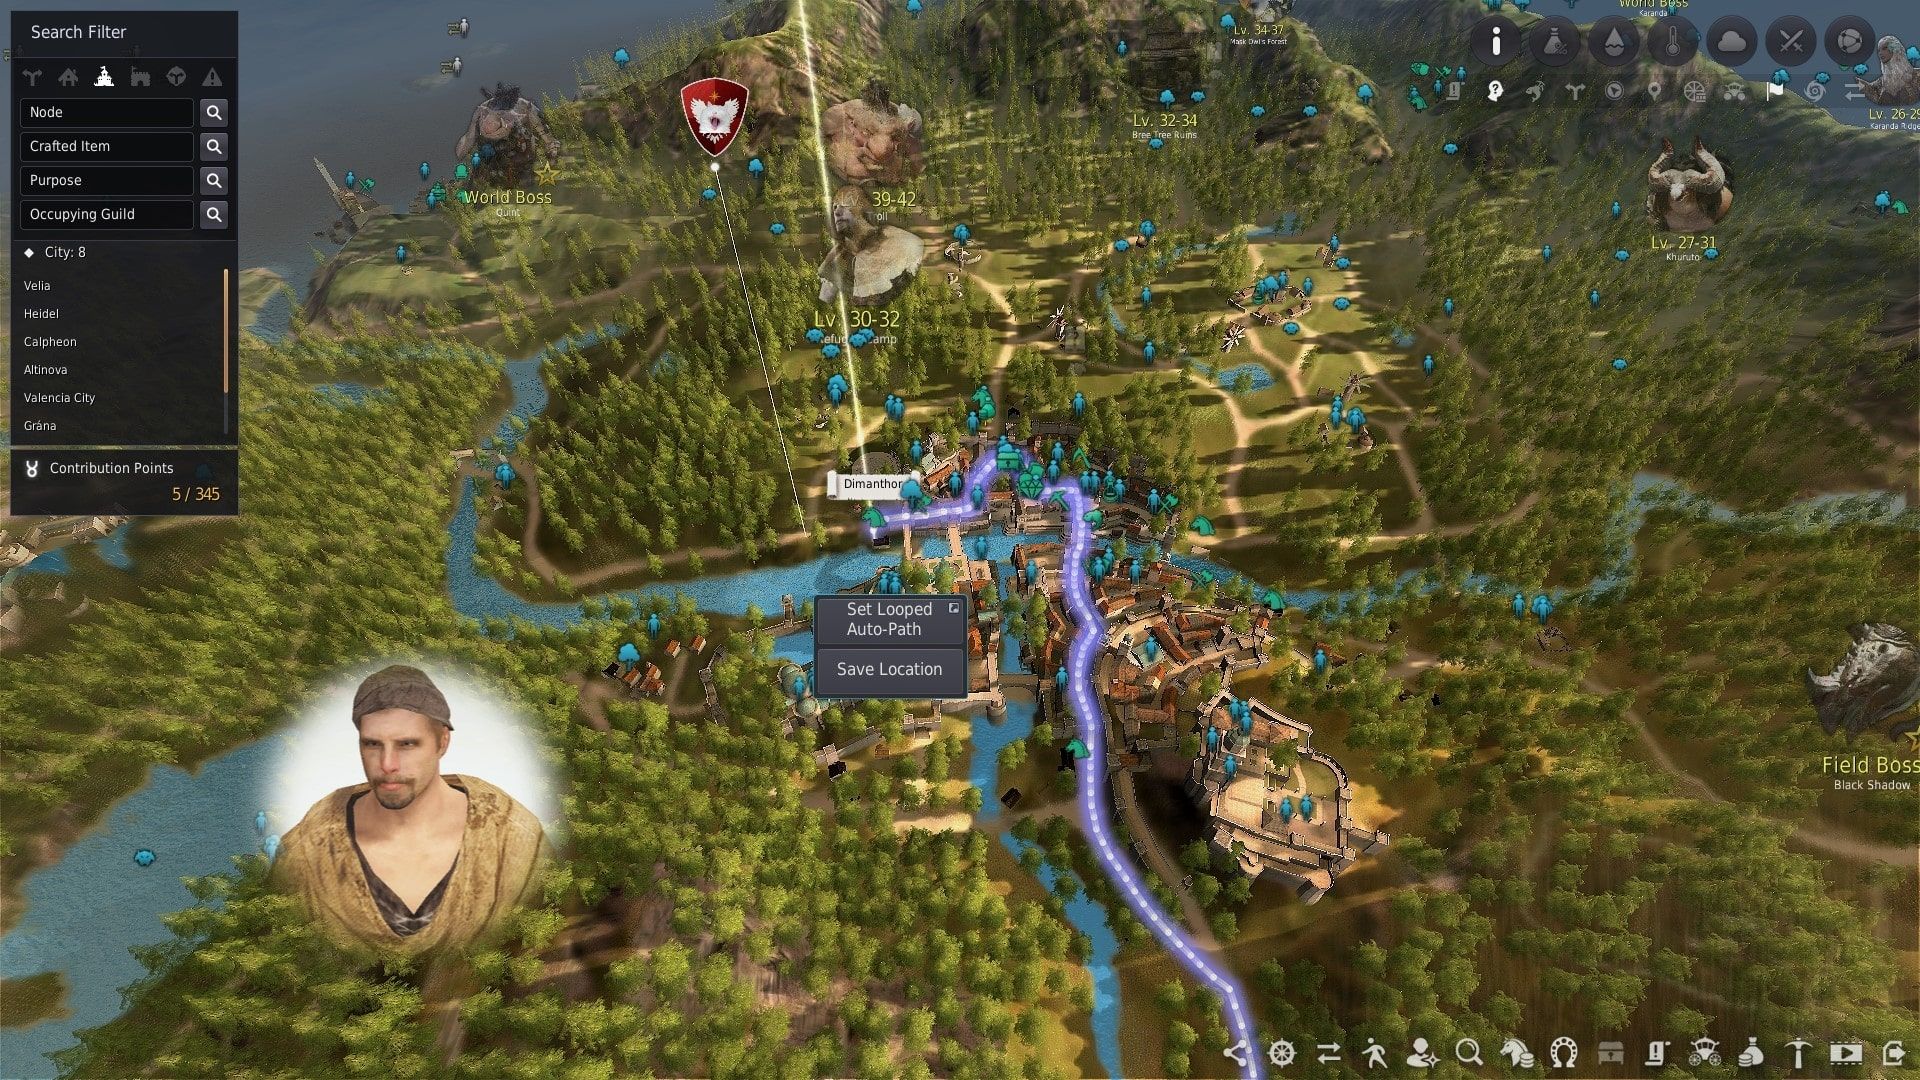
Manos Stone from Greco Gorda’s shop, and take it to NPC Freharau <Alchemist> from Glish (you can see this in the picture above). If you handed it to him using Chat option, pick up the next quest from him, called [Adventure Log] Larc’s Dream.
- Larc’s Dream is leading you to NPC Larc <Trader> from Glish. Take her the next quest, the [Adventure Log] Buying Favors.
- For Buying Favors, you will need a
Design: Kanna's Naga Disguise - Shai and take to the Trader in Tarif. In order to receive this item from Kanna, you must complete the Naga Enthusiast quest chain (you can read more about this below!). At the end of the quest series we get the
- Take the next quest from NPC Brorum <Trade Manager> at Tarif called [Adventure Log] News Flies. This quest wants you to meet the trader of Altinova, NPC Quina. Upon completion of the quest, use the Chat option with NPC Quina to the successful completion of the first chapter.
Naga Enthusiast Questline Tips:
This questline consists of 6 quests. The chain of missions begins from NPC Kanna and can begin with at least a level 40 character. At the first quest, you will need to obtain knowledge from Swamp Naga monsters. At the second quest you must pass a test, the piece of answers costs 30 energies. The answers: Fogan, Mountain, #$%^&*%^$. At the third quest, you must collect Naga related items: they are easier to get at Swamp Naga with a low-lvl character, but also can obtain Desert Naga’s Webfoot from Desert Nagas (but that would require too much walking). After that all you have to do is kill monsters in Swamp Naga again, and then complete the quests.
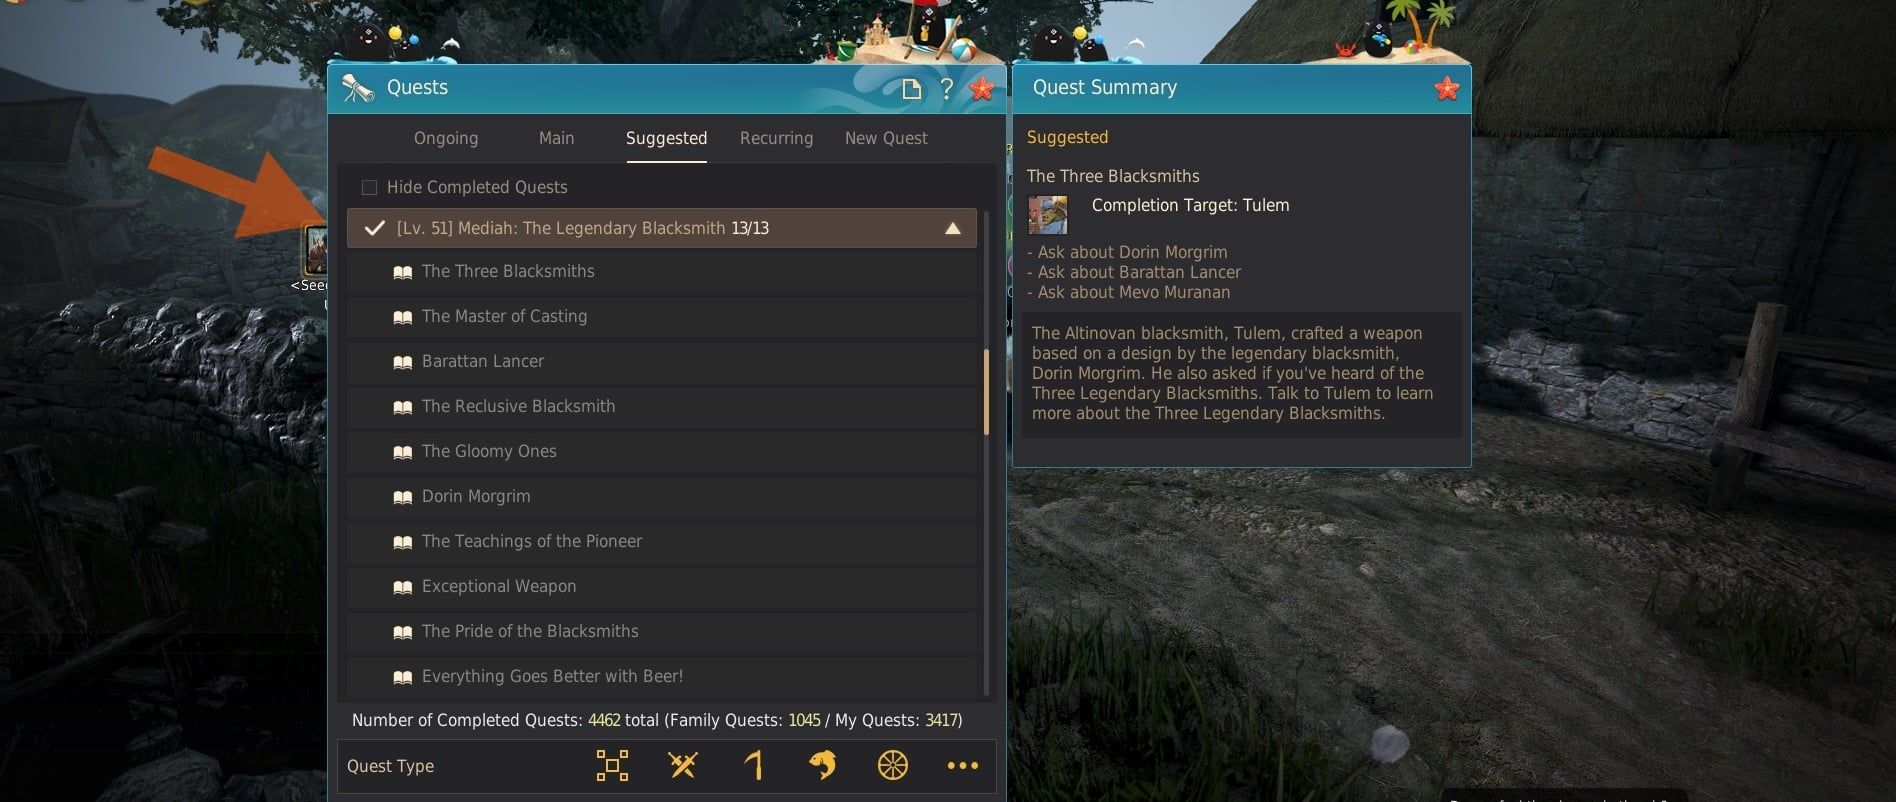
Goal: Find out about the Three Legendary Blacksmiths of Mediah
Fast Method: To gain this part you will need to complete a chain of 13 questlines. You can find this at the Suggested tab, called [Lv. 51] Mediah: The Legendary Blacksmith. The first quest is from NPC Tulem <Arms Dealer> from Altinova. These are clear, rushing quests, and even a small kill will be in a 90-110 AP location.
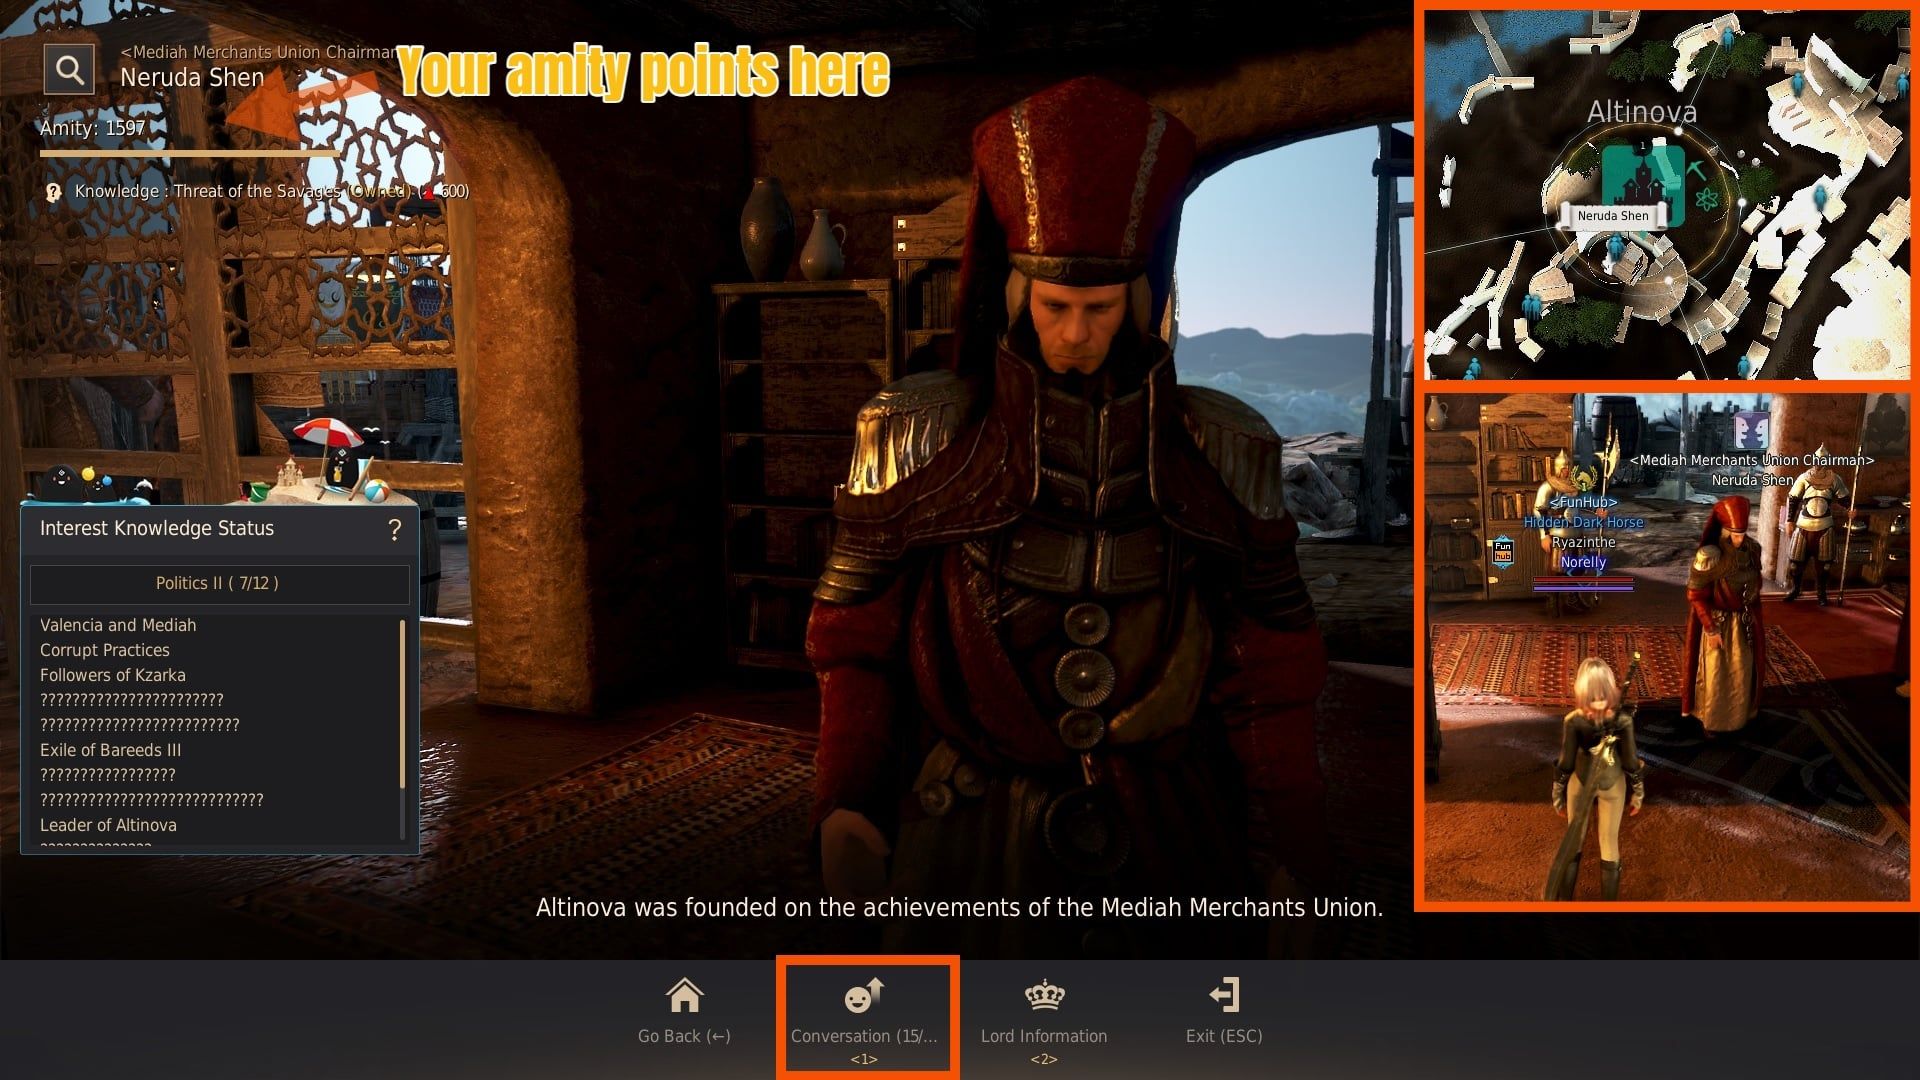
Goal: Become good friends with Neruda Shen
Fast Method: Gain at least 700 Amity Points with NPC Neruda Shen from Altinova. Once you have reached the required number of points, select the Chat option with him. If you don’t know how to increase amity points, I highly recommend reading our Knowledge Guide, but of course there is always the possibility of waving to the NPC (pressing F5 when standing next to the NPC) for 2 energy / 2 amity points.
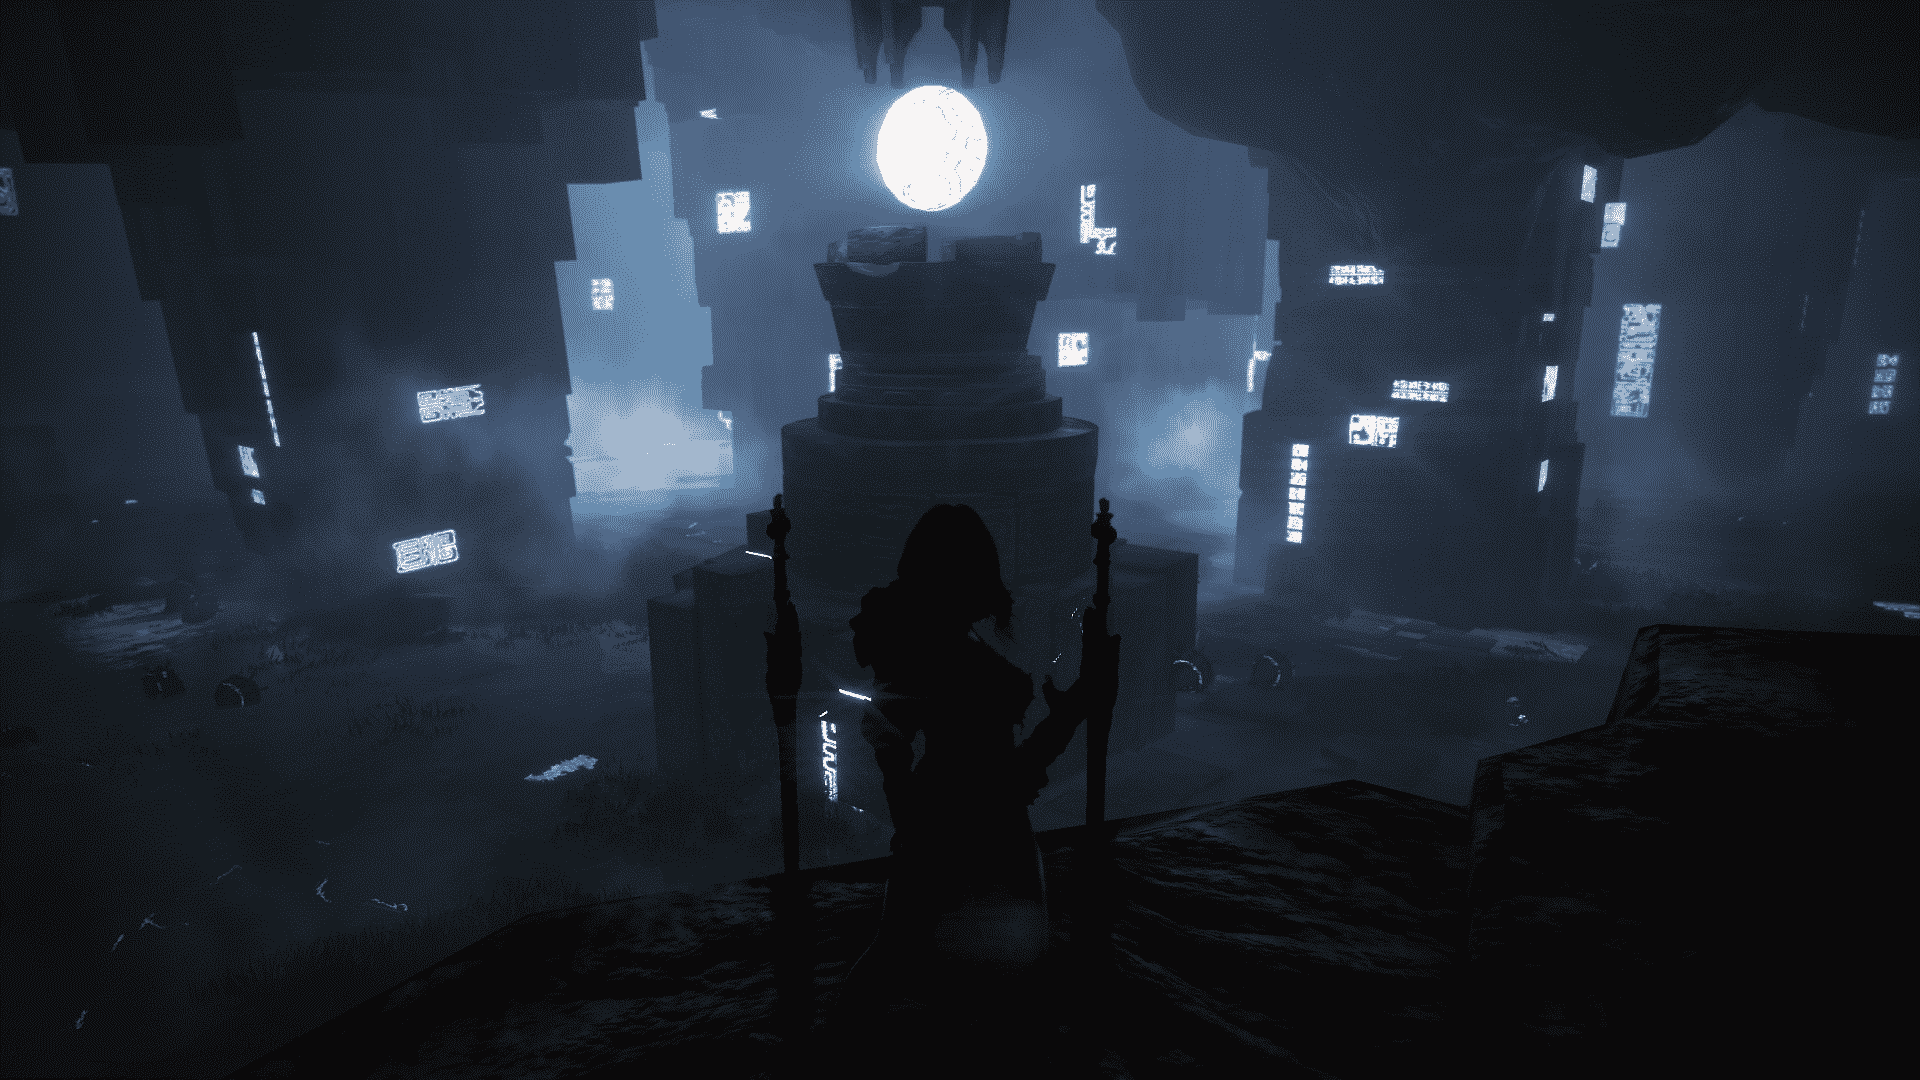
Goal: Explore the hidden Kratuga Ruins
Fast Method: You must kill 777 mobs at Kratuga Ruins, what is a 250 AP zone. This quest can also be done in groups, and you can also walk in that kratuga door if someone else opens it for you. In the gallery below you will find instructions on how to get to Kratuga Ruins. Remember that this requires entry or tagged Sage character.


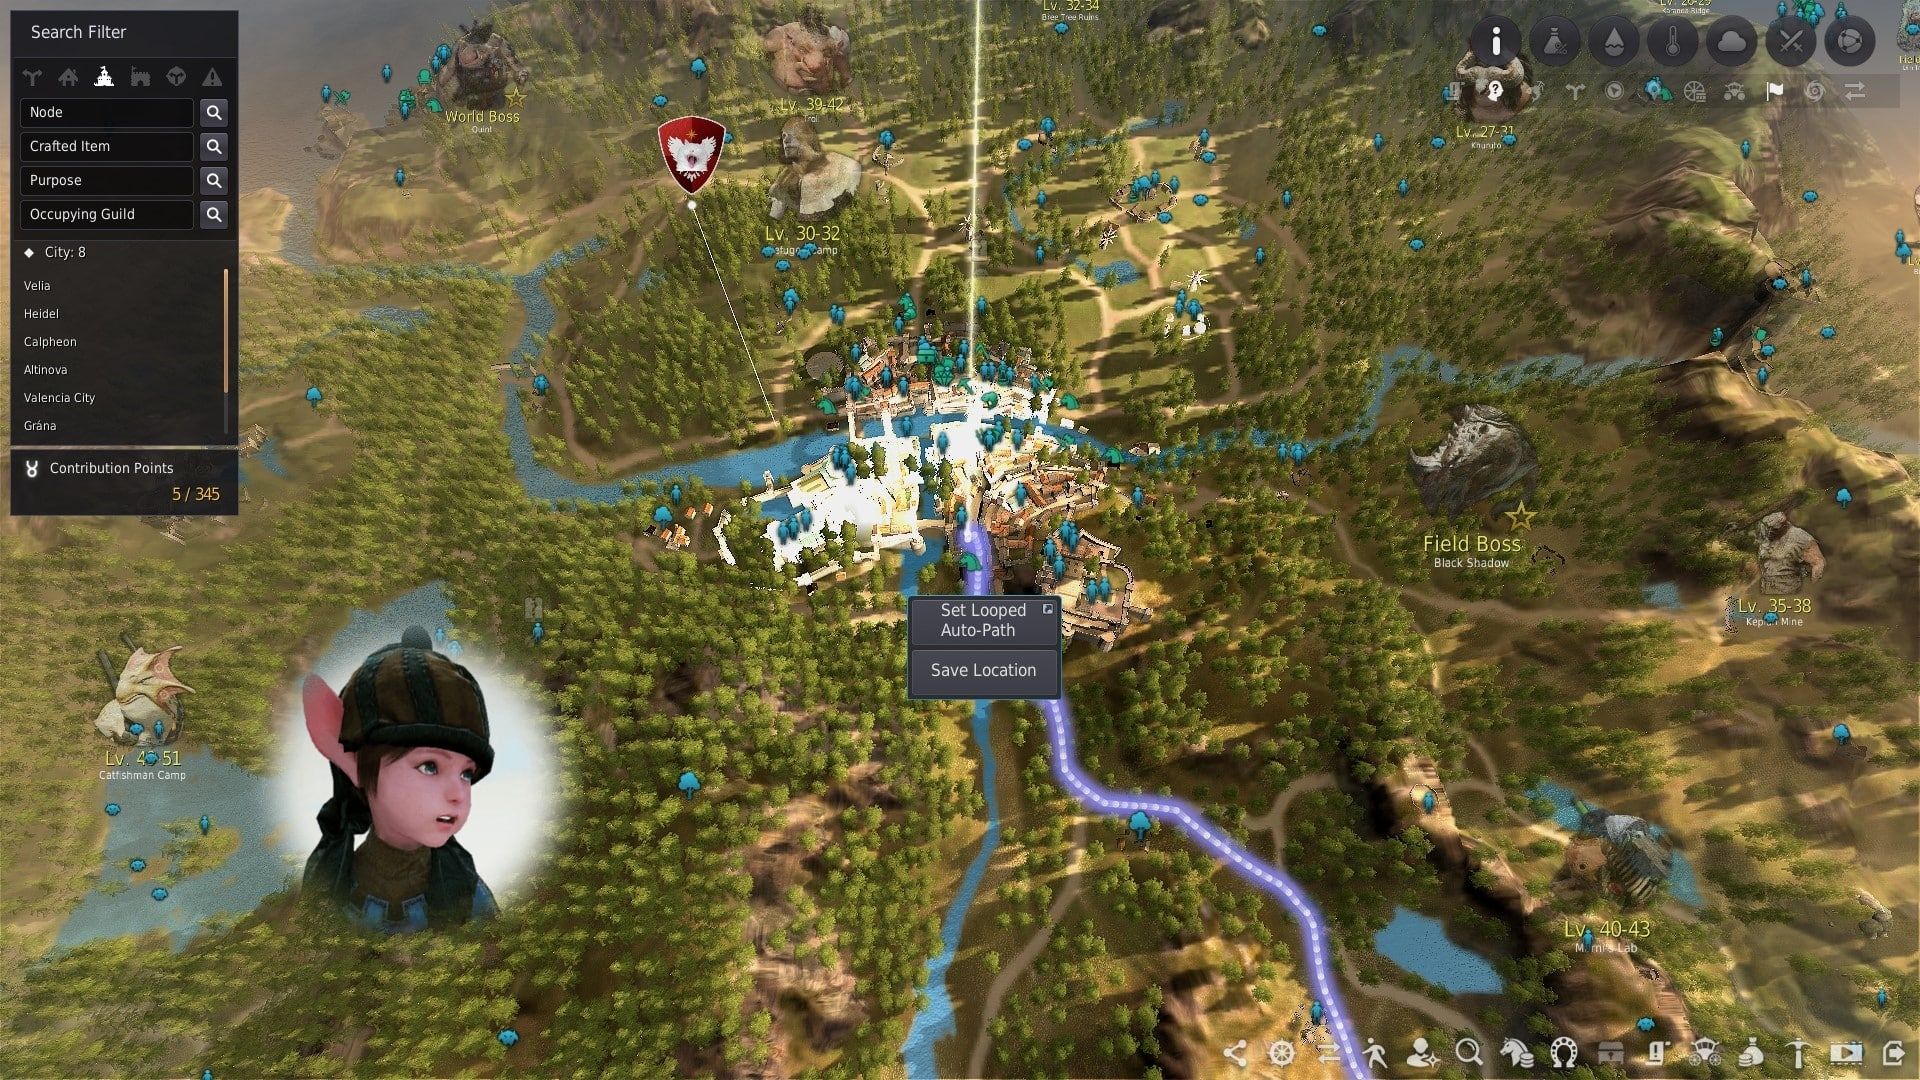
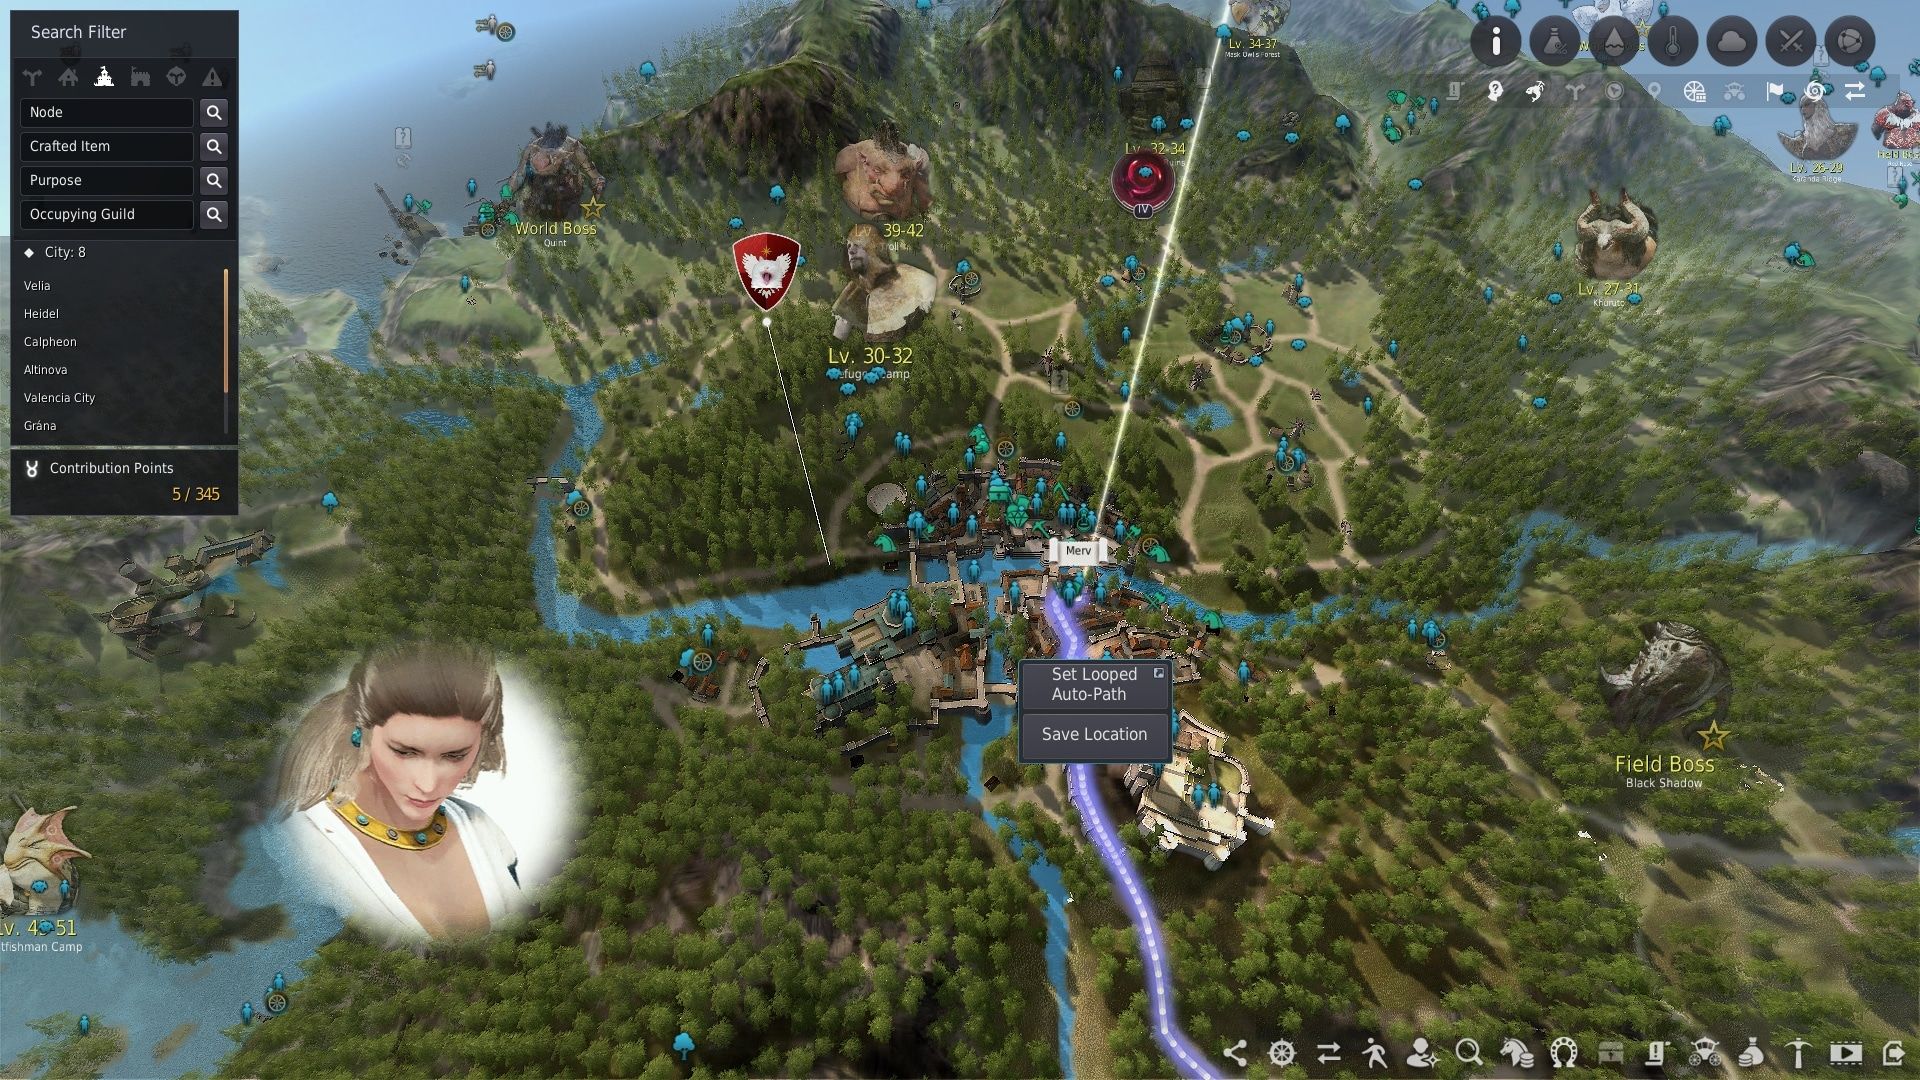
Goal: Connect Altinova-Calpheon Nodes
Fast Method: Simply connect Altinova and Calpheon nodes. In the picture above, you can how i created the connection, which cost 18 Contribution Points.
Without a doubt, this is the hardest book of the three books. In this book, you will have to complete missions that will require perseverance and strong gear, right from the first chapter.
Prepare for the third book: 1 billion Silver, a boat with cannon.
Fughar’s Road to Success – 3rd Book Rewards:
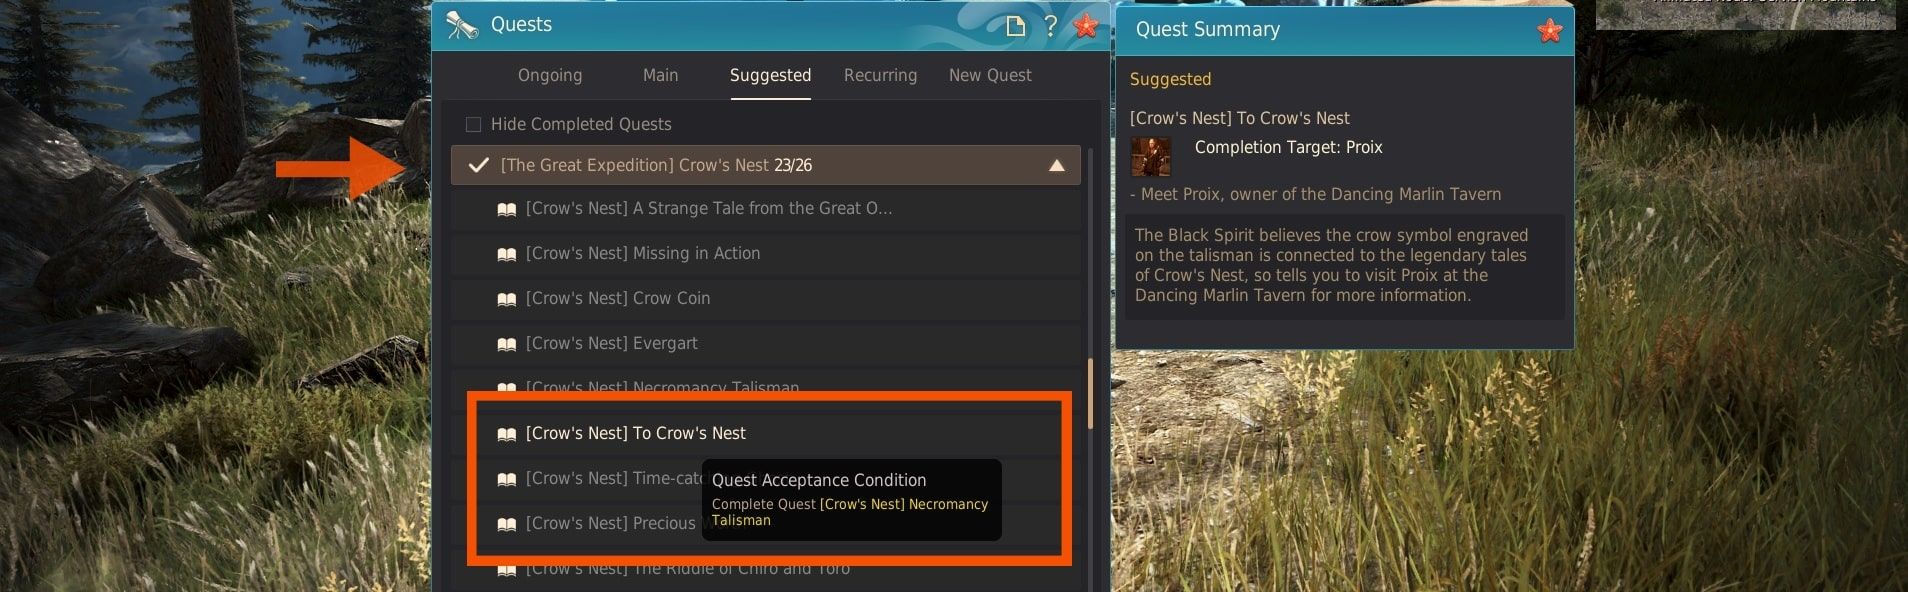
Goal: Complete “[Crow’s Nest] To the Crow’s Nest”
Fast Method: For this chapter, you must finish [Crow’s Nest] To the Crow’s Nest part of [The Great Expedition] Crow’s Nest questline from the Suggested tab. This is the 6th quest from this chain. After completed this part, you must speak with the Black Spirit and choose the “I completed [Crow’s Nest] To the Crow’s Nest.” dialogue from the Chat option.

Goal: Eliminate Hungry Hekarus or Hungry Ocean Stalkers
Fast Method: You must kill one Hungry Hekaru or Hungry Ocean Stalker. In the picture above you can see where you can find such monsters and it also turns out that they are water monsters, so you will definitely need a ship (with a cannon) to defeat them. You simply have to shoot with the cannon, they die in a relatively short time because they are easier water monsters.

Goal: Equip Undying Crow’s Insignia
Fast Method: This item is given as the final reward of the series of missions, namely from the [The Great Expedition] Crow’s Nest. If you have completed that quest, equip it. I think this is the hardest part of the books, and it certainly needs good gear, PvE knowledge and perseverance. I try to give you tips on how to complete this questline, but keep in mind that you can find many video guides on the internet that can make your job easier!
About the [The Great Expedition] Crow’s Nest:
You can find this chain at the Suggested tab of the Quest window. At the Book 3, Chapter 1 you had to start this series of missions. We can only encounter difficulties almost at the very end of the quest series, namely when we have to face 5 bosses. You cannot do this part in a group, and if you died, you have to give up the quest and pick it up again to summon the first boss again (yes, you have to start over).
- 1st boss, Rakan: He is just warming up, does not require a separate strategy.
- 2nd boss, Valkin: Avoid from the purple fog, try to get as much back attack as possible
- 3rd boss, Fareed: He can use knock up, damaging and healing. He will try to heal himself at 80% HP, try to stop the healing with CC.
- 4th boss, Bennet: She will summon two replicas, and you must kill the real one. If you kill a clone, they will disappear and reappear with full HP. The real one is recognizable from the fact that it is more vulnerable, deals more damage to you, and you can run through clones. If you manage to kill her, she will summon clones a few times again, so you have to repeat this a few times, before it actually dies.
- 5th boss, Evergart: He has the most HP and DP. Try to stay behind him, avoiding from his skills, try to float and interrupt him while he is using his ground smash skill, and get as much back attack as possible.
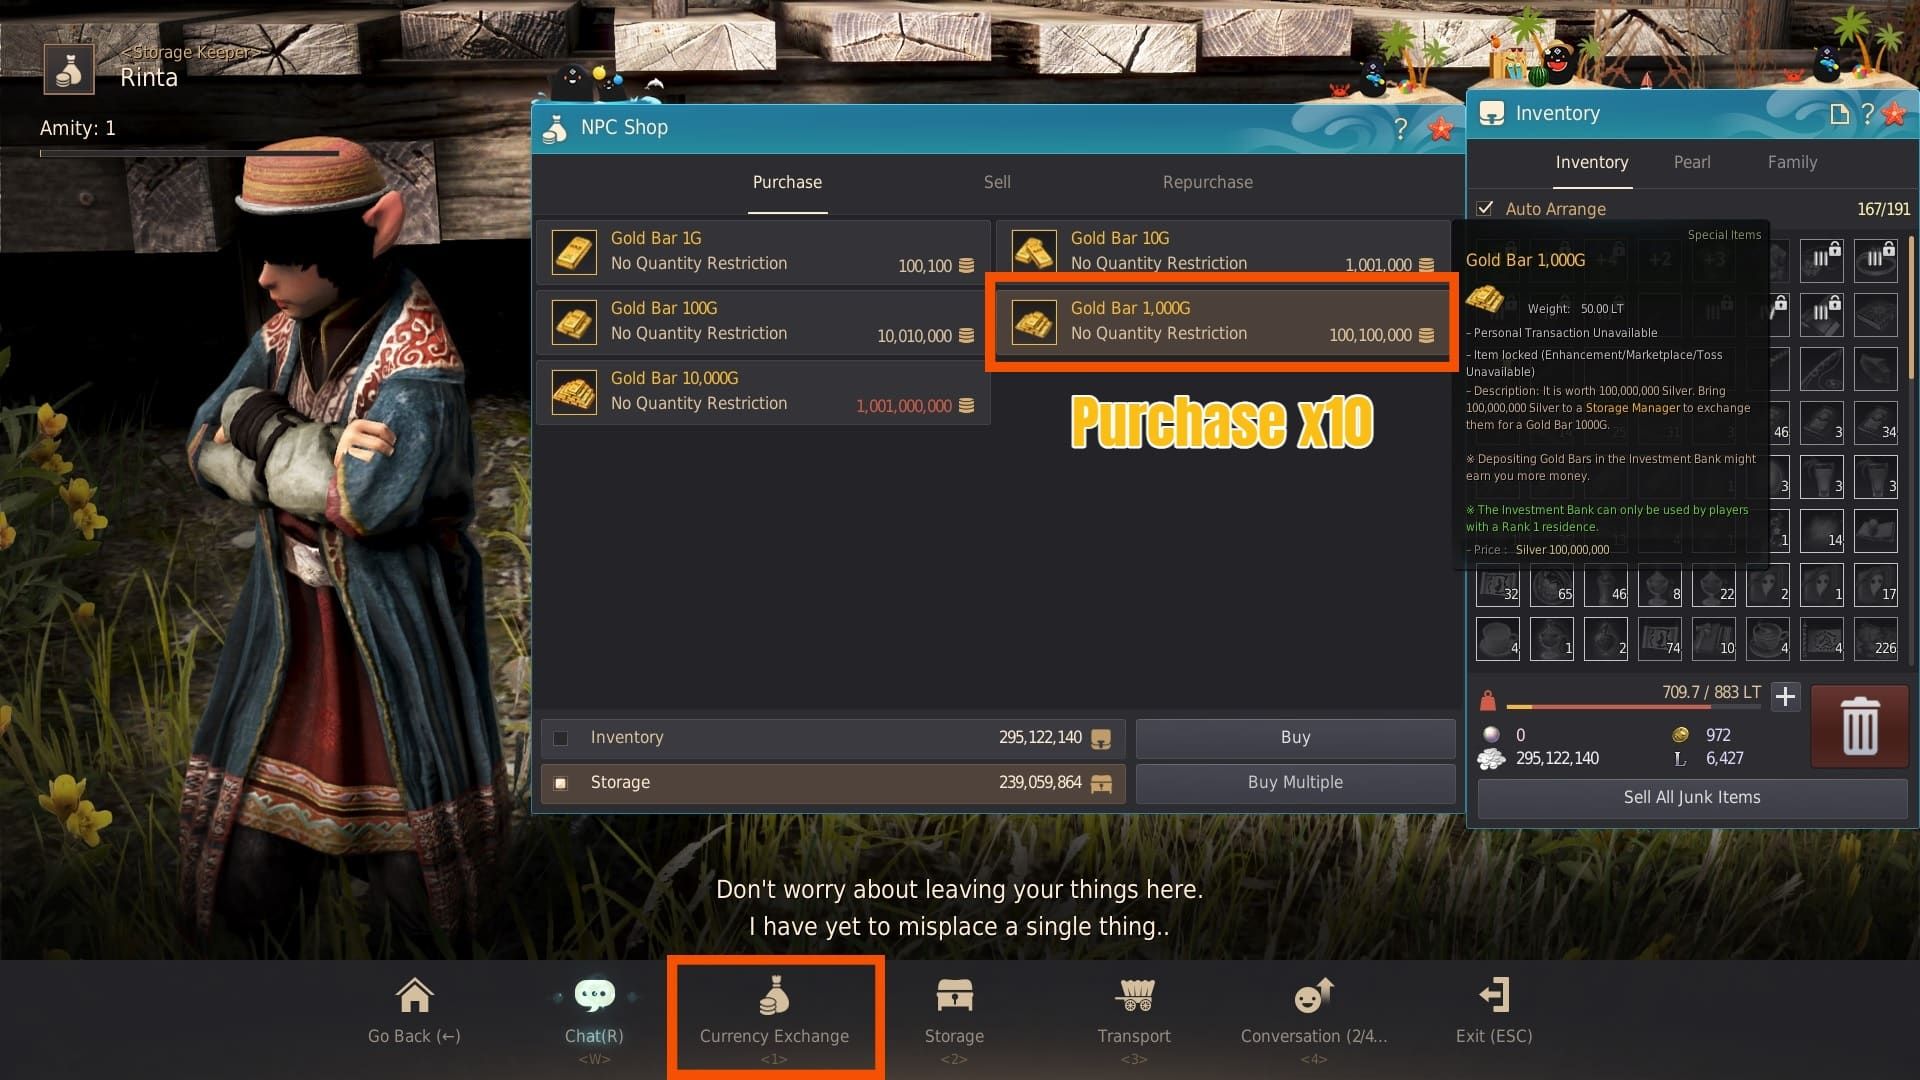
Goal: Show Gold Bar 1kG x10 to the Black Spirit
Fast Method: You have to show x10Gold Bar 1,000G to the Black Spirit. A piece of this will cost 100 million Silver, can be bought from any Storage Keeper (via Currency Exchange option), so a total of 1 billion Silver will be needed. Show these bars for the Black Spirit with the Chat option, after you have shown, of course, all the gold bars remain yours, you do not have to hand over them.
Goal: Visit Fughar for a talk
Fast Method: Visit Fughar again, and use Chat option. NPC Fughar is located next to the Stable Keepers in large towns including Velia.

※ This is a quest item. If you have lost the item, you can obtain a new one by talking to the Black Spirit.
※ This is a quest item. If you have lost the item, you can obtain a new one by talking to the Black Spirit.
※ This is a quest item. If you have lost the item, you can obtain a new one by talking to the Black Spirit.
※ This is a quest item. If you have lost the item, you can obtain a new one by talking to the Black Spirit.

Can be purchased from crystal vendors.
You can obtain the outfit from Kanna after you complete [Naga Enthusiasts].
You can obtain the outfit from Kanna after you complete [Naga Enthusiasts].

|
|
Norelly
Grew up in the world of games, studied journalism & programming, so I'm here to unite my passions! Currently a big fan of Black Desert Online and League of Legends. Probably still training horses at BDO.
|
Leave a Reply